
You are using an out of date browser. It may not display this or other websites correctly.
You should upgrade or use an alternative browser.
You should upgrade or use an alternative browser.
1981 Double Eagle gets a second chance
- Thread starter DanJ
- Start date
-
- Tags
- 1981 double eagle

DanJ
Well-Known Member
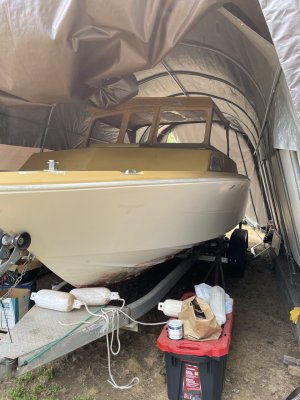
Beautiful day that I took full advantage of. First layer of fiberglass down 2 more to go and a layer on the inside. These are the port and starboard side windows. I will probably put my order in next week for the windows. I know this is not really exciting for you guys but getting back to glassing has me pumped.
Attachments
DanJ
Well-Known Member
If I lived closer I would be happy to help. I have a desk job basically but my brain needs to create things and fix stuff to stay happy. When you can step back and look at something you built yourselfSure is exciting! Nice to see some glass work getting done, making me itch for some more.
Let me know if you run out of glass work to keep you pumped, I have lots I need a hand with
DanJ
Well-Known Member
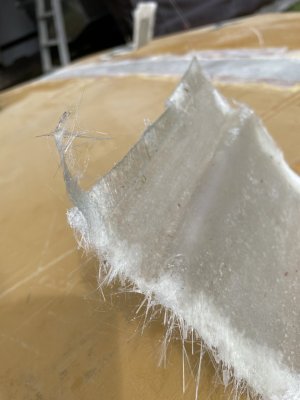
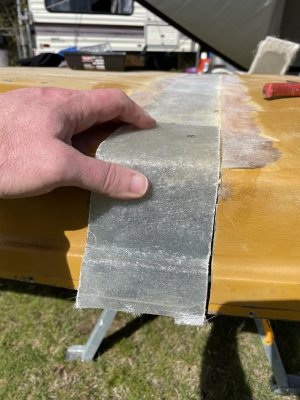
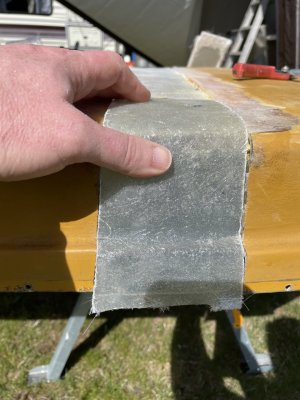
Sun is shining and work on the Double Eagle is ramping up. I needed to make some pieces to fill in the gap from when I extended the roof. I waxed a couple spots on the roof and laid up some glass to create the pieces i needed. I will glass over top of these and sand them to a nice finish. If you are wondering what the black spot in the glass is. A fly committed suicide. It will be trimmed out so not to concerned.
Attachments
Kilwinning
Crew Member
Hey Dan your project is really coming along, and a beautiful jobSo I did the Sapphire Blue from Interlux on the transom to see if I liked it. Well the short answer is no. So I got out the sandpaper and got to work. After that I put another coat of primer down.
I was wondering if you don’t mind what primer you used.
Thanks Kilwinning.
Kilwinning
Crew Member
Thanks Dan
DanJ
Well-Known Member
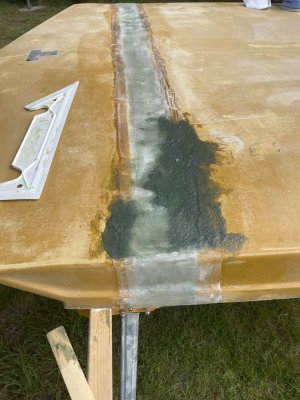
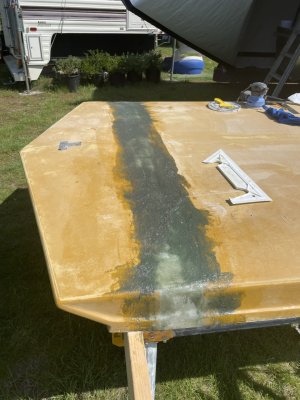
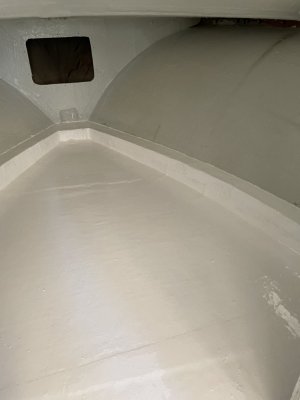
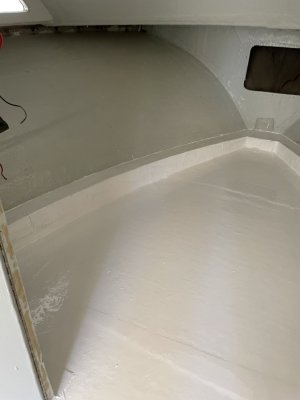
A little more work done on the roof. I put down 5 layers of glass and when I went to fair it out I realized i was out of my fairing compound so I picked up some long fiber bondo to see how it worked. I did a test area first and it hardened to a very strong bond so I completed the rest of the area. It will require a **** ton of sanding though. I also pulled her out of the tent and gave her a bath as she was getting extremely dusty.
Attachments

DanJ
Well-Known Member
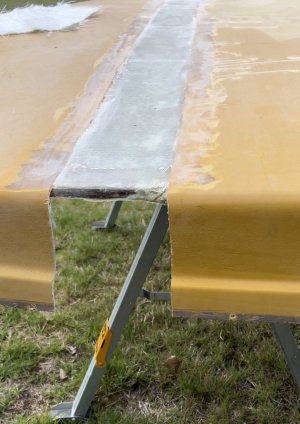
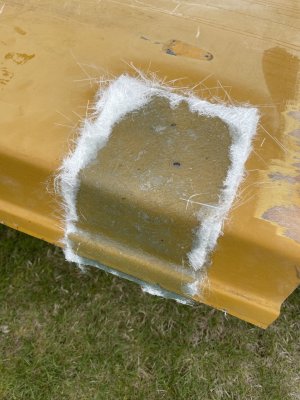
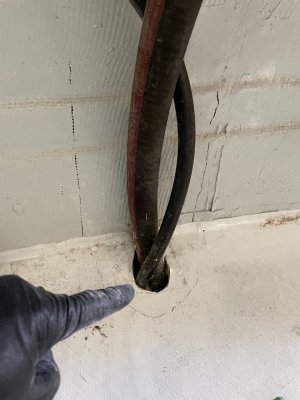
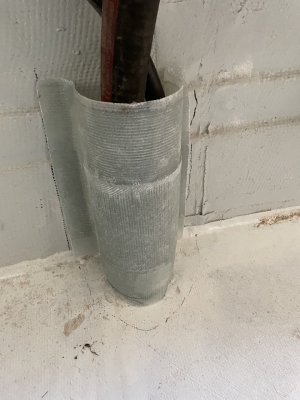
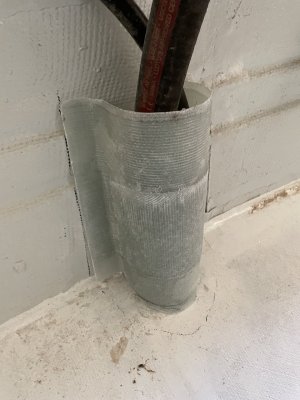
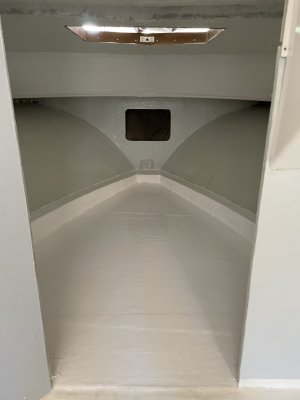
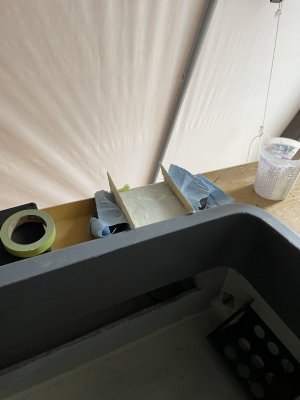
I worked on the boat for Sunday and Monday, and was able to build a mould to make a piece to cover the fuel fill hose and vent hose. This will seal off the deck for hosing down and cleaning up.
Attachments
DanJ
Well-Known Member
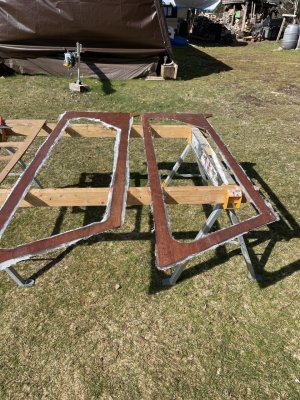
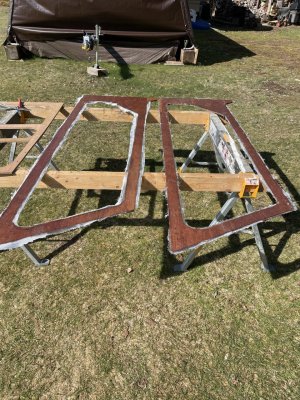
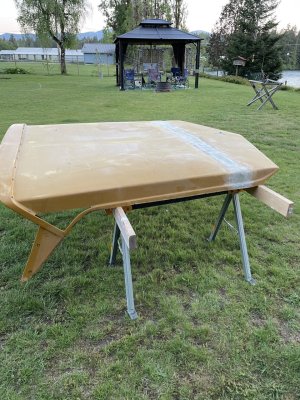
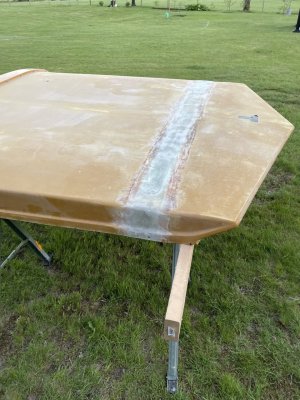
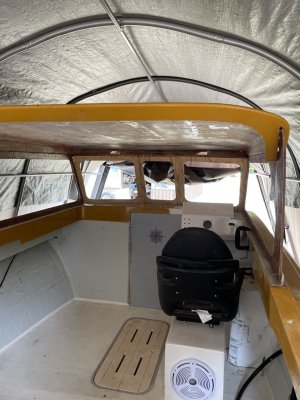
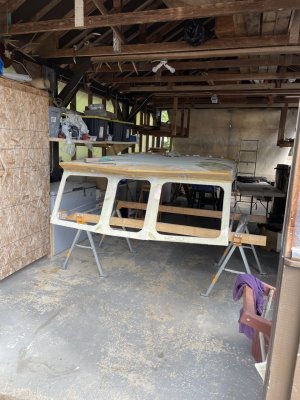
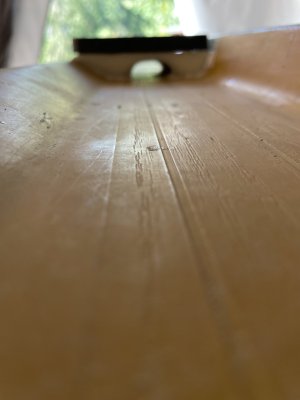
Test fit the top with the window frames today. Its been month sence I have been to Port Alberni and the drive was good, very little wait time at Cameron Lake. Top and frames are a good fit I still need to do some adjusting before final glassing.
Attachments
DanJ
Well-Known Member
Brian Reiber
Well-Known Member
Looks good. Are you cutting the storage lockers in after and are you still going to run a head in the cuddy?
DanJ
Well-Known Member
Removed the storage lockers and no head. I will be adding rod holders. And will store my inflatable kayaks there. 99% of my fishing is just 4 to 6 hrs and if I go to Bamfield I will rent a cabin. I will have a foam mattress made incase I want a cat nap  Under the floor is completely spray foamed with closed cell foam.
Under the floor is completely spray foamed with closed cell foam.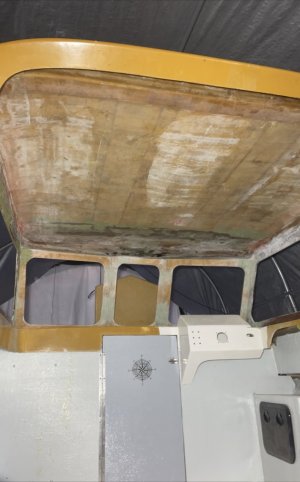
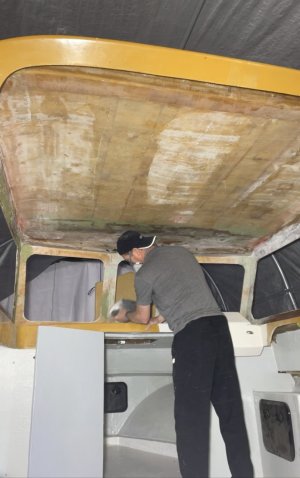
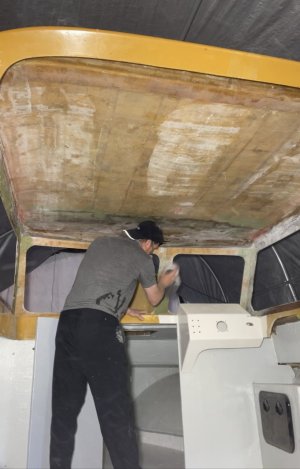
DanJ
Well-Known Member
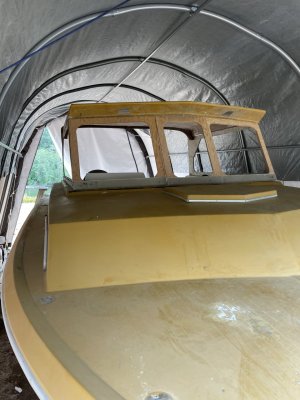
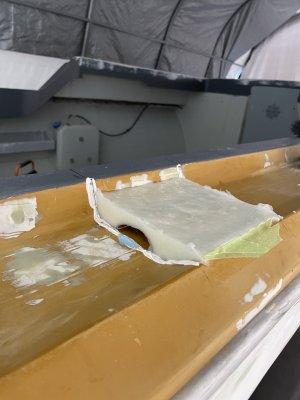
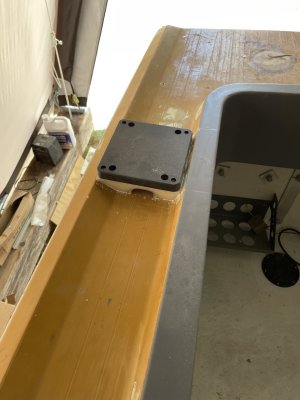
Roof off one more time as it is easier fairing and sanding with it off. I will most likely paint it while it is off the boat. Also made the downrigger mounts. They are thickened epoxy with a **** ton of chop strand mixed in.
I made them so water could pass through.
I made them so water could pass through.
Attachments
DanJ
Well-Known Member
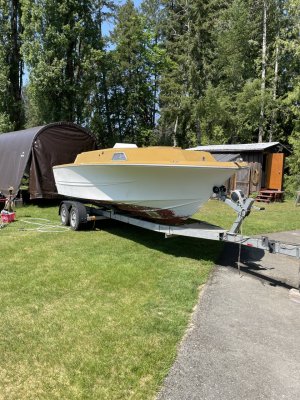
Thank you. Currently at 474 hrs. Into this project. If I did it again I am sure I could knock off at least half of those. I have a running total of my expenses so I know where I will stand at the end. Several people have said they would never do it again but I am sure I will do it again one day I enjoy doing this well 90% of it. Sanding gets a little old. HahahahaLooking good Dan. Lots of time and effort being put into it for sure
Similar threads
- Replies
- 5
- Views
- 995
- Replies
- 12
- Views
- 2K
- Replies
- 9
- Views
- 1K
- Replies
- 13
- Views
- 1K