Aiona
New Member
How's the pod build going so far?For the time being it'll be a 1993 Evinrude 115 2-stroke. 20" shaft length
How's the pod build going so far?For the time being it'll be a 1993 Evinrude 115 2-stroke. 20" shaft length


That brings back memories. I did the same thing to my whaler years ago.I guess its time for an Update.
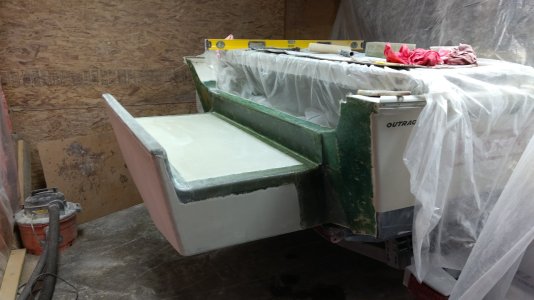
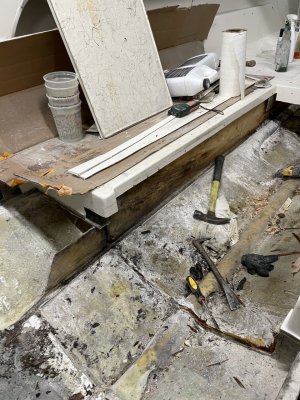
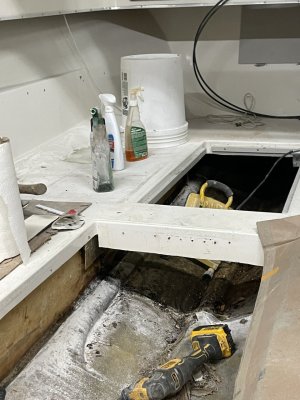
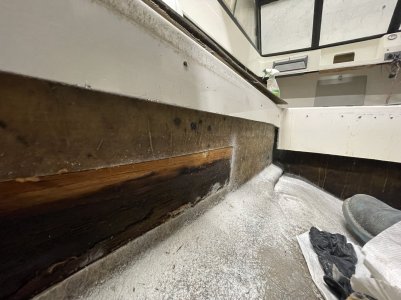
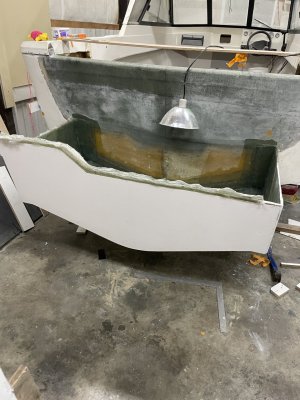
New Transom Glassed in - (2) layers of 3/4" plywood Epoxied together, and epoxied to the existing hull transom.
Then used Vinylester Resin and 1708 to glass in the outside of the transom (splashwell cutout).
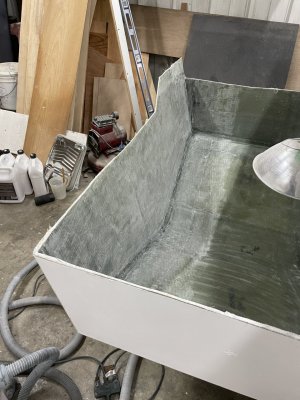
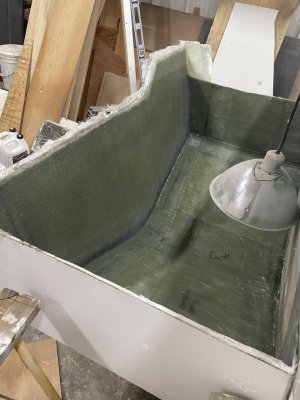
Then Glassed in the inside of the transom.
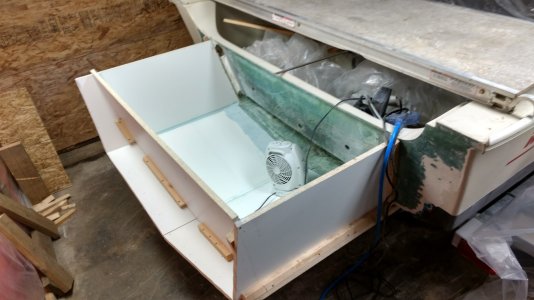
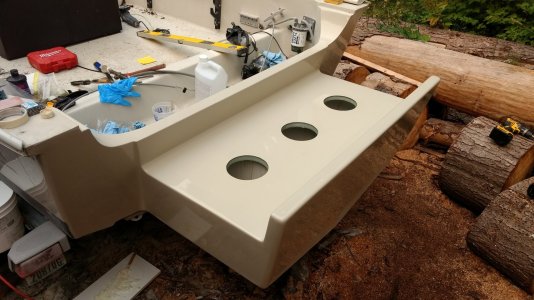
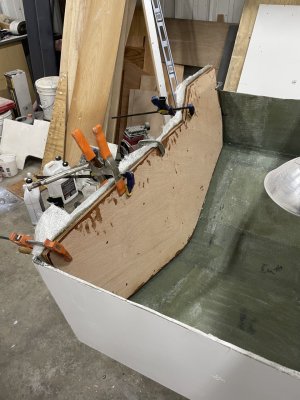
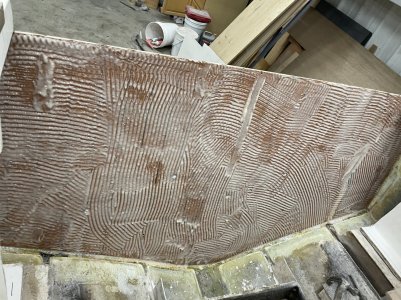
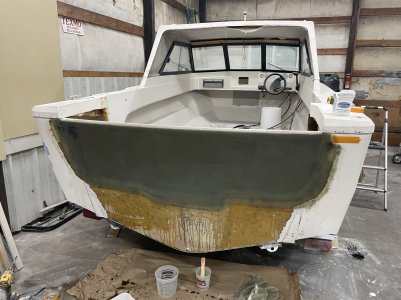
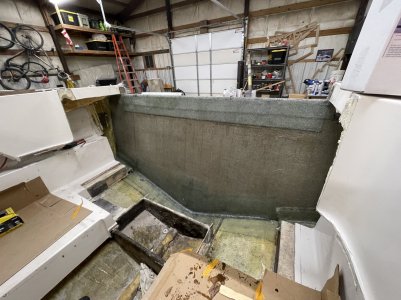
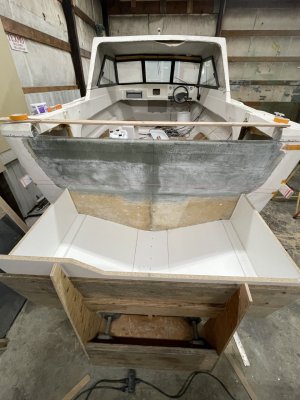
Then built a mold out of Melamine, and glassed the pod. Pod is demolded, and now time to build the structure. Stringers will penetrate through transom and tie into existing stringers. Pod transom will get (2) layers of 3/4" plywood.
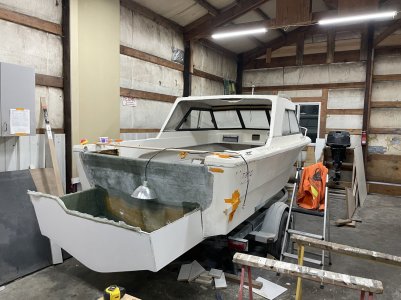
Hermco brackets! Think they closed though.It's nice to finally see some fiberglass hull extensions.
There is nothing wrong with a 2 piece bolt on either @Sttr
Yours turned out really good! Thanks for the tip! I will be sure to do that.That brings back memories. I did the same thing to my whaler years ago.
If you care about gel coat cracks you're going to want to put a really big radius on all the joints between the pod and the hull. All four corners of mine cracked, despite there being over a half inch of 1708 tabbing. Not structural cracks, just cosmetic gel coat cracks. They don't bother me so never bothered to do anything about them. By really big I mean like 1.5" or 2" radius. I have around a 5/8" radius.
I used coosa board in both the original and pod transom. Bulkheads inside and the top of the pod are cored with whatever the regular light weight foam core stuff is. The sides and bottom of the pod are solid.Yours turned out really good! Thanks for the tip! I will be sure to do that.
What core material did you use?
I used coosa board in both the original and pod transom. Bulkheads inside and the top of the pod are cored with whatever the regular light weight foam core stuff is. The sides and bottom of the pod are solid.
No guarantees the larger radius will prevent cracks but it should help. Make sure you run the tabbing over the top of the radius. Don't build the radius out of filler without a lot of glass over top.
One thing I regretted was gel coating the mold then trying to only gel coat all the holes and tabs to match the gel from the mold. I found it would have been way easier to gel coat it all at once, a continuous coat instead of trying to essentially blend a bunch of gel coat repair into the gel from the mold. Blending all the edges took longer than just sanding the whole thing at once.
On your question, yes you are correct. Poly and vinylester don’t bond to cured epoxy that well. But epoxy will bond to anything.Question on the compatibility of fibreglassing on top of epoxy.. It is my understanding that polyester resin will not bond well to any surface that has epoxy on it, but epoxy will bond and cure fine on top of polyester resin. Is vinylester resin more compatible with epoxy?