Commander 26 Re Build

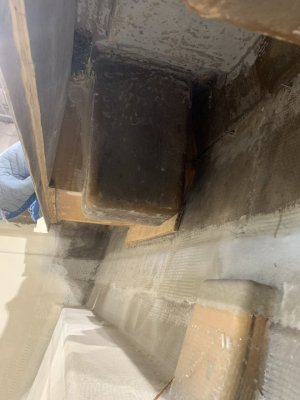
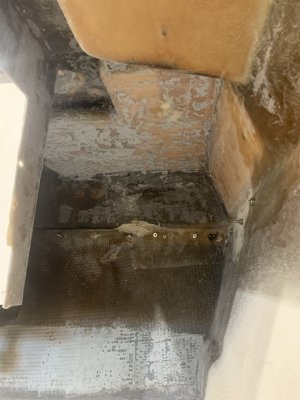
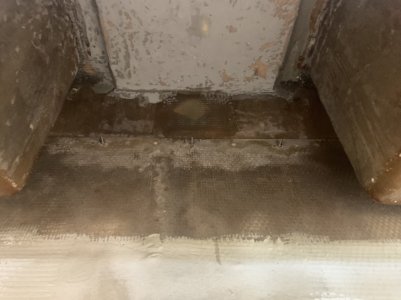
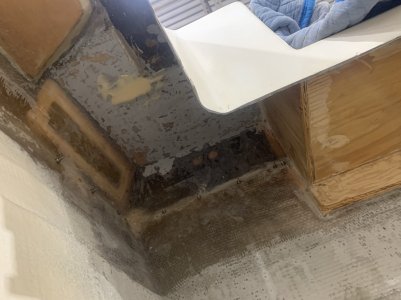
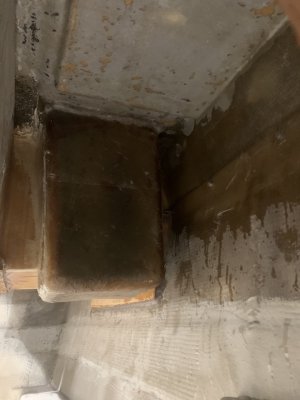
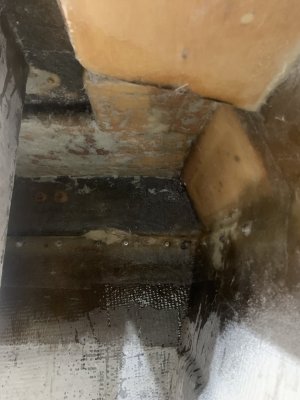
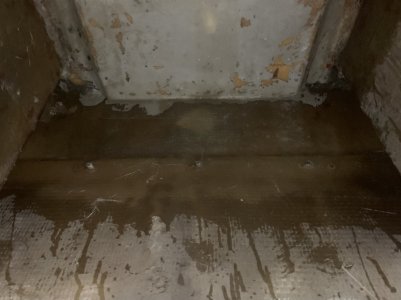
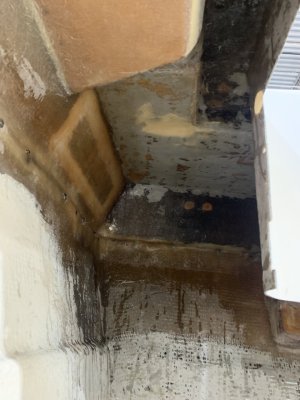
More progress, got the v berth base tabbed all around and glassed in, I’m so happy that this is done, the bow is one of the worst, most uncomfortable places I ever worked in. Would rather cut tie straps upside down all day long. Now and can sit or lay down while finishing the rest 😅View attachment 99243View attachment 99244
Looks like there is good storage under there for a lithium battery bank for a trolling motor, in just saying
 
So… after glassing in my v berth ( and not completing the job 🙄) I’m feeling like a pro!
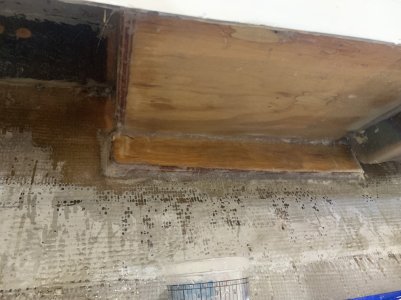
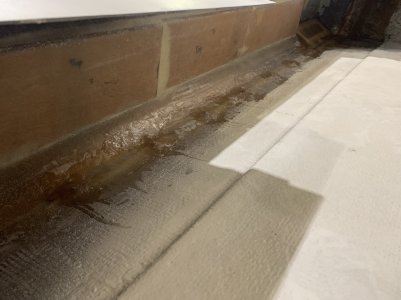
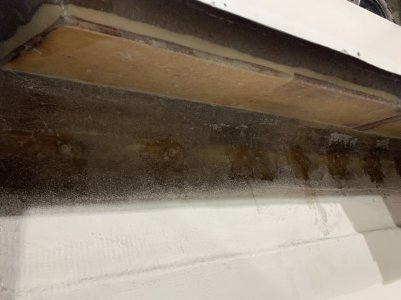
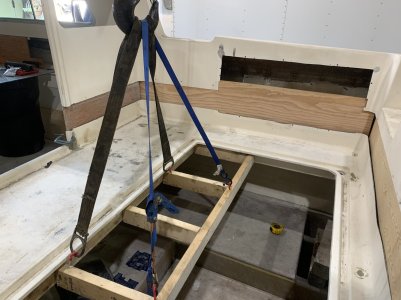
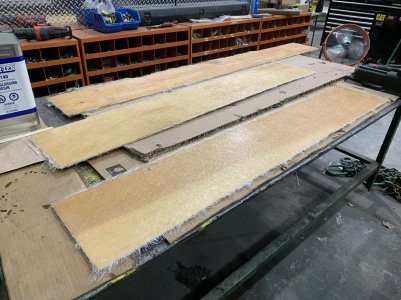
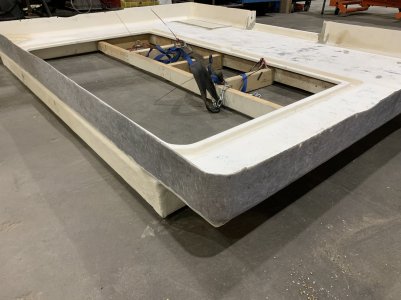
Spent yesterday making a game plan for installing the deck and came up with something that should work. Removed the deck to prep it for glassing, get all the waxed stuff off. There’s still a bit of glassing I need to complete before the deck goes on. Will have to take care of this while I still have access.
IMG_0151.jpegIMG_0150.jpegIMG_0148.jpegIMG_0147.jpeg
 
Half a step closer to tackling the deck, retighten the rub rail at the back half of the boat, sealed the caps, got half way glassing up whatever was left. I didn’t like the look of the sika around the rub rail hardware inside the cabin. This part I will seal with chopped mat and resin. IMG_0157.jpegIMG_0156.jpegIMG_0158.jpeg
 
Got rid of the sharp 90 degree corners with a cabosil mix, then glassed everything in. Sealed up the rub rail hardware with chopped mat and resin, way better looking than sika. Managed to get every nut behind the hatches, pretty happy with it.
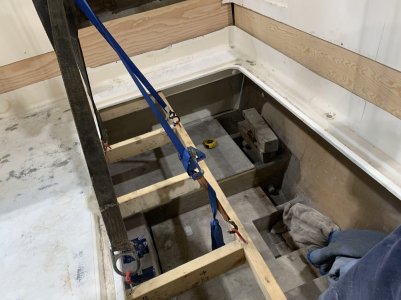
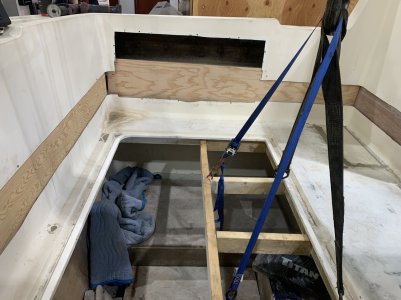
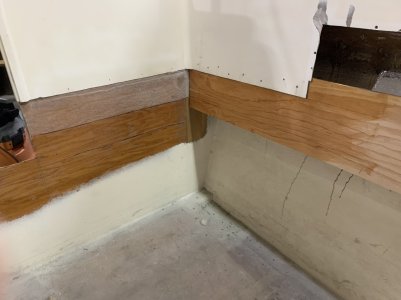
It’s time for the deck. I had to measure multiple times as I couldn’t believe the original deck height was just 20” at the highest point. I’d like it to be at least 28” but that’s quite the drop. Will have to think about the height tonight.IMG_0159.jpegIMG_0160.jpegIMG_0161.jpegIMG_0162.jpeg
 
Cut the door way down another 2”
That’s gives me about 6.5” drop.
My buddies kingfisher is 24” and is comfortable enough, 26-27” should be just fine.
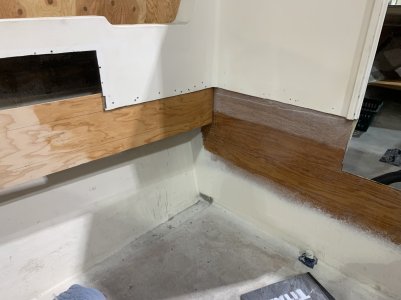
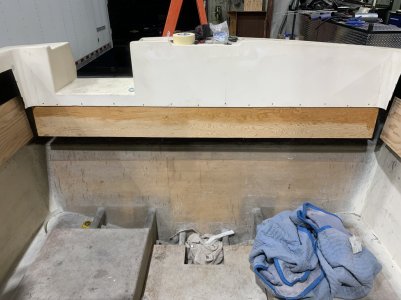
Fitted in the deck and side panels, looks good.
Removed everything again, gonna try to glass as much as possible without the deck in, starting with the back of the ply
IMG_0167.jpegIMG_0168.jpegIMG_0169.jpegIMG_0170.jpeg
 
That's a ton of work,but in the end you'll never regret doing it,should make a huge difference. Is there enough room between the dropped deck and transom to work? Lots of stuff to add and bolt on back there.
 
That's a ton of work,but in the end you'll never regret doing it,should make a huge difference. Is there enough room between the dropped deck and transom to work? Lots of stuff to add and bolt on back there.
The side hatches are huge, I can reach around a bit from there, the transom is fully accessible and I can reach up above from under the deck, maybe not to the rub rail level but enough, if not I will add a hatch.
I hope it doesn’t end up a ton of work, I think it will all depend on how I fill in the 6” all around the deck
 
If you want it to look like it came from factory when finished it will have to be flush face with existing glass.I assume the plywood you have behind it now is temporary just to hold it at the right height.You could make templates of the gap between existing and lay up outside the boat and then cut to template. Put in a couple of screws to hold them in place,bevel grind top and bottom.glass the joints.Remove the plywood supports when fiberglass cures and then fiberglass the back side.Should be seamless once you use your drywall skills filling the joint with thickened gelcoat and sand,fill,sand again. etc..
 
If you want it to look like it came from factory when finished it will have to be flush face with existing glass.I assume the plywood you have behind it now is temporary just to hold it at the right height.You could make templates of the gap between existing and lay up outside the boat and then cut to template. Put in a couple of screws to hold them in place,bevel grind top and bottom.glass the joints.Remove the plywood supports when fiberglass cures and then fiberglass the back side.Should be seamless once you use your drywall skills filling the joint with thickened gelcoat and sand,fill,sand again. etc..
The ply will be glasses in fully, sandwiched with mat to the existing part of the deck
 
If you want it to look like it came from factory when finished it will have to be flush face with existing glass.I assume the plywood you have behind it now is temporary just to hold it at the right height.You could make templates of the gap between existing and lay up outside the boat and then cut to template. Put in a couple of screws to hold them in place,bevel grind top and bottom.glass the joints.Remove the plywood supports when fiberglass cures and then fiberglass the back side.Should be seamless once you use your drywall skills filling the joint with thickened gelcoat and sand,fill,sand again. etc..
I have no drywall skills, give me a torch and sledge…
 
How's that deck level? What's the confirmed deck height from the water line?
It’s gonna take a bit of tweaking to get it leveled perfectly, there will also be 4 posts connecting the deck to the floor, at first they will be in there temporarily for support and to keep it leveled. It’s gonna be a *****
First the deck will be sandwiched to the door way leveled side to side, let it dry, then level it front to back.
Deck height to waterline is confirmed OK
I remember going over than a while back, one of the reasons I didn’t do a 8” drop
 
Back
Top