Sculpin
Well-Known Member
REAL men freeze thier butts off!!! No woosey heater pour moi! (and not much point in a soft top anyway) (sniff)
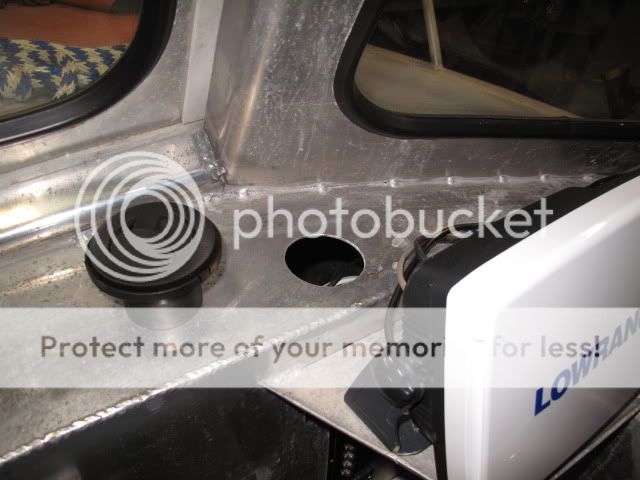
I'm pretty ok with being wimpy on this project lol.
REAL men freeze thier butts off!!! No woosey heater pour moi! (and not much point in a soft top anyway) (sniff)
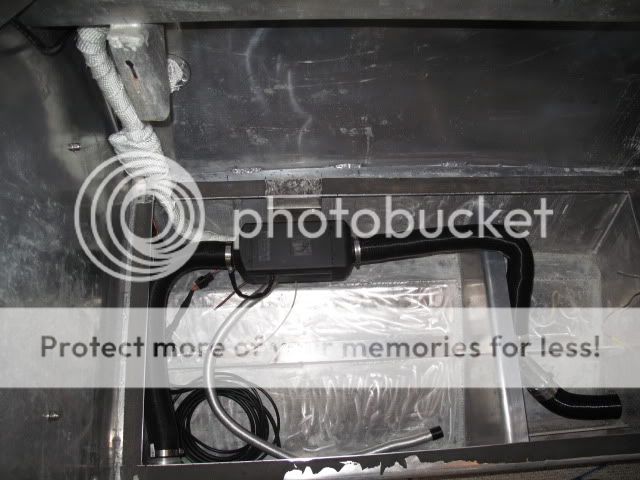
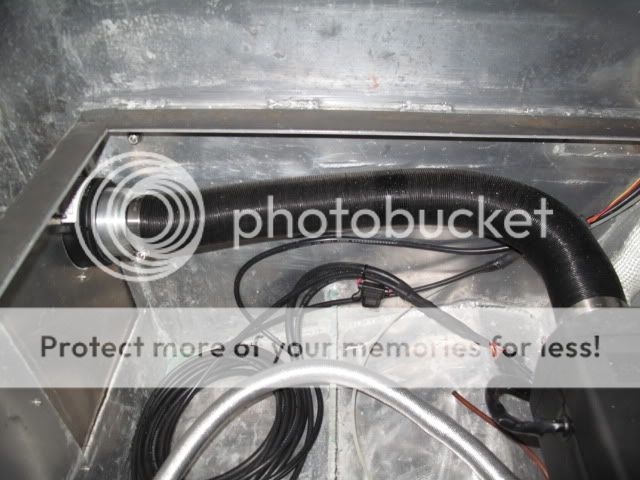
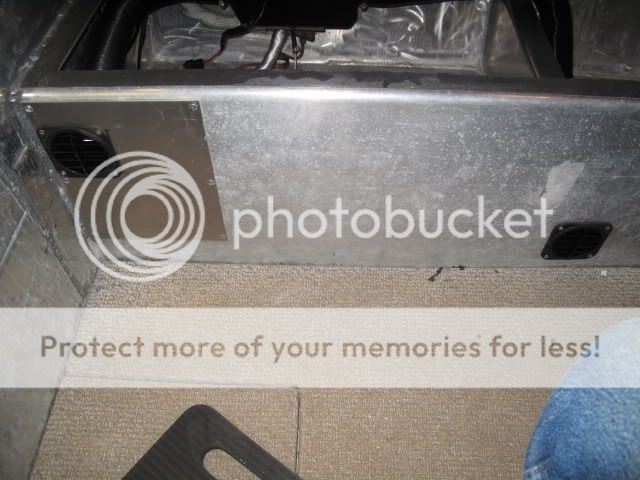
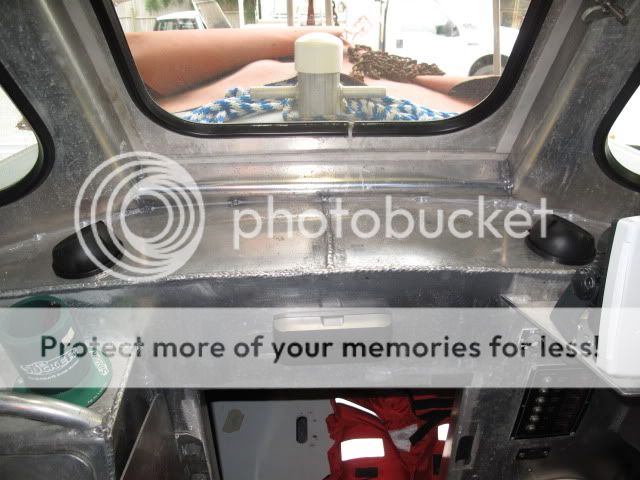
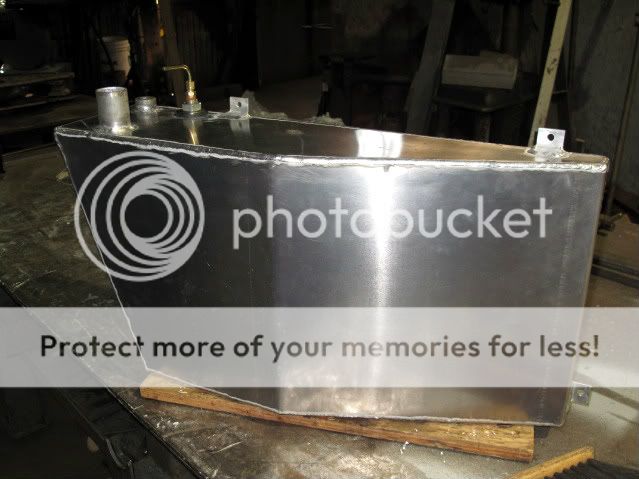
Great mod John, Sculpin is one very rigged boat....................big time envious
len
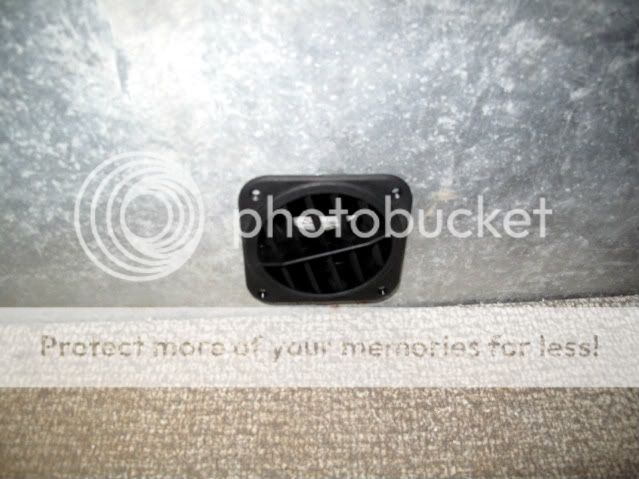
PS will have 2 run the heaterz full to get tat non-ferrous to prevent heat transfer that Aluminum is notorious 4,,,,,lol
REAL men freeze thier butts off!!! No woosey heater pour moi! (and not much point in a soft top anyway) (sniff)

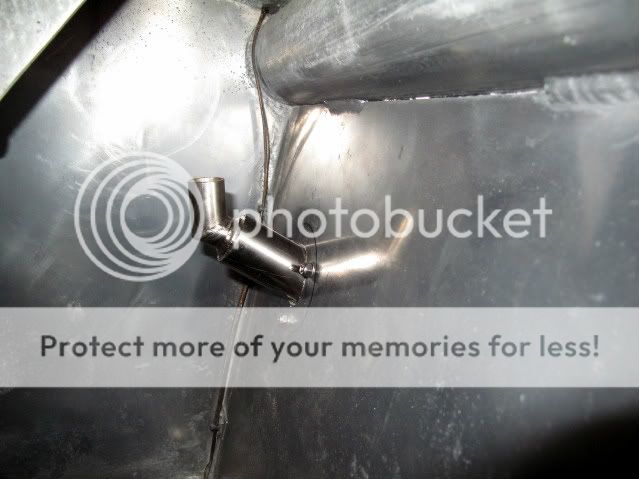
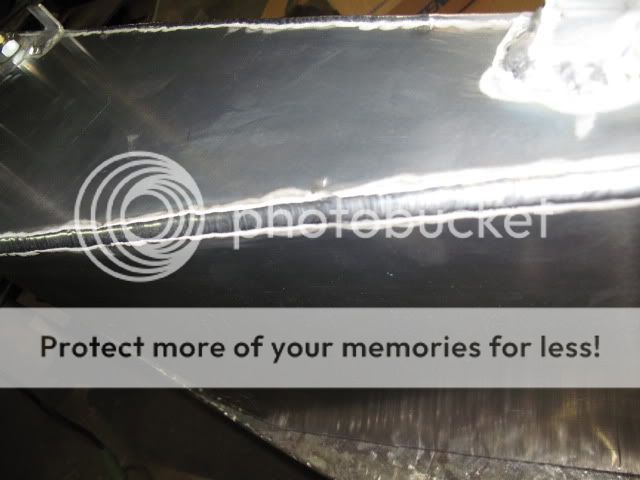

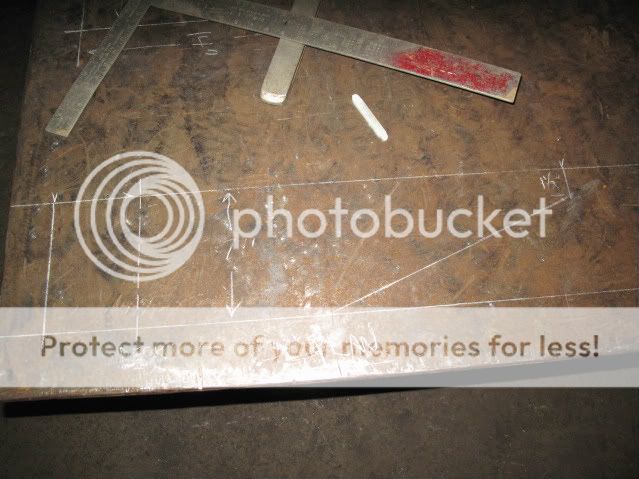
Nice tig'n John
Iz u'r welder a built in high freak machine or is it a external square wave box
nice work BRa
Kh
It's built in. It's an older Miller Syncrowave 350. Big machine with old technology. Still works great. Watercooled torch.
Great machine, had one till I had 2 sell it cuz lack of coin. 80 percent duty cycle @ max, as I recollect..........