Sculpin
Well-Known Member
What a great way to spend a rainy windy Saturday!
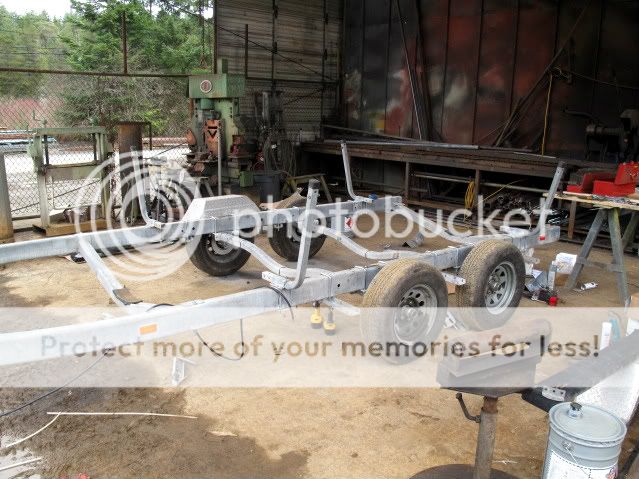
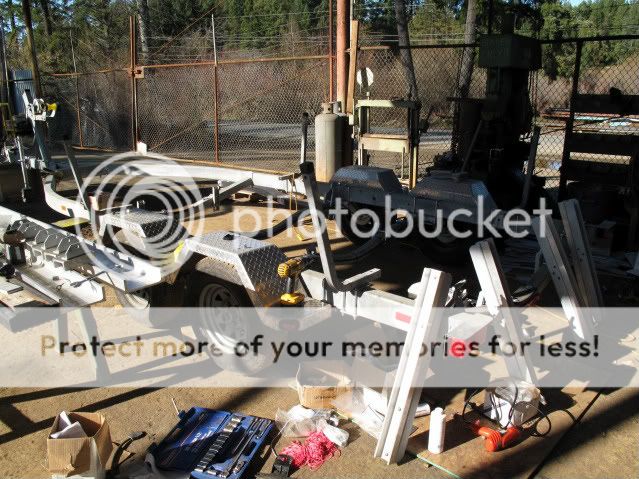
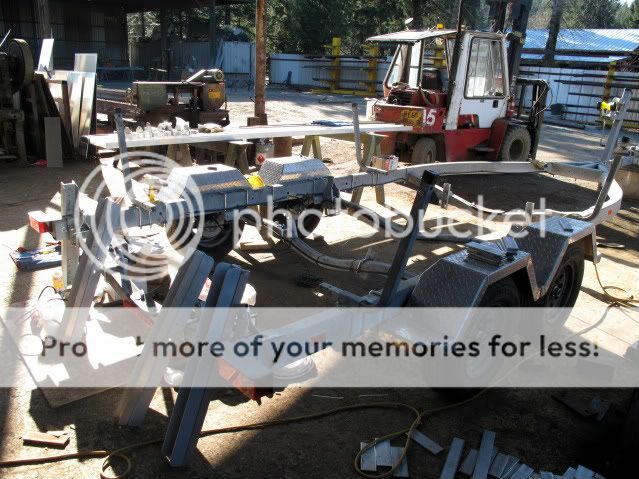
Started to get things back together now.

I taped off the spindles, wire wheeled the torque flex arms (they are cast metal), and applied a coat of dull zinc rich primer and a top coat of bright zinc rich primer to them as there was nothing on them before. I started replacing quite a few u-bolts and other bolts as well.
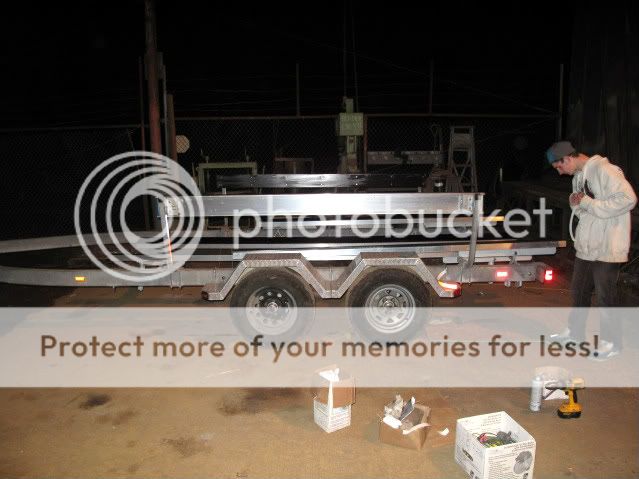
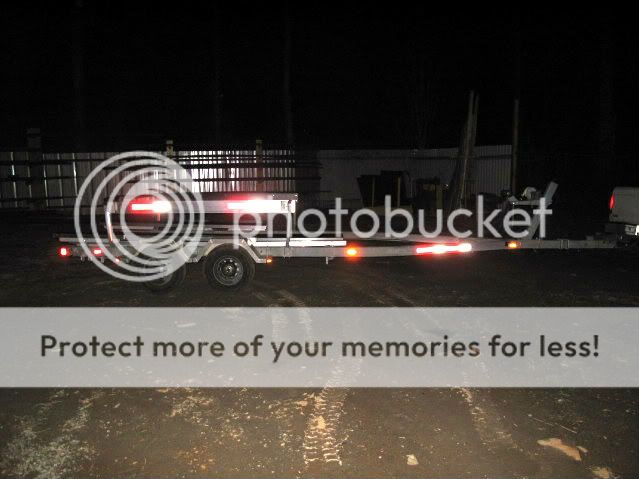
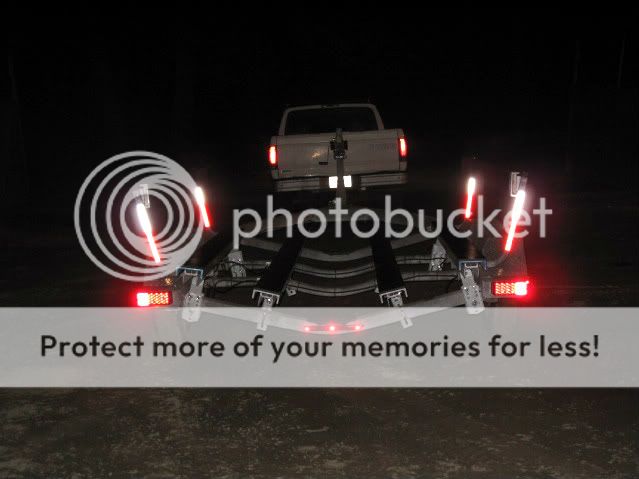
I'm going all new LED's this go around. I have been pissing around with lights a couple of times since I owned this trailer and I said screw it. LED's are like double the price but they are also kind of double sealed. Apparently they last way longer and they are way brighter!
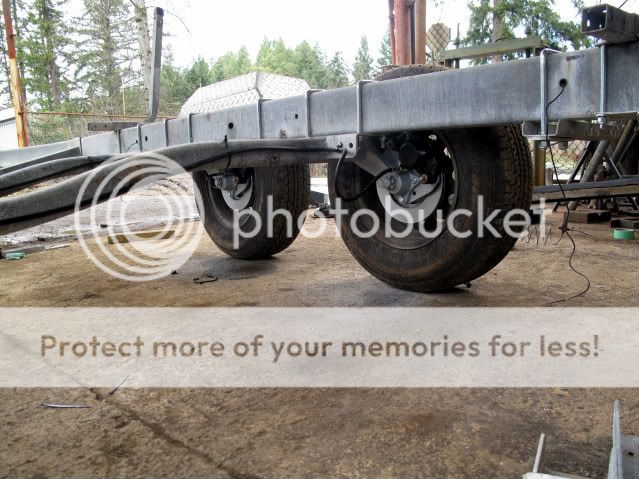
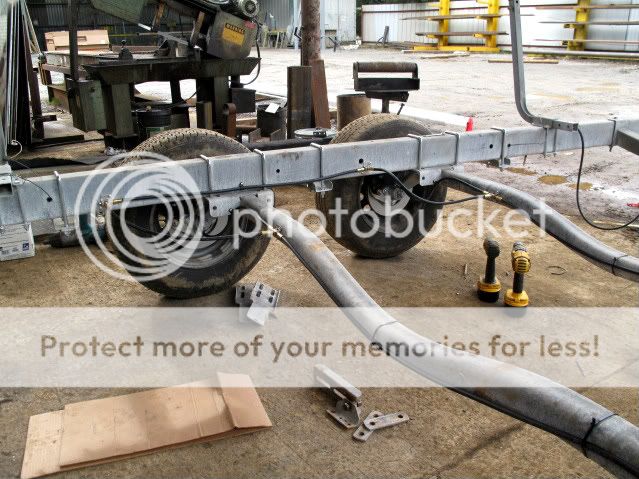
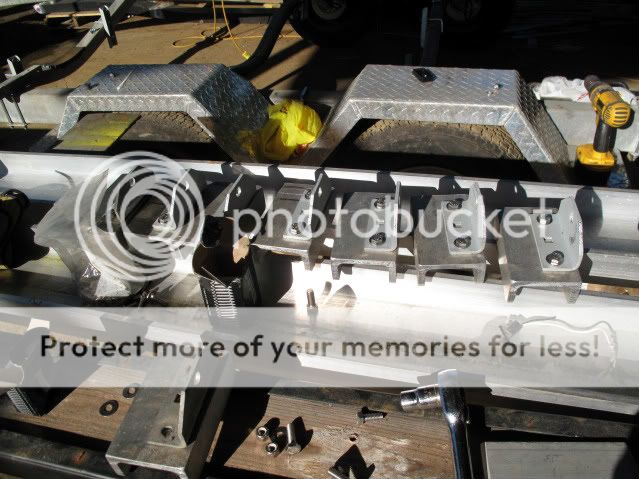
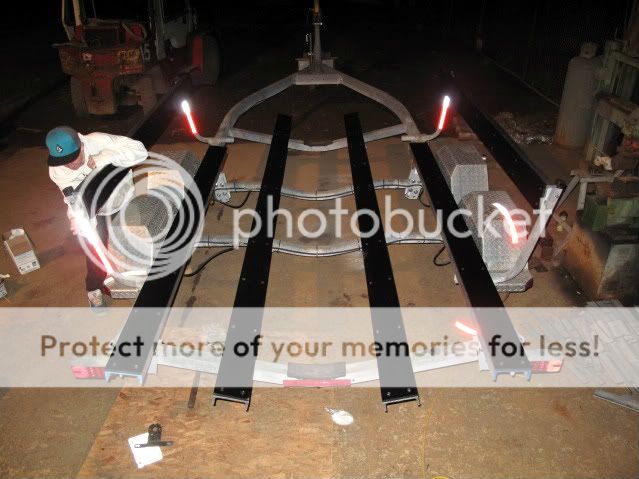
I'm into this rebuild for a bit of coin now but still way cheaper than buying a new trailer. I hope to get another 5 years at least out of her. Here is a shot of the new brake/hub assemblies, new brake line kit, and all the bolts. That's the old wiring in the shot as well.
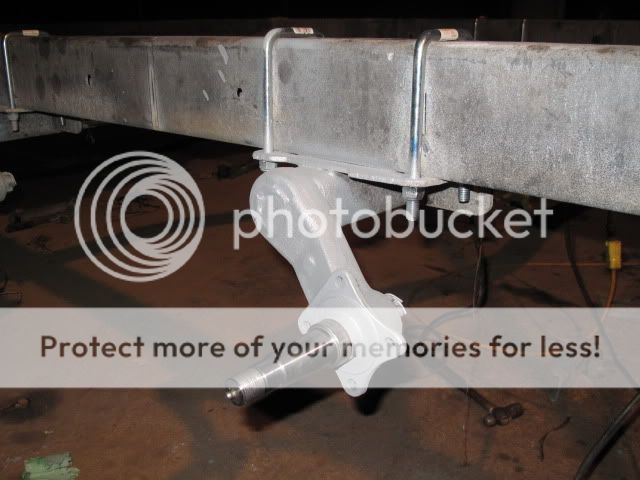
Started to get things back together now.
I taped off the spindles, wire wheeled the torque flex arms (they are cast metal), and applied a coat of dull zinc rich primer and a top coat of bright zinc rich primer to them as there was nothing on them before. I started replacing quite a few u-bolts and other bolts as well.
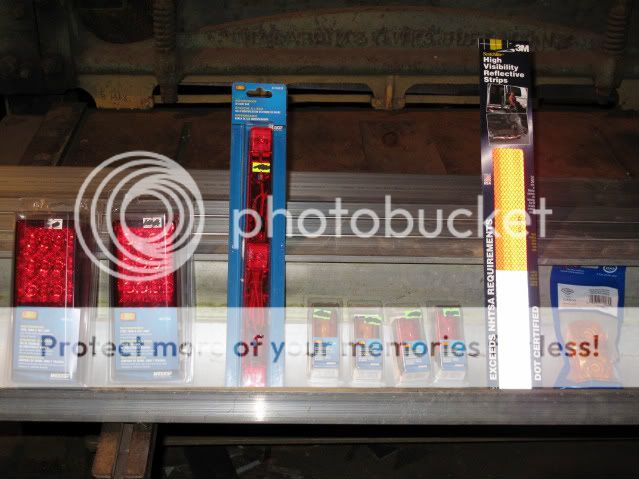
I'm going all new LED's this go around. I have been pissing around with lights a couple of times since I owned this trailer and I said screw it. LED's are like double the price but they are also kind of double sealed. Apparently they last way longer and they are way brighter!
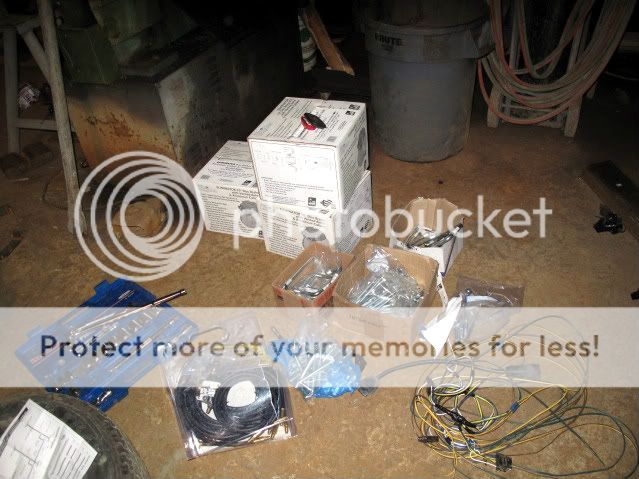
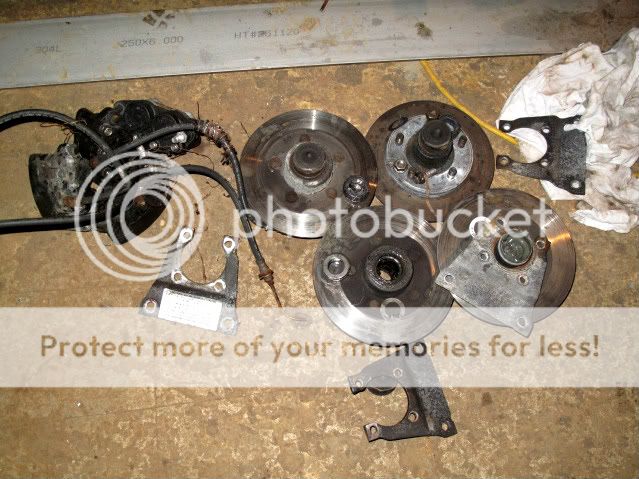
I'm into this rebuild for a bit of coin now but still way cheaper than buying a new trailer. I hope to get another 5 years at least out of her. Here is a shot of the new brake/hub assemblies, new brake line kit, and all the bolts. That's the old wiring in the shot as well.

 !
!