Down to the meat and potatoes

Yo Sculpin

Not trying to take biz away from your Honda Powerhouse guys but based on this schematic:


http://www.boats.net/parts/search/Honda/Outboard Engine/2005/BF225A5 LA /SPARK PLUG/parts.html


here's your bolt quoted on the Boats.net website


3 90057-ZY3-003
SEE PART DETAILS - SUP; BOLT, SOCKET (6X25) (Honda Code 6993836).
$3.95


If I have a onsey-twosey part like that, just to make the shipping worthwhile I'll pick up some ring-free or a set of plugs or something like that to fill out the order. Between the BF150 and the BF9.9 hanging on my stern, there's always something to add to the order


These guys are fast with the shipping and they have never messed up an order and it's nice to have the option of having parts delivered to your front door

Anyway, for what it's worth......

BTW, if you run into a wall with the drill-too-deep issue, there's a bunch of guys over here that have seen it all and will always try and help:

http://www.marineengine.com/boat-forum/forumdisplay.php?21-Honda-Outboard-Forum&order=desc

good luck!
 
Last edited by a moderator:
Oh it's worse than that man!

Give me more info & pics so that I will do my darn-dezz to assist
I remember one time I was in that similar predicament & tapped too deep
My only solution was to drill & tap a larger dia plug, about 4 sizes bigger. to receive the original size @ the correct depth

Besta luck John
 
Yo Sculpin

Not trying to take biz away from your Honda Powerhouse guys but based on this schematic:


http://www.boats.net/parts/search/Honda/Outboard Engine/2005/BF225A5 LA /SPARK PLUG/parts.html


here's your bolt quoted on the Boats.net website


3 90057-ZY3-003
SEE PART DETAILS - SUP; BOLT, SOCKET (6X25) (Honda Code 6993836).
$3.95


If I have a onsey-twosey part like that, just to make the shipping worthwhile I'll pick up some ring-free or a set of plugs or something like that to fill out the order. Between the BF150 and the BF9.9 hanging on my stern, there's always something to add to the order


These guys are fast with the shipping and they have never messed up an order and it's nice to have the option of having parts delivered to your front door

Anyway, for what it's worth......

I understand where your coming from SH but for this one and a couple of other bolts I just bent over. I will take you up on the offer in the future as I found a few other bolt's on the kicker that need replacing next year. I'll PM you in the winter month's to see what kind of order we can put together. I really appreciate the offer.

Thank you,
John
 
Yo Sculpin

Not trying to take biz away from your Honda Powerhouse guys but based on this schematic:


http://www.boats.net/parts/search/Honda/Outboard Engine/2005/BF225A5 LA /SPARK PLUG/parts.html


here's your bolt quoted on the Boats.net website


3 90057-ZY3-003
SEE PART DETAILS - SUP; BOLT, SOCKET (6X25) (Honda Code 6993836).
$3.95


If I have a onsey-twosey part like that, just to make the shipping worthwhile I'll pick up some ring-free or a set of plugs or something like that to fill out the order. Between the BF150 and the BF9.9 hanging on my stern, there's always something to add to the order


These guys are fast with the shipping and they have never messed up an order and it's nice to have the option of having parts delivered to your front door

Anyway, for what it's worth......


IMO even @ that better price I would never buy OEM bolts. They got ya by the balls @ their prices

I just measure the Dia of the bolt & gauge the pitch of thread to get the thread per in & Bingo U can get the replacement
Length must B +- 1/4 of an in. Longer being the better cuz it can B cut to size
All U have to make sure is the head being the same configuration ie flat head, countersunk, socket cap hex, ............& so on

Finding a industrial supplier that can sell small quantities is also a key

Kh
 
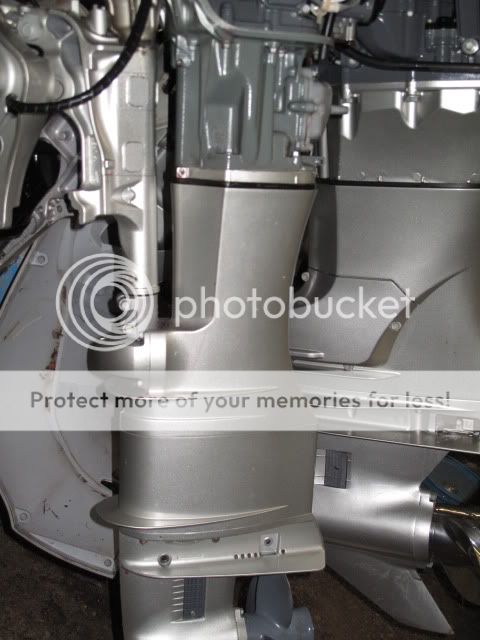
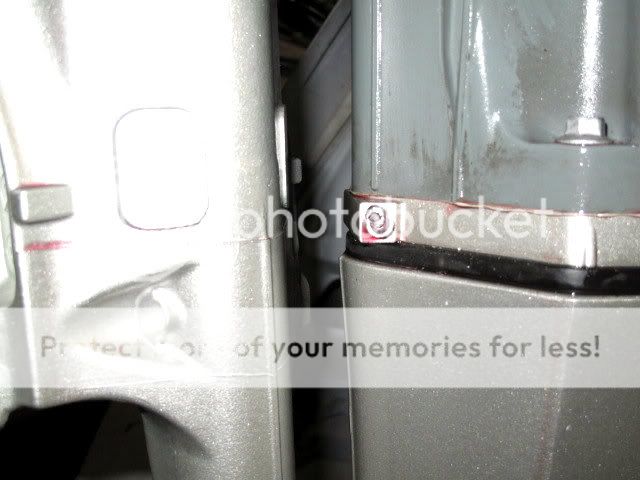
Here are a couple of photos to help explain the situation.

IMG_2475.jpg


IMG_2482.jpg


I blew through into the unknown. I might just drill through both sides and put a through bolt with marine chaulking.
 
Last edited by a moderator:
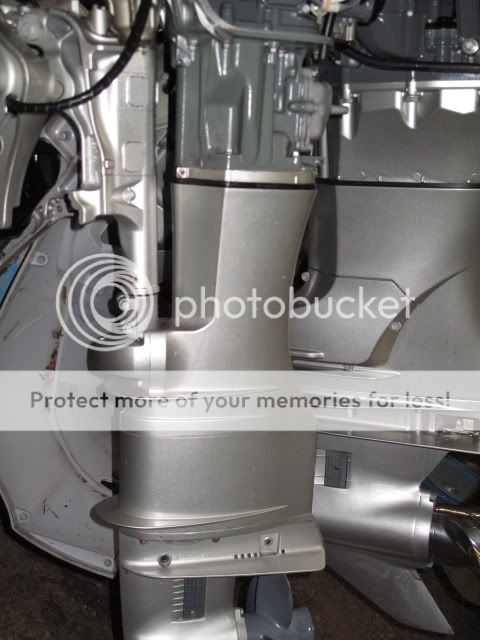
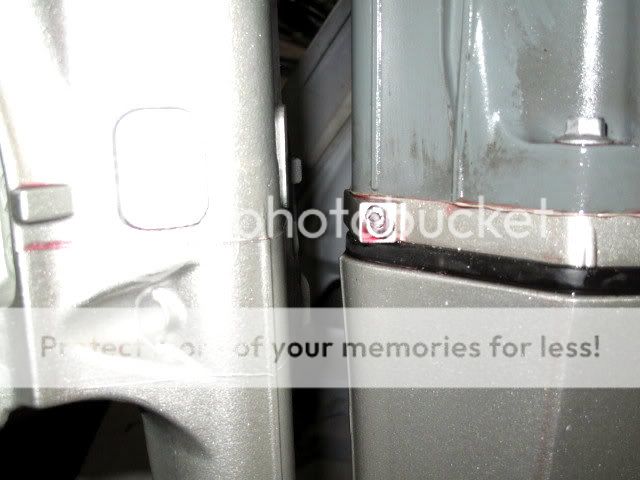
Here are a couple of photos to help explain the situation.

IMG_2475.jpg


IMG_2482.jpg


I blew through into the unknown. I might just drill through both sides and put a through bolt with marine chaulking. I don't know what to do right now except drink beer!

I'm drink'n with ya.............And hopefully we will find a solution
PS is this boo boo weeping lube, is that why U R sealing it with marine caulking??? may want to try JBweld
 
All the red stuff is that Ship to Shore stuff I sprayed on everything. I am still trying to figure out what is behind there in the upper leg to see if it matters whether or not I seal it up by drilling a through bolt system.

Going for a beer run.

Cheers,
John
 
I'm done for tonight. I am so pissed off at myself for not doing the proper maintence on this kicker and letting the bolts get jammed. Live and learn. Live and learn. Use some kind of anti seize on all your bolts folks.
 
I'm done for tonight. I am so pissed off at myself for not doing the proper maintence on this kicker and letting the bolts get jammed. Live and learn. Live and learn. Use some kind of anti seize on all your bolts folks.

Seems like U R more pissed that U missed the wobbley store bra
Cheer up, I know you will find a solution & get on to Betta Dayz ..............on slay'n finned critterz

Len
 
Yo Sculpin

It looks to me from your pics that you might have drilled into the shaft housing. I think we have the same kickers (9.9 extra-long leg , newer model?) ---here's a picture of the top end on my oil casing. From the orientation, you can see where the shaft fits (and just how much aluminum there is on the outside of the casing)

IMG_3643.jpg


Here's a schematic of the oil casing itself:

http://www.boats.net/parts/search/H...and Later/BFP9.9DK0 XRTA /OIL CASE/parts.html


My guess is it's mot a mortal wound---sounds like a JB Weld kind of deal, just to make sure you don't get any corrosion going on if you did actually drill through the wall of the shaft housing.

If you want an expert opinion, put your pictures on the site I mentioned in an earlier post:

http://www.marineengine.com/boat-forum/forumdisplay.php?21-Honda-Outboard-Forum&order=desc

Between Hondadude, chawk_man and racerone (all very knowledgeable Honda guys) you'll get a diagnosis and a suggestion on how to get her buttoned back up---they are always ready to help

If you had drilled into the oil case itself, I'd FED-Ex you a bottle of whiskey with instructions on how to use it to numb the pain and suffering of having to reach for your wallet....

Sort of the same pain and suffering I went through when I had to pull the power head of my 9.9 with approx. 20 hours of run-time on her.....

Good Luck
 
Last edited by a moderator:
Thanks SH for all the info.

Here is the diagram of the cover. Mines an 05' model. It is the number ten machine screw at the very bottom of the diagram. The opposite side is stuck in there but I haven't drilled it out yet.

http://www.boats.net/parts/search/Honda/Outboard%20Engine/2005/BFP9.9D5%20XRTA%20/ENGINE%20COVER/parts.html

This is where they mount to.

http://www.boats.net/parts/search/H...5 XRTA /GEAR CASE + EXTENSION CASE/parts.html

It that little rectangular looking block at the top of the upper gear case.
 
Well my buddy came over and he managed to drill and tap each side successfully. We then cut short ss studs and used some lock tight to keep them in there just like KH said. A stainless lock washer and nut and she looks great! I love it when things work out in the end. Just tidying her up and heading out for some sea trials finally. What a beauty day out there.

Cheers,
Sculpin
 
Last edited by a moderator:
Glad that all worked out for you, Sculpin.

I just spent the morning trying to remove four severely rusted brake calipers from four severely rusted rotors....wish that exercise had worked out in the end like your drill and tap deal did....

I'm not sure there's a tool that exists that will properly clear the leaf springs, get a good set in the hex heads of the bolts holding the calipers to the trailer frame, and give a guy enough leverage while he's lying on his back to break them loose...

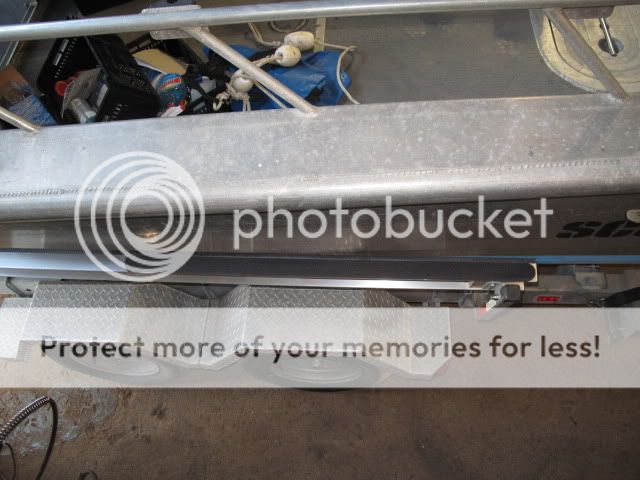
I take it your doing it with the boat on the trailer? Would it help to take the fenders off? I had the the liberty of no boat on and took the fenders off and was able to do everything from above. It was a lot easier.
 
I couldn't make up the West Coast this weekend:(. Too much business and personal stuff to look after and I am not quite done with the Sculpin. I am trying to get caught up on all the projects for folks on the side lines so I can get out fishing for myself. Well I decided to work on my gal today seeing as it was sunny out. I will get at the other ones tomorrow and Monday.

I noticed a problem with the way the top two bolts were holding on a 600 lb engine so I thought I would deal with that first.

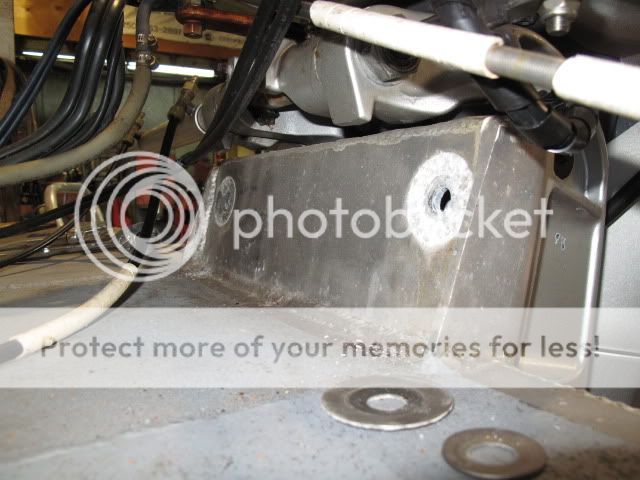
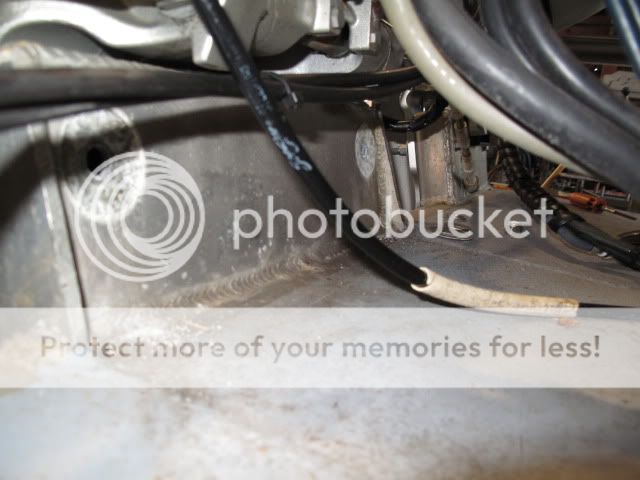
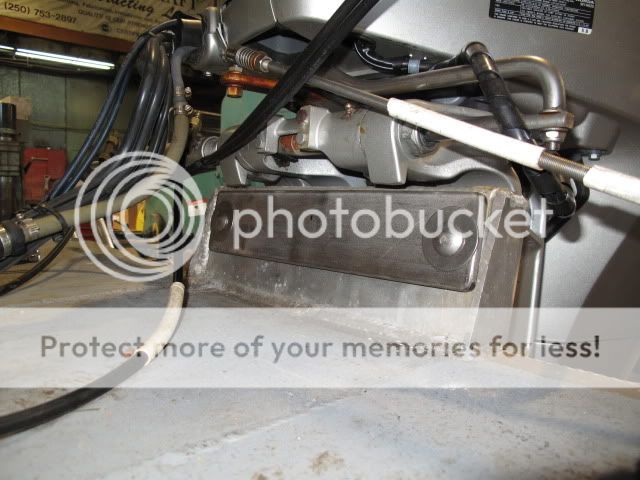
The existing bolts were held on with a large fender washer that was "sinking" into the mount. There is no cracking of the welds in the immediate area so I made up a 3/8" x 3" flat bar to span the mounting area and rebolt it. I had a hard time finding 1/2" by 4 1/2" bolts on a Saturday so I went with 1/2" x 5" carriage bolts from the HC here in Nanaimo. I cut off 1/2 an inch so there wouldn't be too much sticking out. The beauty of the carriage bolt's is they are threaded the full length of the bolt.

I happen to have equipment able to drill a square hole lol so this worked out great in the end.

Here is the before after the bolts were removed.

IMG_2499.jpg


IMG_2498.jpg


Here is the new ss flat bar installed with the carriage bolts. The square hole held them in place nicely.

IMG_2503.jpg
 
Last edited by a moderator:
We have a hydraulic punch that punches holes in metal. We have lot's of square punches on hand (just for those that where wondering about drilling a square hole thing lol).

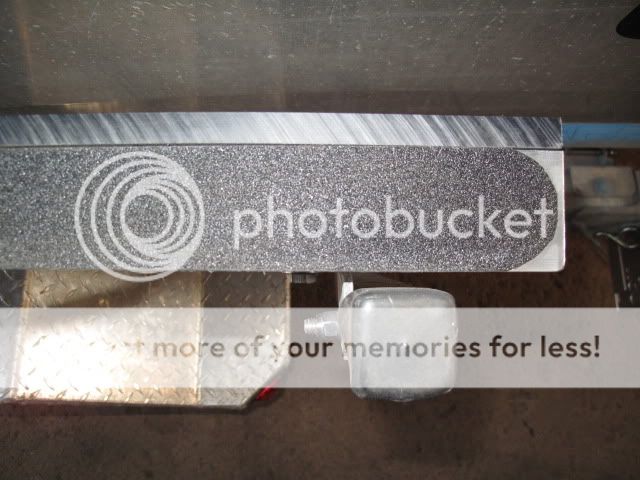
I slipped already last Saturday on the new side guide channels so I installed anti slip grip tape to them as well.

IMG_2506.jpg


IMG_2505.jpg


This should help out nicely when climbing in and out of the boat.

I am re-mounting the oar's and boat hook and trying to deal with a mounting system for harpoons and gaff's. I want to do some stuff with the rocket launcher rod holders as well. I need at least two more. I don't like the existing angle of the ones that are on there now so I may cut them off and change them. I don't want to rush things this year and I want to get it all right. I am still earlier compared to last year so I think I will be ok lol.
 
Last edited by a moderator:
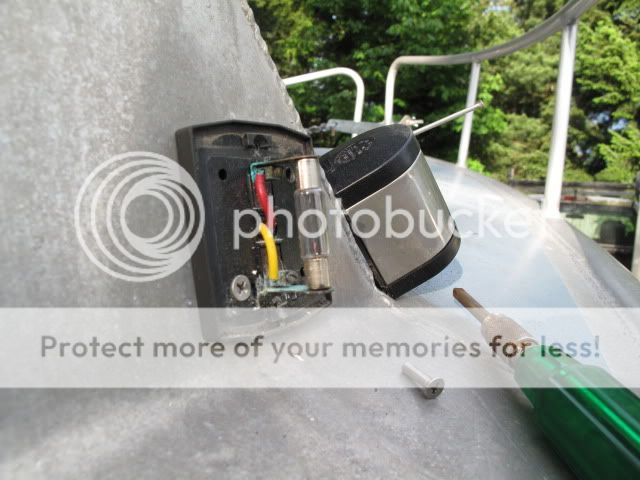
More out with the old..........

IMG_2508.jpg


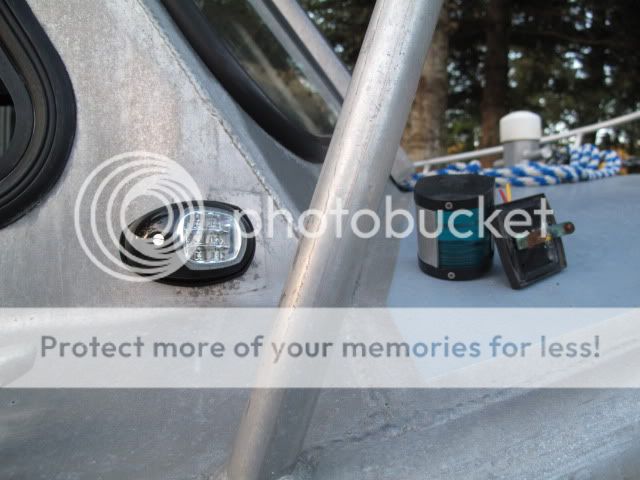
and in with the new..........

IMG_2519.jpg


IMG_2520.jpg


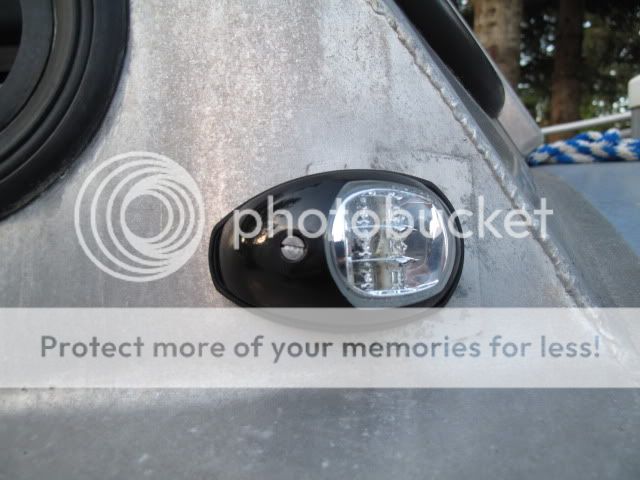
These new LED's sure kick azz. They are way brighter than the old units.

IMG_2533.jpg


I am almost totally LED now for lights on this vessel. I am trying to cut down my draw of power as much as I can because of all the new stuff installed. Every little bit helps. The new LED's are quite expensive but they are like double sealed and last way longer.

Cheers,
John
 
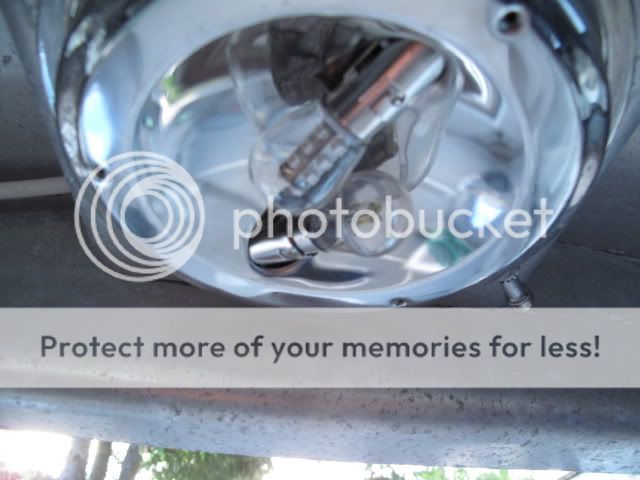
I replaced my interior cabin light bulb's as well.

IMG_2527.jpg


IMG_2529.jpg


I have my anchor light and the new halogen deck lights I installed last year to replace still. This change out will be interesting to see how much power I save (or retain lol). Like I said every little bit helps. The LED'S draw next to nothing compared to conventional bulbs. One of the big ones will be those halogen deck lights.

Cheers,
John
 
Are you gonna go fishing some day? The season has started, if you hadn't heard.

Bwahaha!
 
Are you gonna go fishing some day? The season has started, if you hadn't heard.

Bwahaha!

Yeah I'm hoping to go fishing tomorrow buddy. I know I know. Still earlier than last year :eek:. Spent 4 hours today with first mate Jake getting her all outfitted with everything put away under the seats. Washing windows, Armour Alling everything, downriggers mounted, safety equipment check, and testing stuff. Should be a fun run down tomorrow. Hope it's snotty out there so we can do the full test. Might sneek out during the week as well on one last test so I can finally tow her out West buddy.

I know you have been killing em and I hope to get in on the action soon. Getting older and wiser now so no rushing ***** LOL!
 
Back
Top