DanJ
Well-Known Member
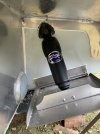
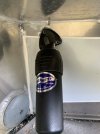
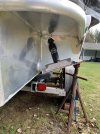
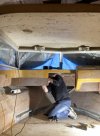
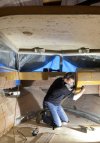
Worked on getting to trim tabs fitted. I was able to notch out the aluminum with my multi tool using the nail cutting blade. Went through the aluminum like nothing. The actuator now sits nicely in it’s a little notch.
How much was the Bennet electric tabsTrim tabs are in. Went with the Bennett Electric with the auto up/down feature.
About $1150How much was the Bennet electric tabs
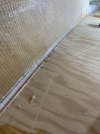
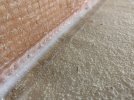
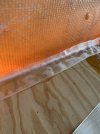
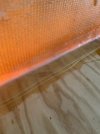
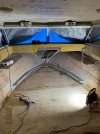
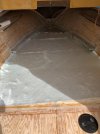
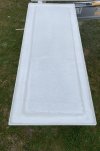
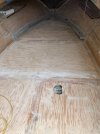
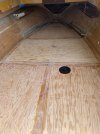
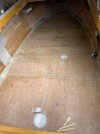
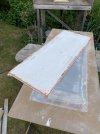
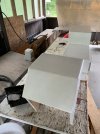
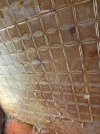
Messing with boats is fun…. But nothing more important than your health. Glad your on the rite track and can get back at it. CheersAfter a few months of battling an autoimmune disorder and dealing with more pain than any human should have to endure I found a Dr who took the time and has me on the track to recovery. I wasted no time getting back to the job at hand. I have to say I truly missed my boat. I enjoy every minute I work on it. Today was nothing exciting just some sanding to make the fillets nice and round. I used my 1/2 inch belt sander to get the job done. Then put down two layers of woven roving cloth. When the 1708 goes down on the floor I will overlap it about 3 inches up the sides of the hull. Should be plenty strong
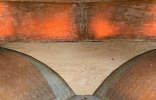
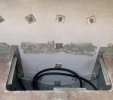
After a few months of battling an autoimmune disorder and dealing with more pain than any human should have to endure I found a Dr who took the time and has me on the track to recovery. I wasted no time getting back to the job at hand. I have to say I truly missed my boat. I enjoy every minute I work on it. Today was nothing exciting just some sanding to make the fillets nice and round. I used my 1/2 inch belt sander to get the job done. Then put down two layers of woven roving cloth. When the 1708 goes down on the floor I will overlap it about 3 inches up the sides of the hull. Should be plenty strong


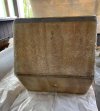

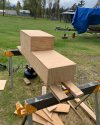

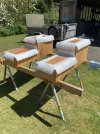

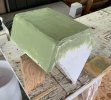
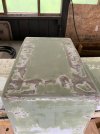

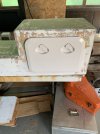
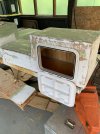
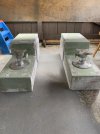
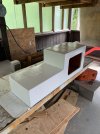
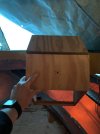
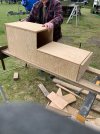
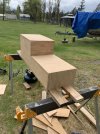
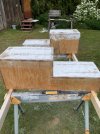
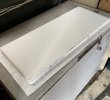
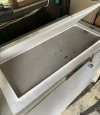
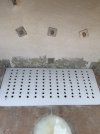
Looking good, what material did use for the bilge grate ?Working on the anchor locker bulkhead and a cover for the bilge area. Had some issues with Gel Coat not curing properly on the seat boxes so scrapped and sanded it off and will start again. Also for anyone that looks at the washers and it Irritates them to no end that they’re not straight not to worry I will be getting to that soon.
Starboard. Found a good sized piece at Industrial Plastic and Paint.Looking good, what material did use for the bilge grate ?
Might be an obvious question, but is your gelcoat waxed? Unwaxed poly resin or gel will forever be tacky to the touch, until it’s gone over with waxed product or PVA. Also gelcoat needs to go on fairly thick to actually kick off and set up properly. Temp and catalyst plays a roll too as I’m sure you know. I’ve found out the hard way myself more than once HAWorking on the anchor locker bulkhead and a cover for the bilge area. Had some issues with Gel Coat not curing properly on the seat boxes so scrapped and sanded it off and will start again. Also for anyone that looks at the washers and it Irritates them to no end that they’re not straight not to worry I will be getting to that soon.