the force
Crew Member
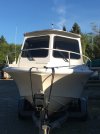
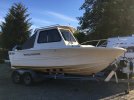
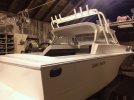
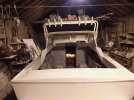
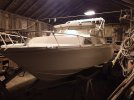
Enjoying the updates and pics, keep up the good work!Painting has begun, and the roof is complete. Lighting isn't the greatest but I can update later!
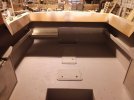
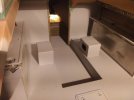
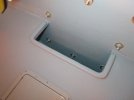
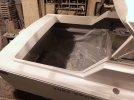
Some side storage cubby's on the aft gunnels have been mocked up. They will be glassed and tied in and gel coated when the boat is at that stage! I wanted this as It will add storage and strength to the hull.
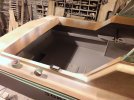
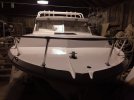
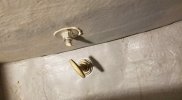
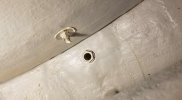
The remaining orange will be painted once the remaining holes are glassed up. May be done by the end of the week.