Well I’ve probably prepared my boat more for this season than any other before. The last month has been filled with upgrades, as last season when I bought the boat right at the start of summer I didn’t have time to do any of this.
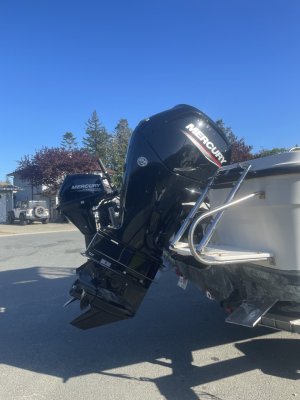
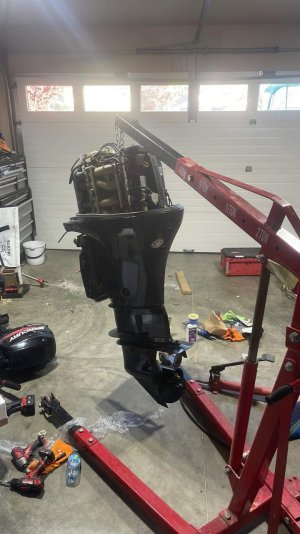
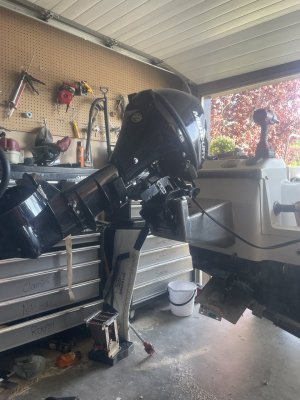
- Started with a full overhaul on the engine, doing everything short of rebuilding it
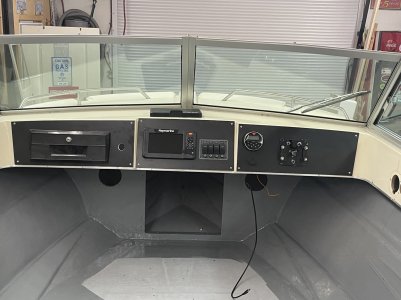
- Fixed the autopilot
- Ripped out a bunch of rotten teak laminate
- Painted marine ply to redo the damaged cabinets (just as a stopgap until next fall where I’m going to redesign the interior a little)
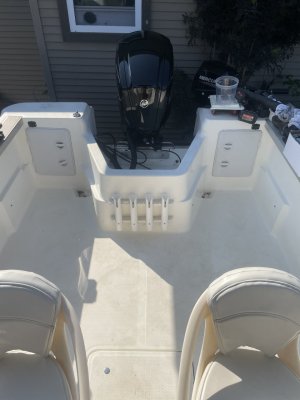
- Cleaned and organized the whole boat, just throwing away so much useless stuff that the previous owner had stashed away in all the compartments
- Removed fading pinstripes from the transom and cabin
- Got the super chalky gel coat cut and polished
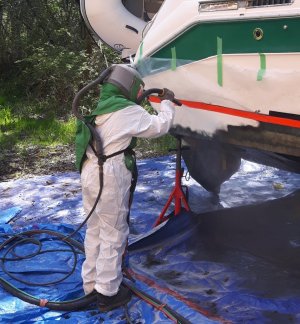
- New bottom paint all over
- Sanded and oiled almost every bit of teak in the boat, still have to do the rear bench supports
- I am currently having the rear bench seat reupholstered and a new slope back canvas with a rear window made up
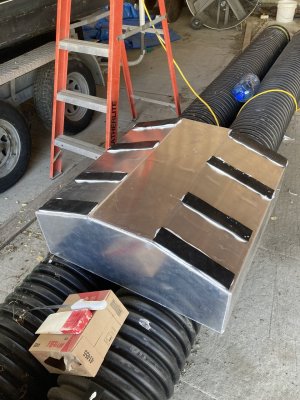
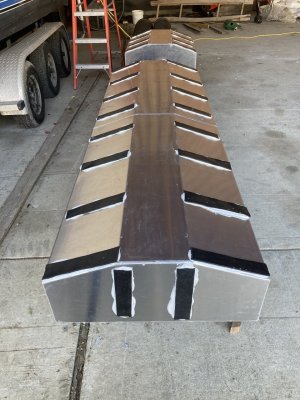
- Electric Bennett tabs go on next week
Probably a bunch more stuff that I’m forgetting but I’m super happy with how it’s looking and feeling confident about less annoying issues this year (knock on teak).
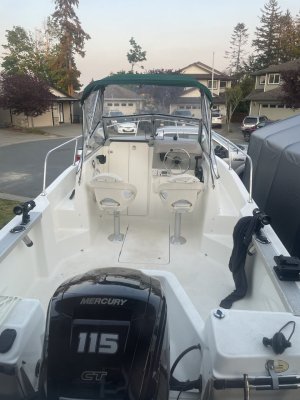
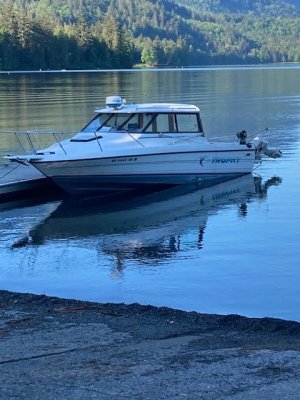
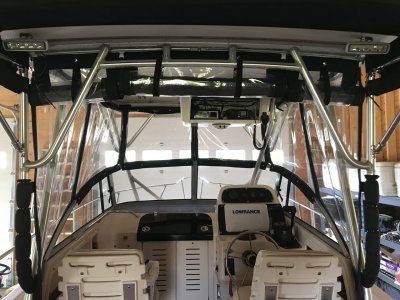
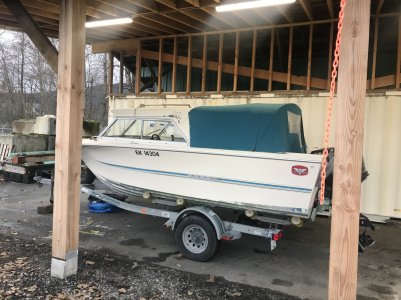
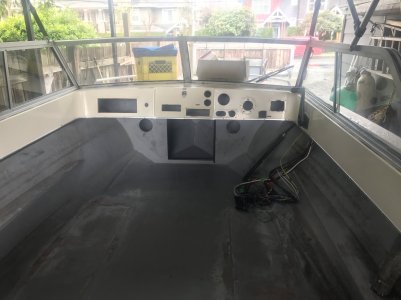
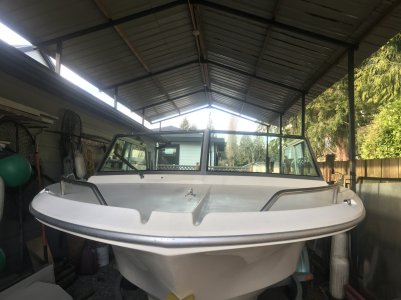
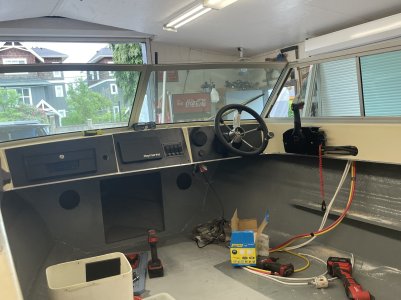
Before:

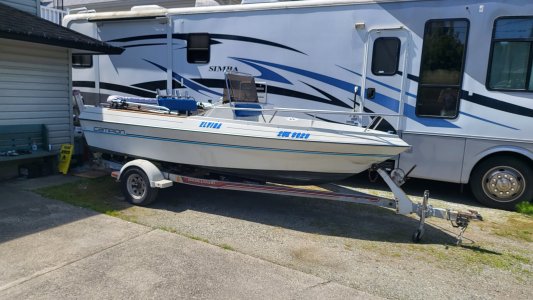
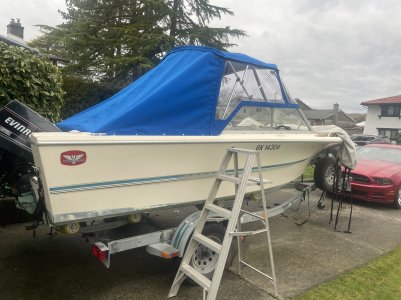
After: