Fritz
Active Member
Hello any and all Hourston folks,
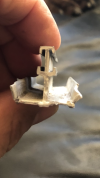
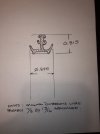
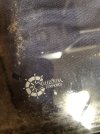
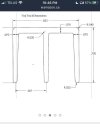
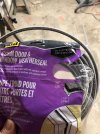
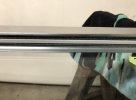
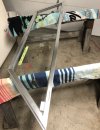
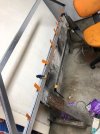
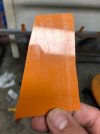
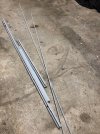
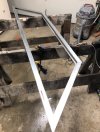
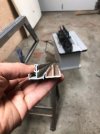
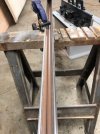
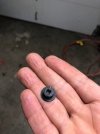
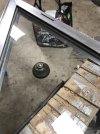
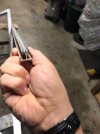
I am on the hunt for side window track and will include photos and measurements of what I am after. These seem to have been heavily damaged by the previous owner with a flat blade screw driver, most likely when the window jammed . How the glass survived I have no idea. These window frames do not appear to have been built by Taylormade but Caweroy? The felt for the tracks is standard storm door weatherstripping. I have sent emails to both Taylormade and AJR in Vancouver.
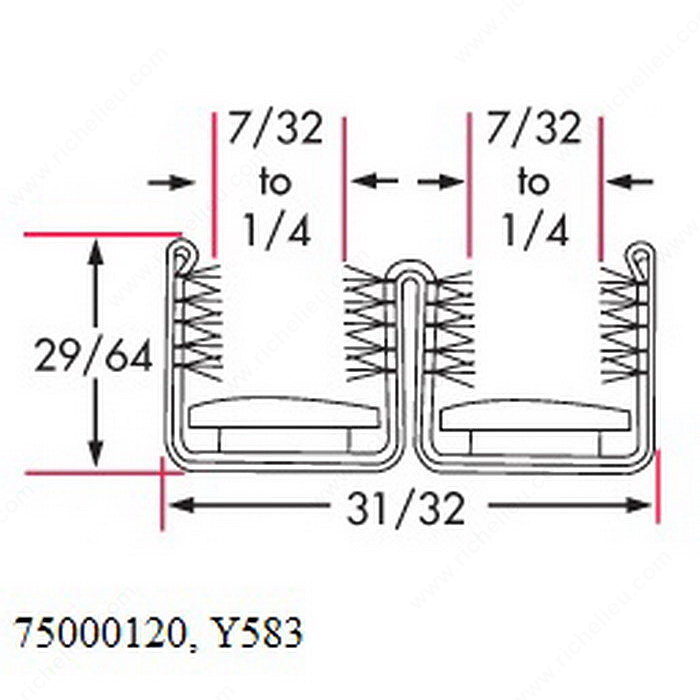
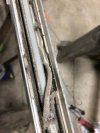
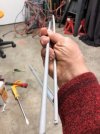
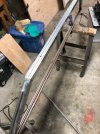
Oh! The grey plastic tracks are approximately 6 feet in length.
Any guidance or information would be much appreciated.
Kudos,
Fritz
I am on the hunt for side window track and will include photos and measurements of what I am after. These seem to have been heavily damaged by the previous owner with a flat blade screw driver, most likely when the window jammed
. How the glass survived I have no idea. These window frames do not appear to have been built by Taylormade but Caweroy? The felt for the tracks is standard storm door weatherstripping. I have sent emails to both Taylormade and AJR in Vancouver.Oh! The grey plastic tracks are approximately 6 feet in length.
Any guidance or information would be much appreciated.
Kudos,
Fritz