Okay,
I believe the exterior convex crown you are referring to is more than likely original. My Hourston had a bubble butt (so to speak).
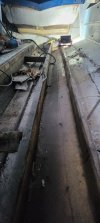
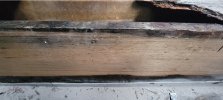
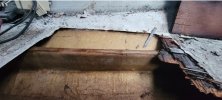
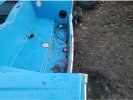
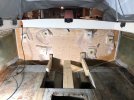
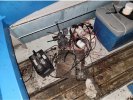
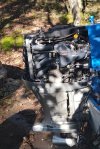
This is only a recommendation as I'm not completely sure if your plan includes replacing the transom. Do it from the inside! Way more of a pain in the butt but less likely to wrack your hull (even though the chances are slim they do exist). I used internal shoring off the structure inside to hold the shape. I rebuilt my boat in stages: transom first, followed by Hourston's ridiculous keelson, inboard stringers then outboard stringers. Take lots of photos. Make a map of your floor. Make a map of anything you tear apart. I levelled my hull on jacks using a spirit level and ran a few snap lines and wrote down a whole pile of measurements and threw nothing out, that was cut out until the floor went back in.
I know..........ANAL!
But my boat rides great. And It's as straight as when it left the factory.
However I think you will also find out production boat hulls aren't that perfect either, but you can inadvertently put a rocker or hook in the hull and really F things up especially when you are fiddling close to the transom.
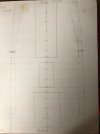
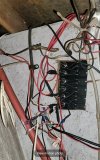
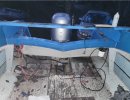
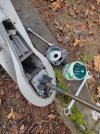
The pics below show the shoring and wedges I used to hold pressure on the plywood before it was glassed. Also my floor map is overboard and was done in a 1:10 scale so you can actually loft off the drawing using an engineers tape measure in tenths.
Again, you can do whatever you wish as long as it works. And have fun.


")