wolf
Well-Known Member
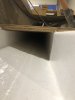
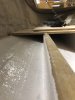
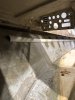
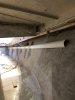
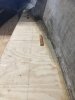
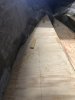
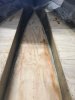
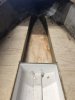
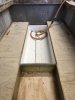
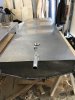
Make sure all that is sealed on the wood IMO kinda of the wrong spot as you want it as low as you can so water can drain out lots of area where water can hold inside (and you will get it in there ) and just a FYI resin the underside of your wood for the deck as any wood has to be sealed up ive seen people do what you have done only later have to redo down the road as its rotted from the underside up . or to solve it just use fiberbglass board yes its picey but wood and resin and time its kinda a no brainer
") . No sense to always be learning and not teaching/sharing...
. No sense to always be learning and not teaching/sharing...