Highliner
Well-Known Member
I say it in jest!Ambitious yes, crazy not so much...
I say it in jest!Ambitious yes, crazy not so much...
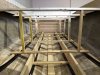
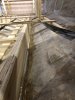
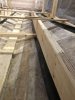
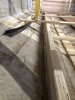
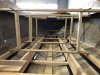
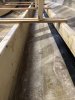
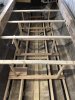
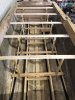
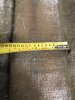
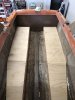
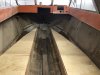
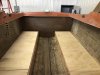
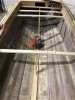
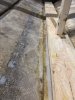
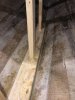
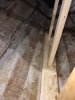
YOU are not even close to being finished ....LOL you have probably at least another 200 hours on it yet if not moreTransom is finished in 26'er,
I don’t think he suggested he was finished anything other than transom. Probably better to encourage him rather than remind him how much work he has ahead of him. I suspect he knows.YOU are not even close to being finished ....LOL you have probably at least another 200 hours on it yet if not more
I agree with the Mad Jigga. Having 2 gives you lots of viewing options.hey gents, i am looking for some advise.... I think I have enough room for 2 Simrad evo3 7" in the dash or one 9" for sure, what ya all think I should do? 2 x 7" or 1 x 9"? thx
Also, what should I be looking at for transducers? I was thinking a 2 transducers a 3 in 1 and a p66, was thinking "in-hull" mounted transducers.
M260 http://www.airmar.com/productdescription.html?id=38