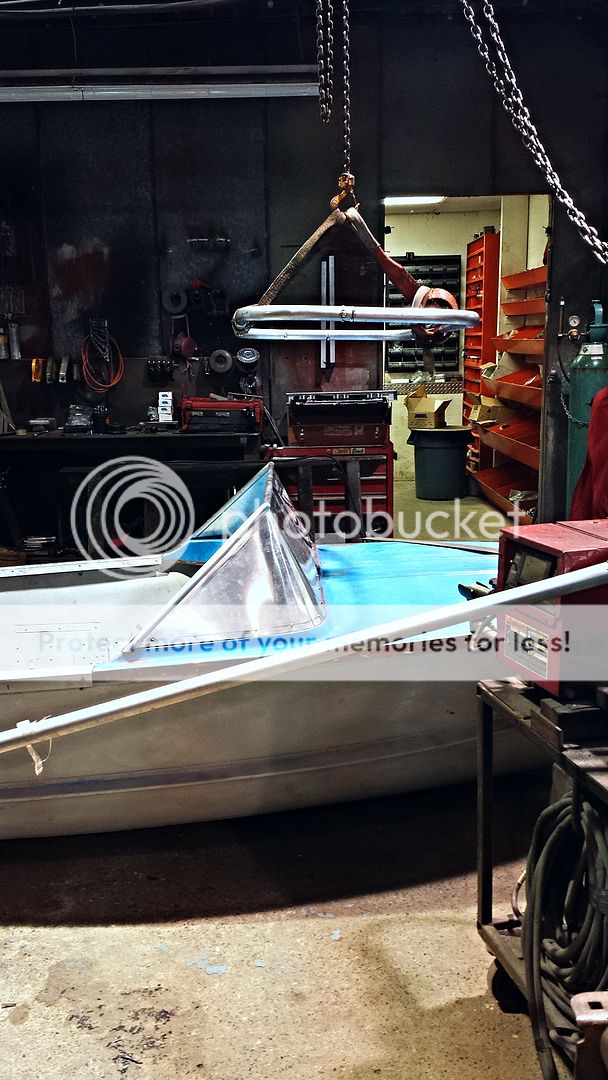
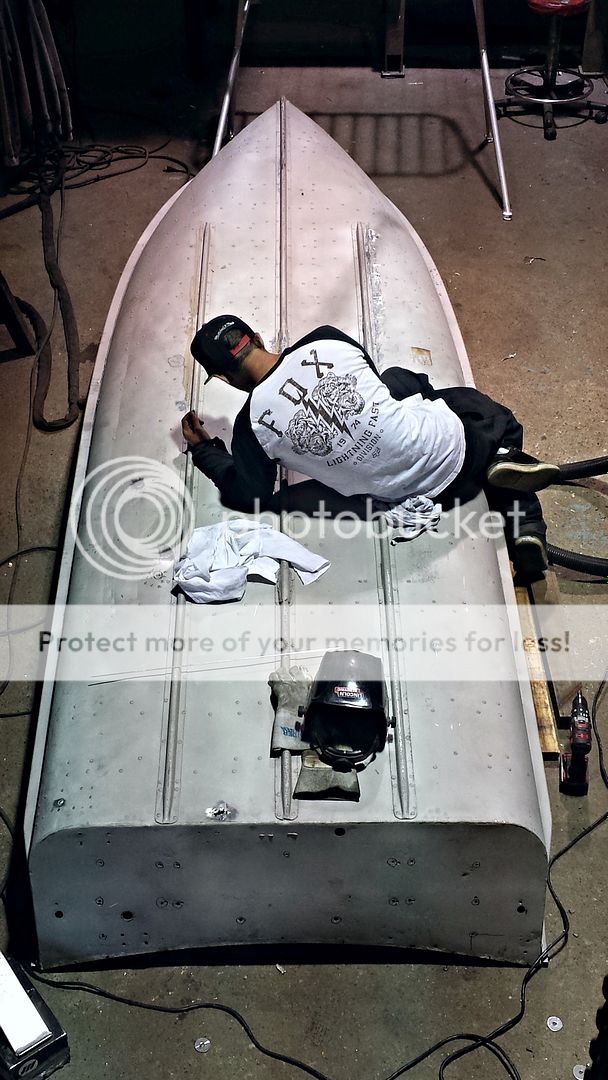
My sons first boat.

Hey Sculpin, forgive my ignorance.. Is the reason for the seam at the bottom of the windscreen because it makes it easier to scribe a thin section to the shape of the boat and then attach the level bottom of the windscreen to the scribed piece?
The new arch design looks cool.

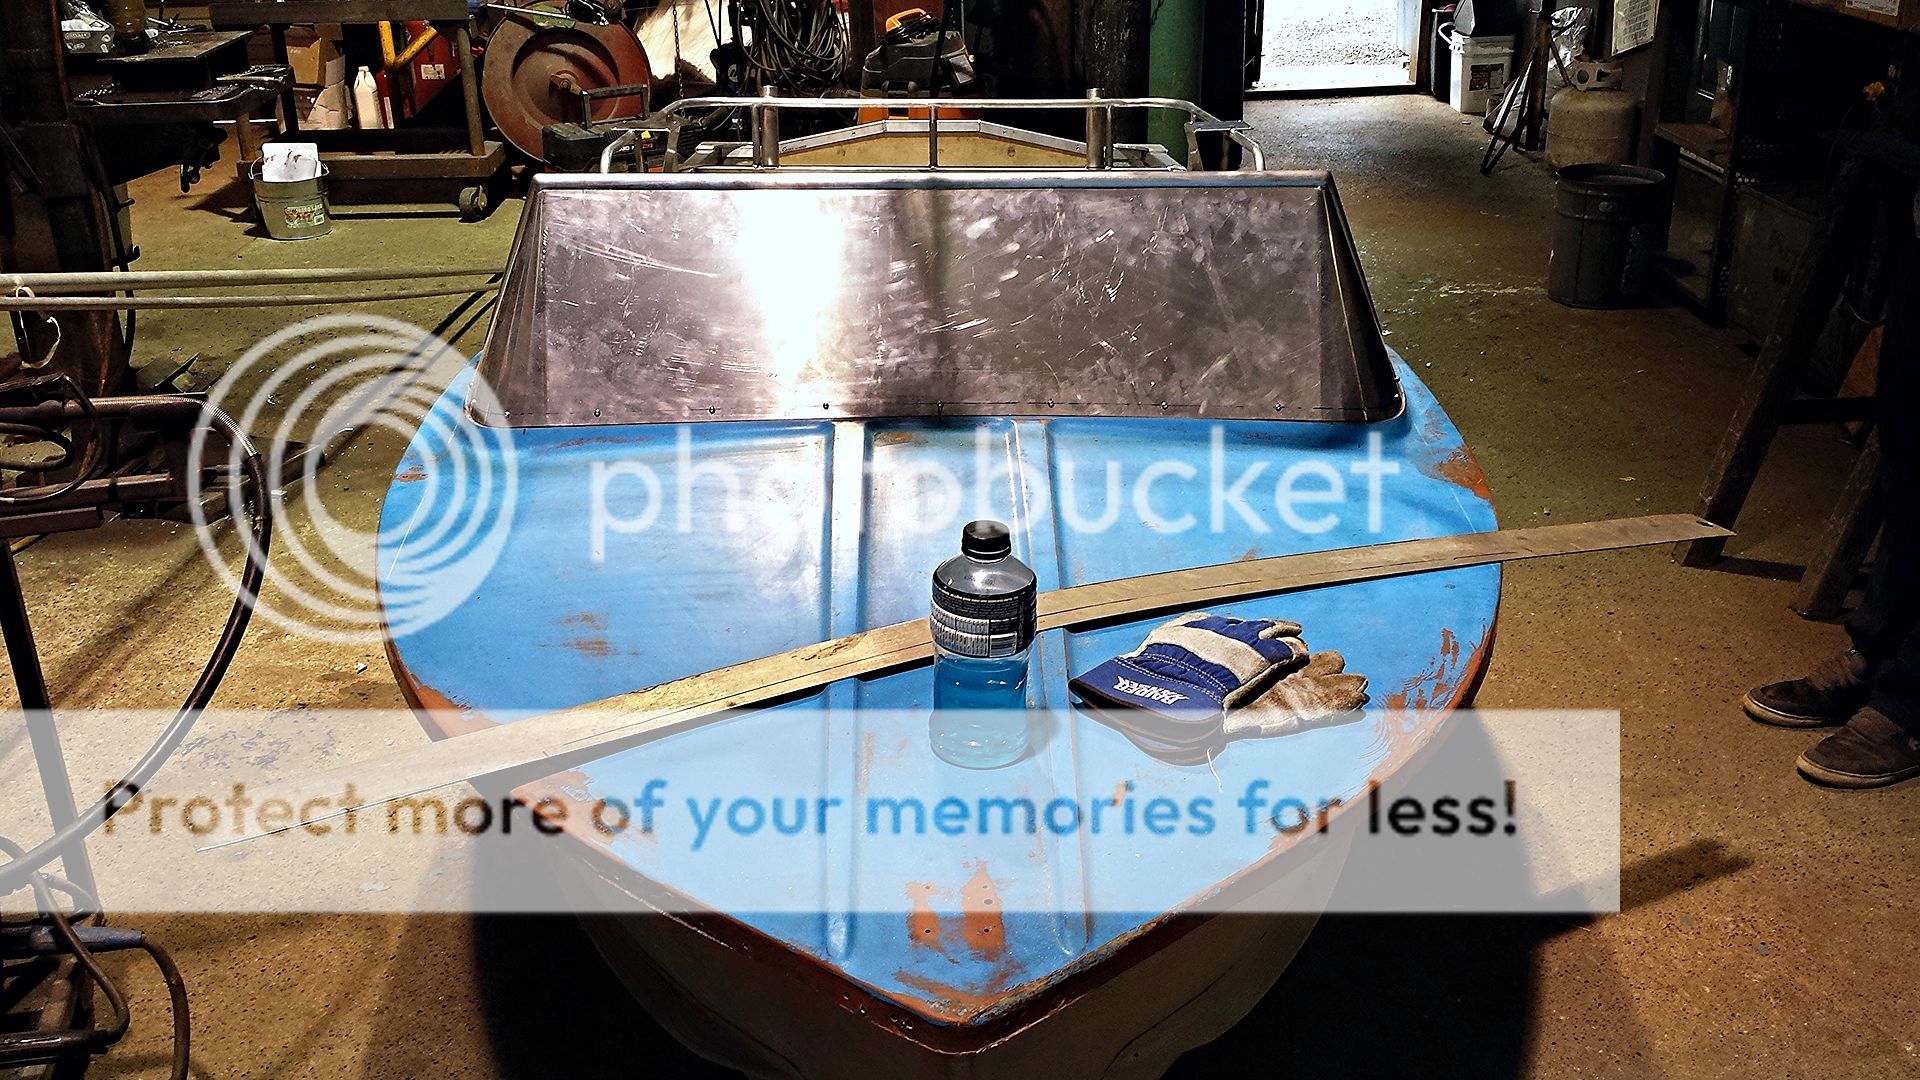
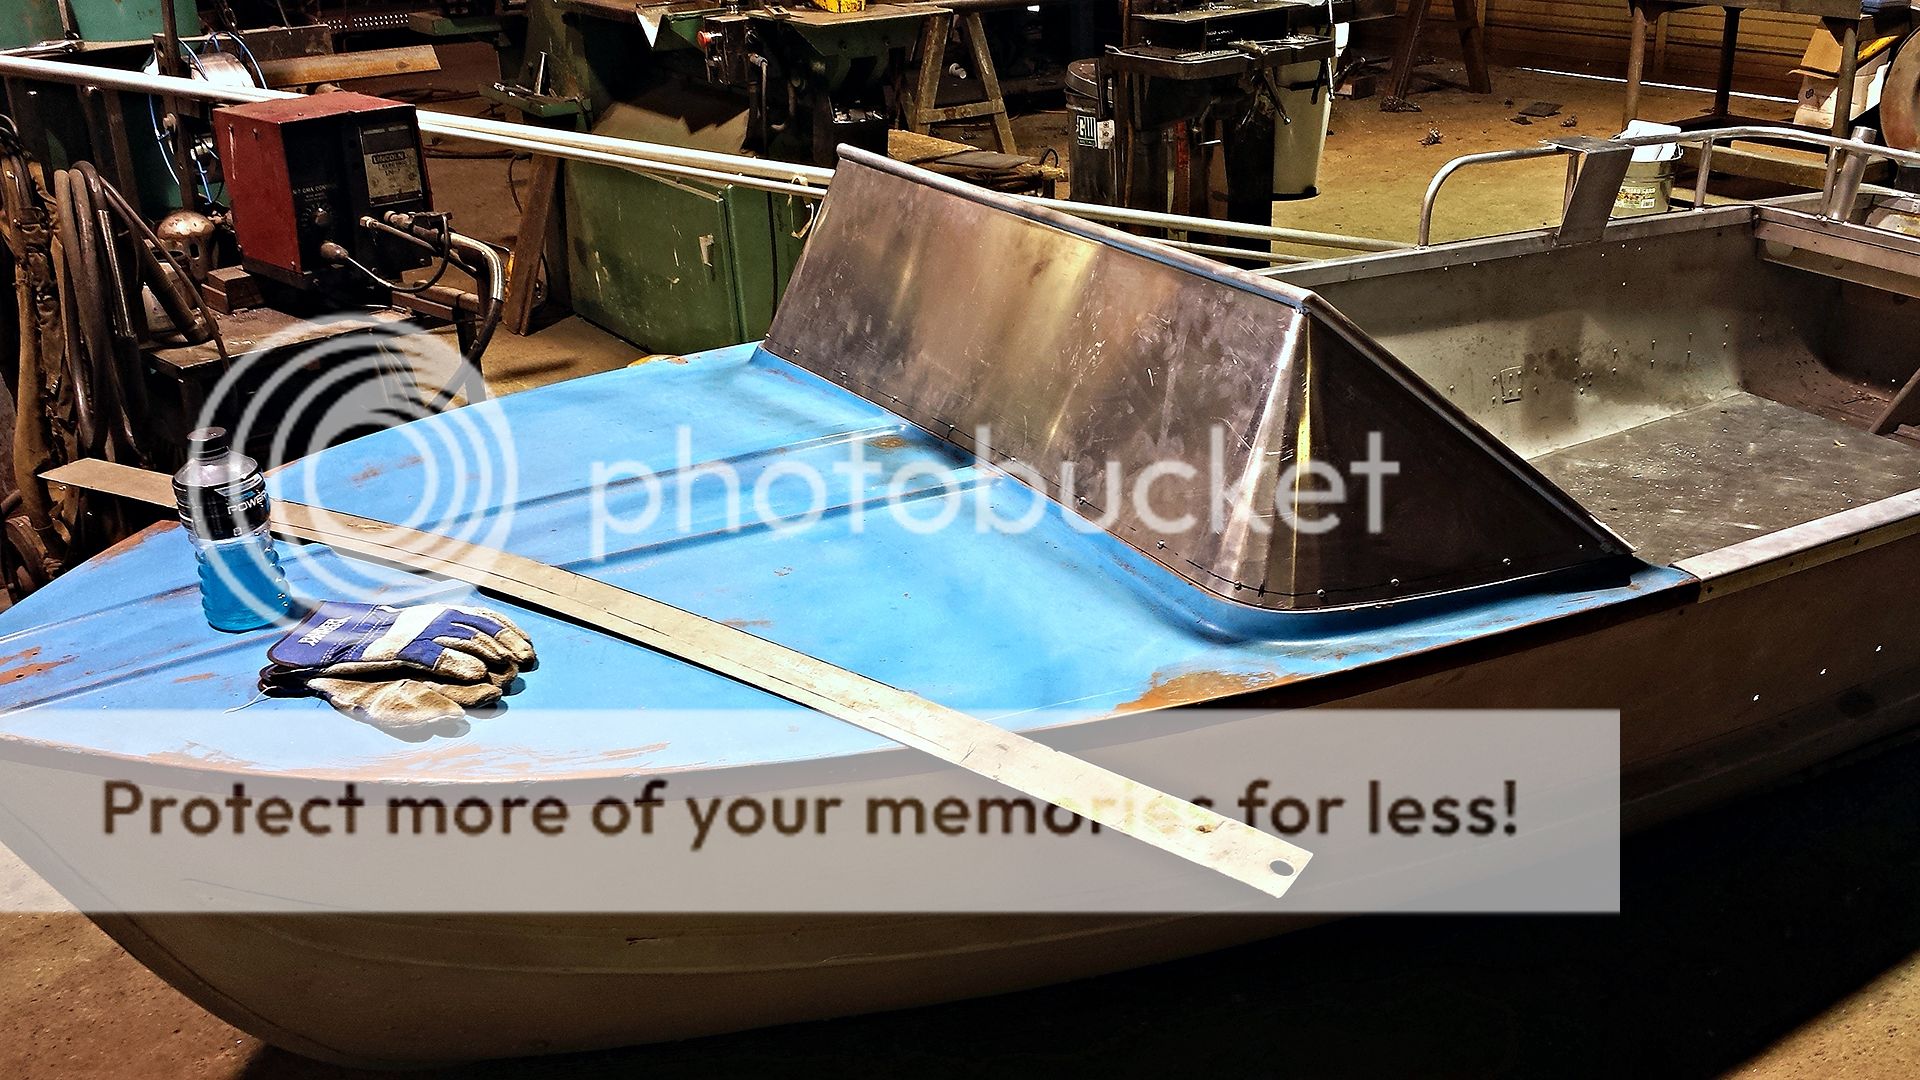
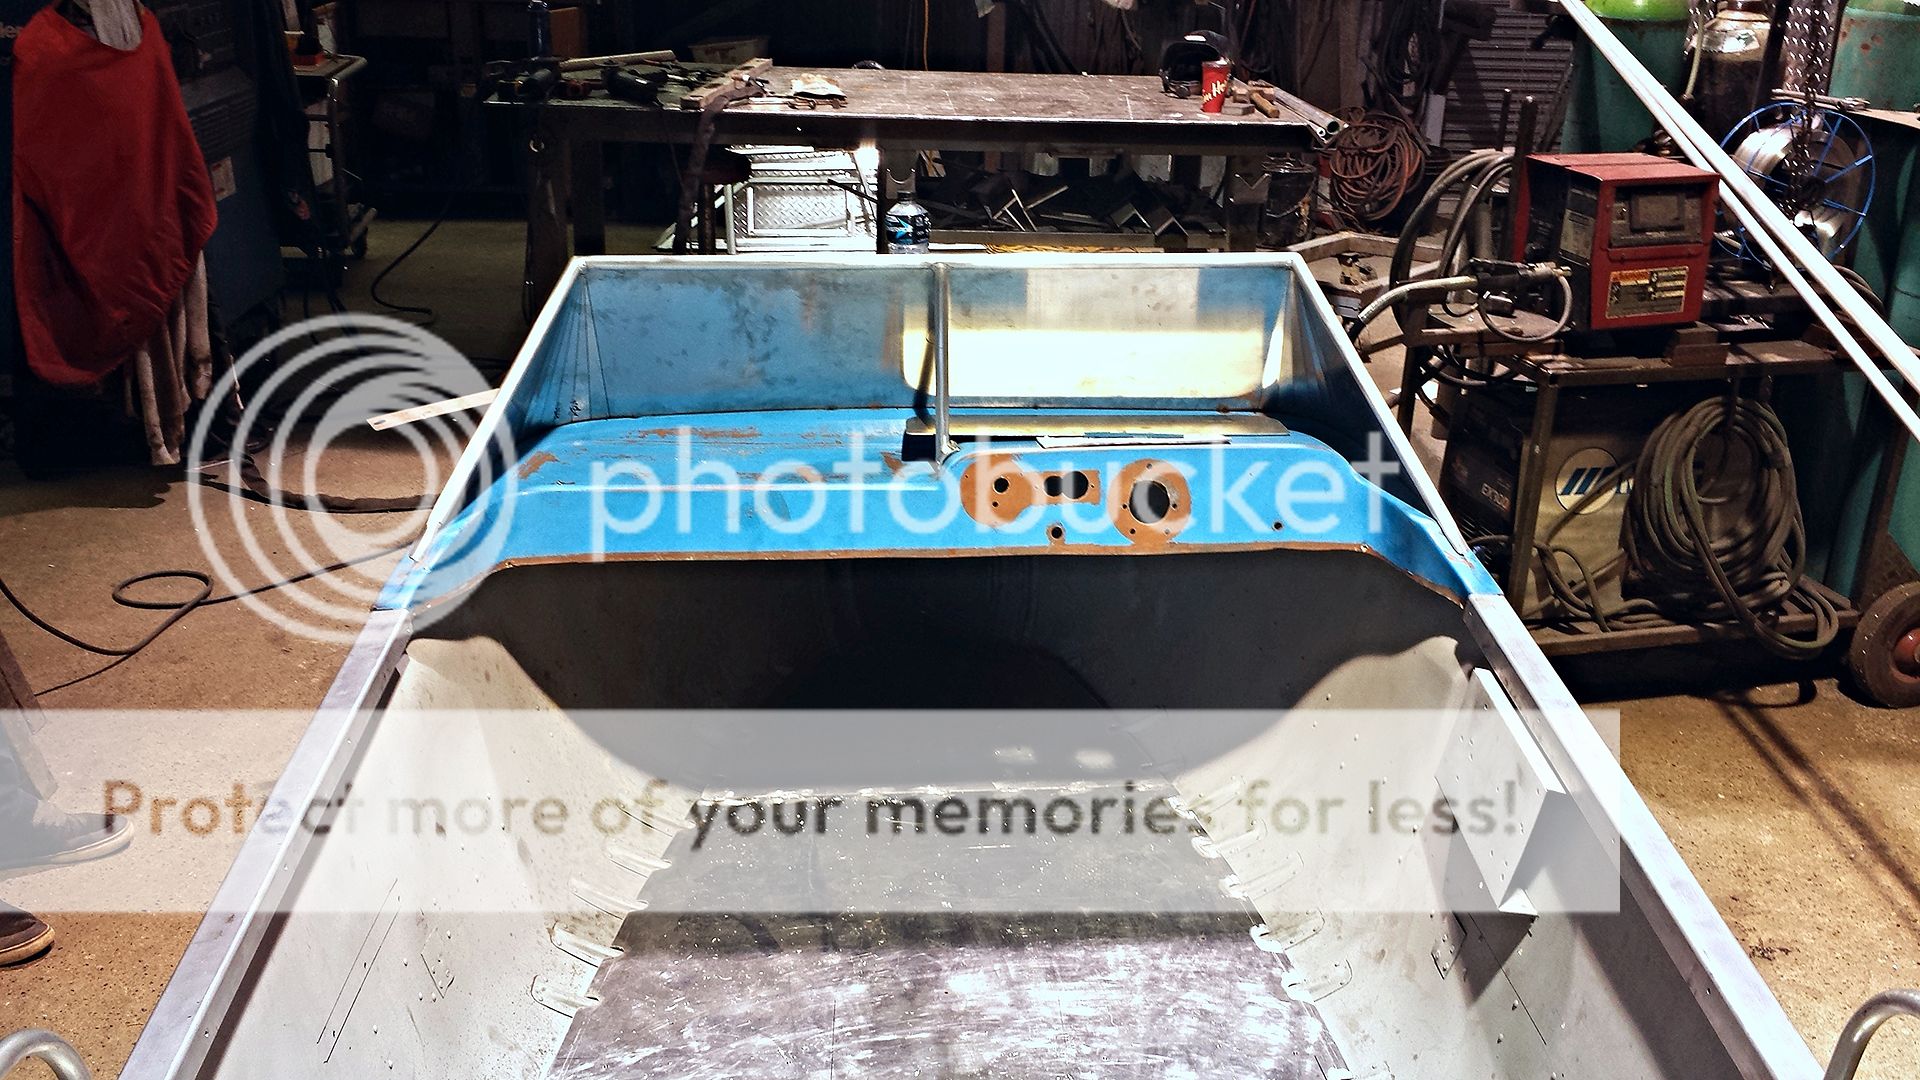
No worries. There is no seam on the bottom. You are probably looking at the sharpy pen marks. The screen is one piece and is mounted to the same "ledge" that the original windshield was mounted to. Pretty much everything except the floor was made out of off cuts or scrap we have laying around. Hoping to have some pictures of the arch all finished up today then we are ready to rip it all apart and touch up the keel and any holes that need welding. If you put a piece of brass behind the hole you can actually get a pretty good TIG plug weld on the holes. The brass acts as a heat sink and helps keep the edges from blowing out on the thin aluminum. The aluminum won't stick to the brass either.
 
Oh I see now. Sharpie marks. So the windscreen is bolted on, I thought it was spot welded and that was a seam!
The brass idea is great.
 
After a nice long weekend with some fishing and r&r, we got some more done.

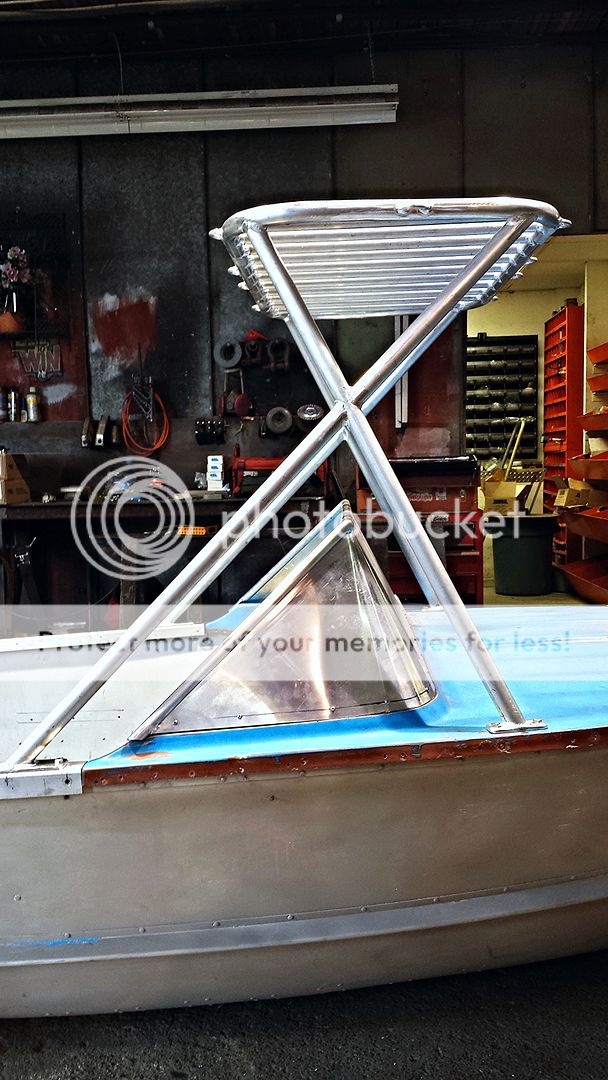
The new aluminum windscreen is done and installed.


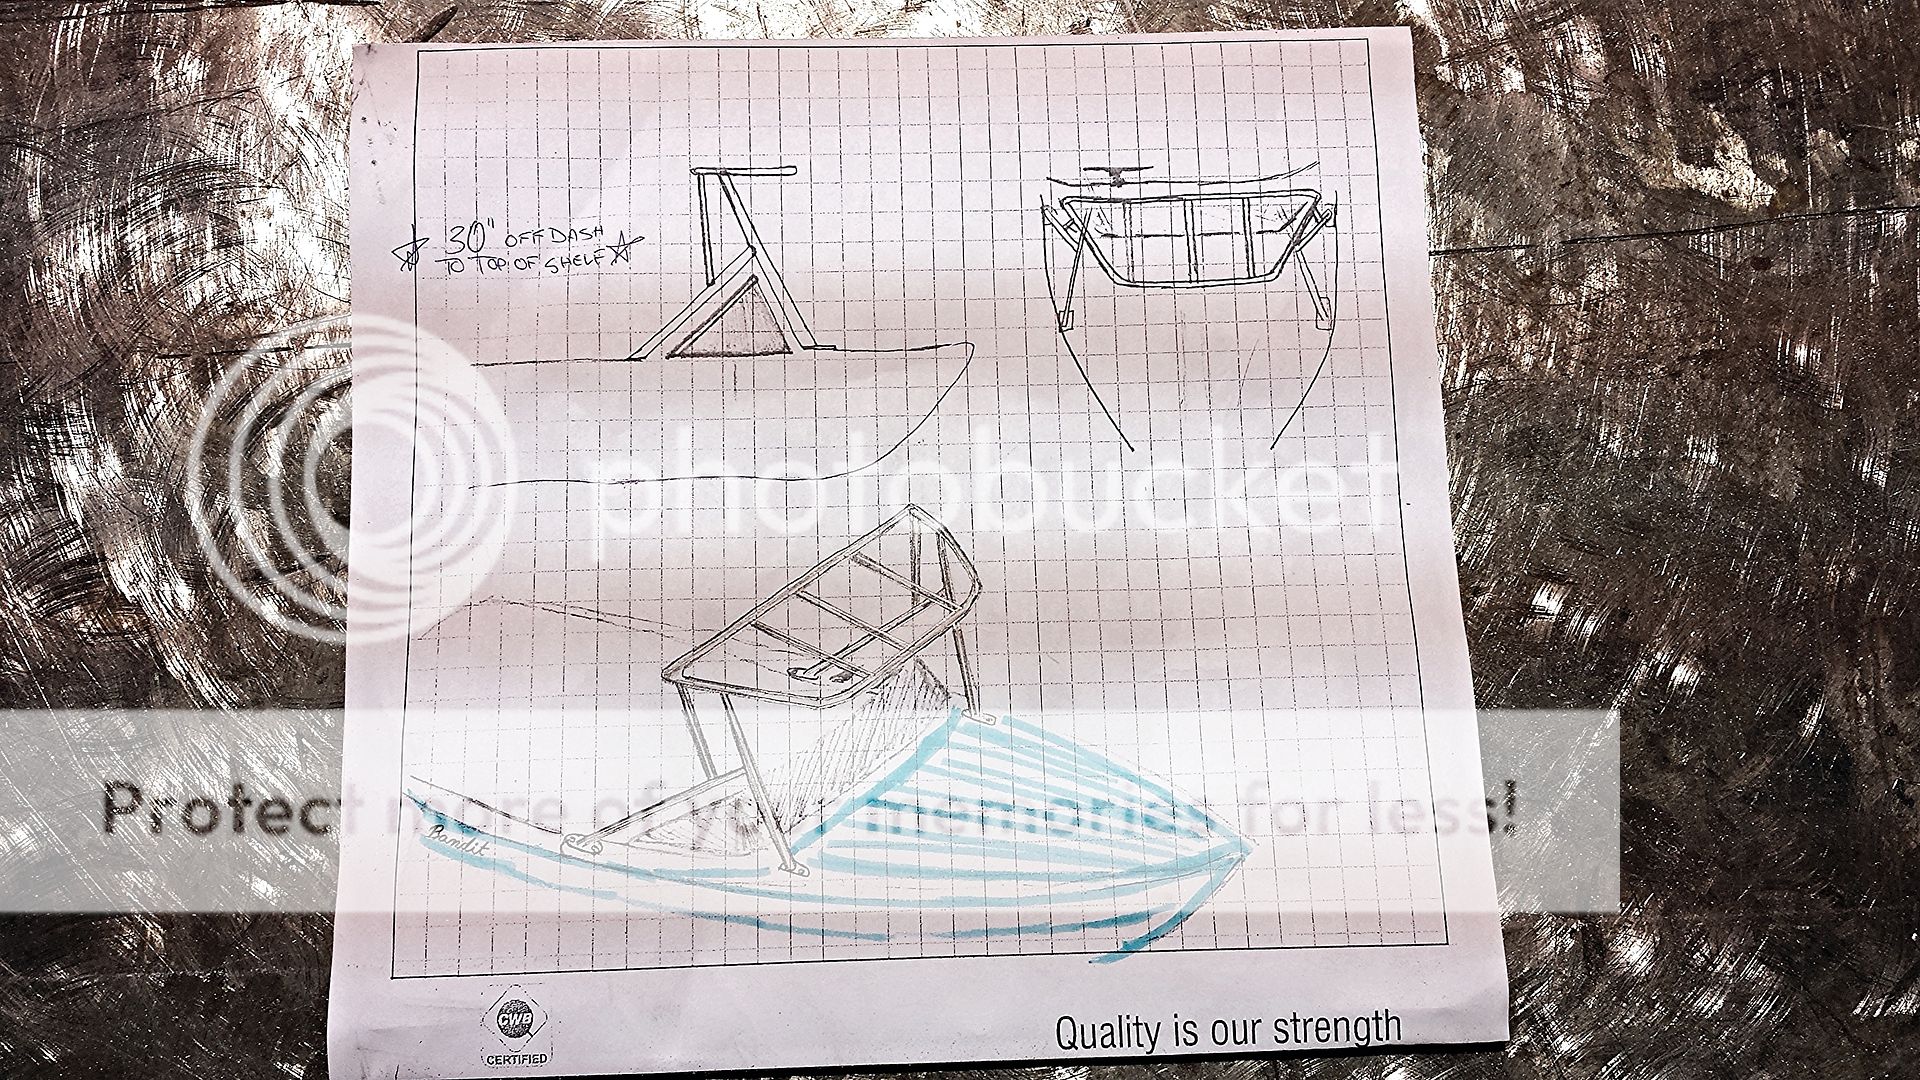
The guy's were mocking us a bit on the arch :p:rolleyes:. "You can do better than that" was mentioned so back to the drawing board.


Continued....

I always love Johns projects..Just cant stop.... You need to start building boats I keep telling u! This is amazing what you and your son have done...
 
Thanks man. Stopping is for quitters lol ;):)

We are going to give the build thing a go this winter for sure. This project has given me the bug.
 
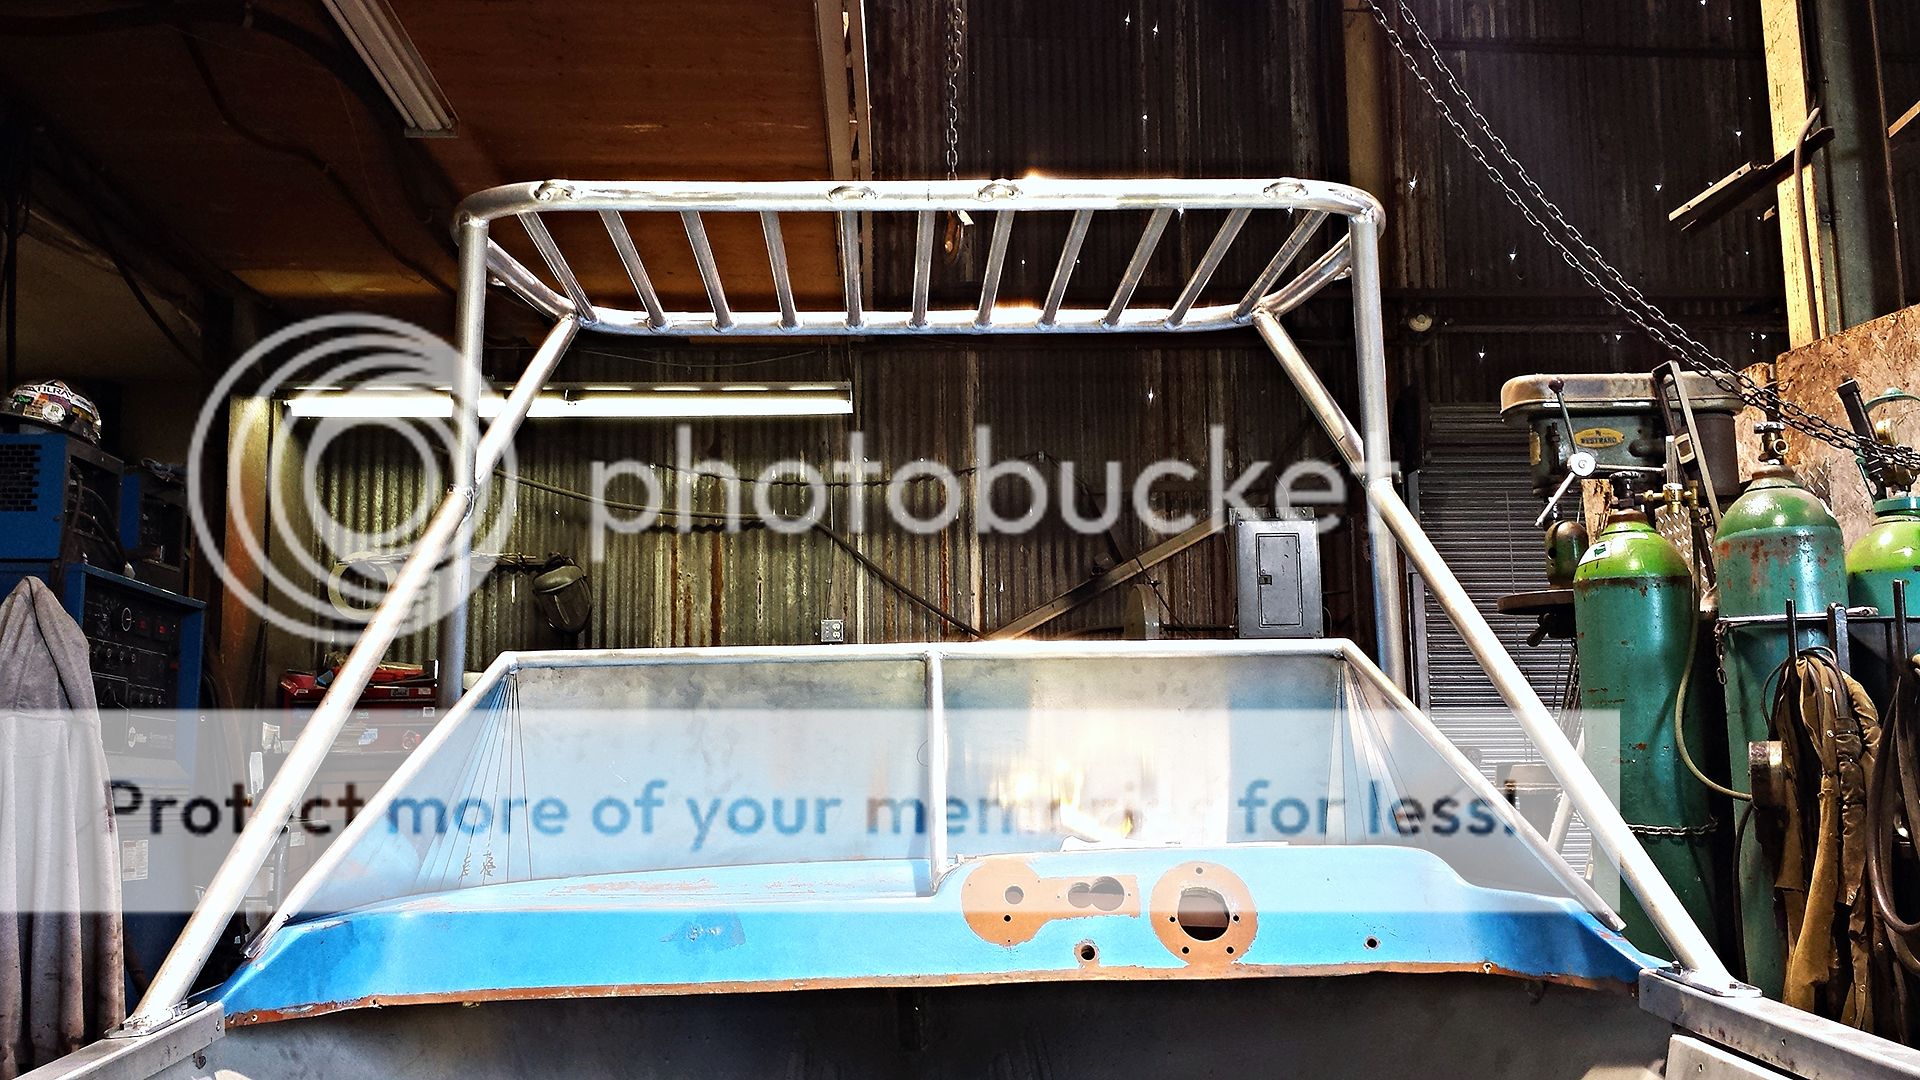
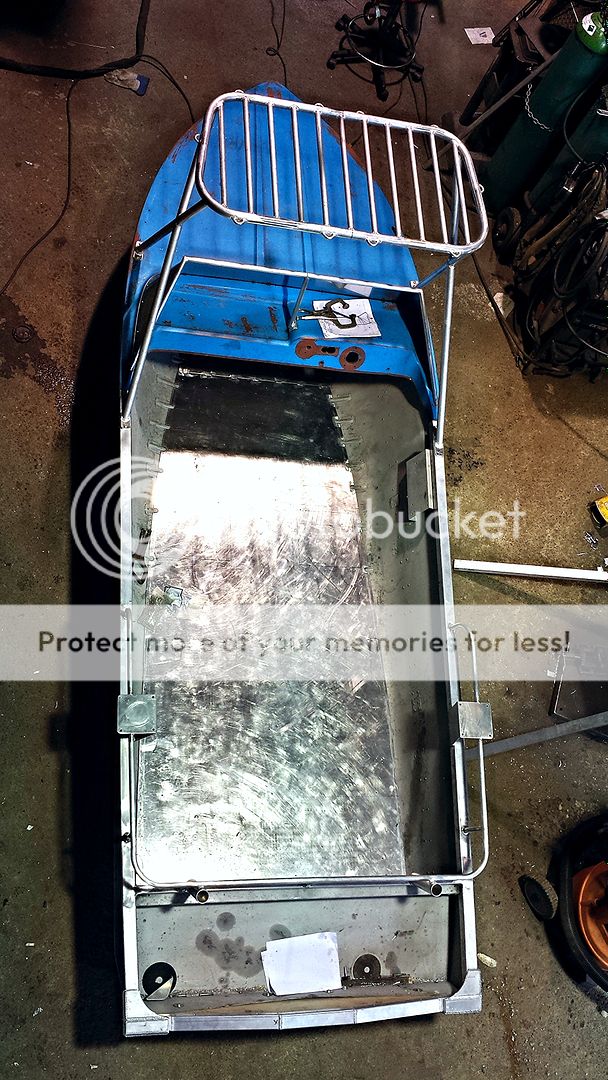
The arch / rack ended up not quite as planned but matches the slopes of the windscreen nicely and it is very strong.


It fits two full size Bauer traps up there and there are multiple tie down spots added. The all around light will be added shortly.


Now it's all stripped back down and onto the not so fun stuff.


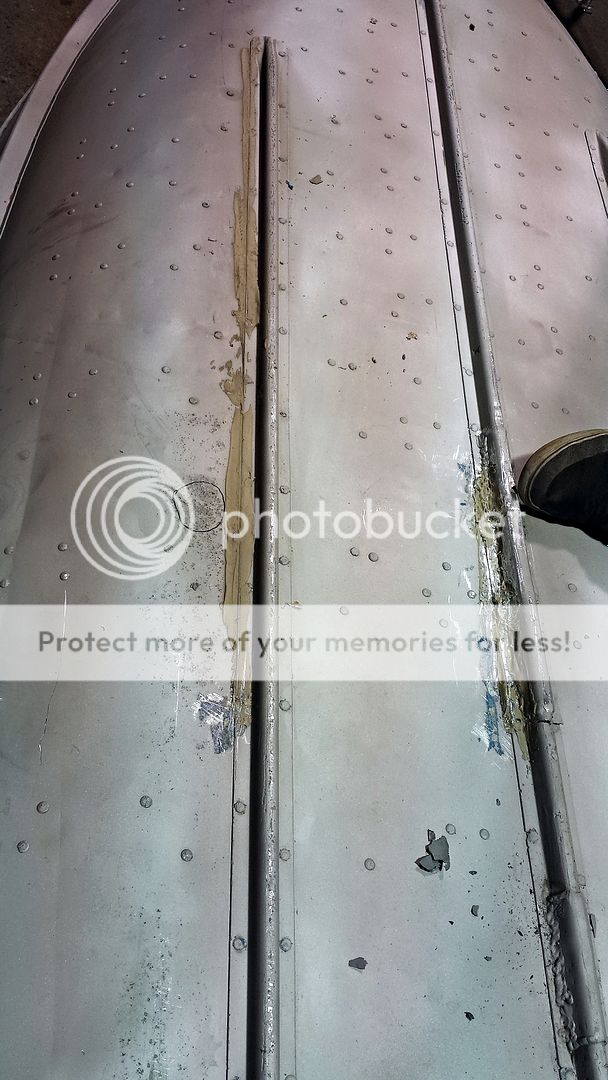
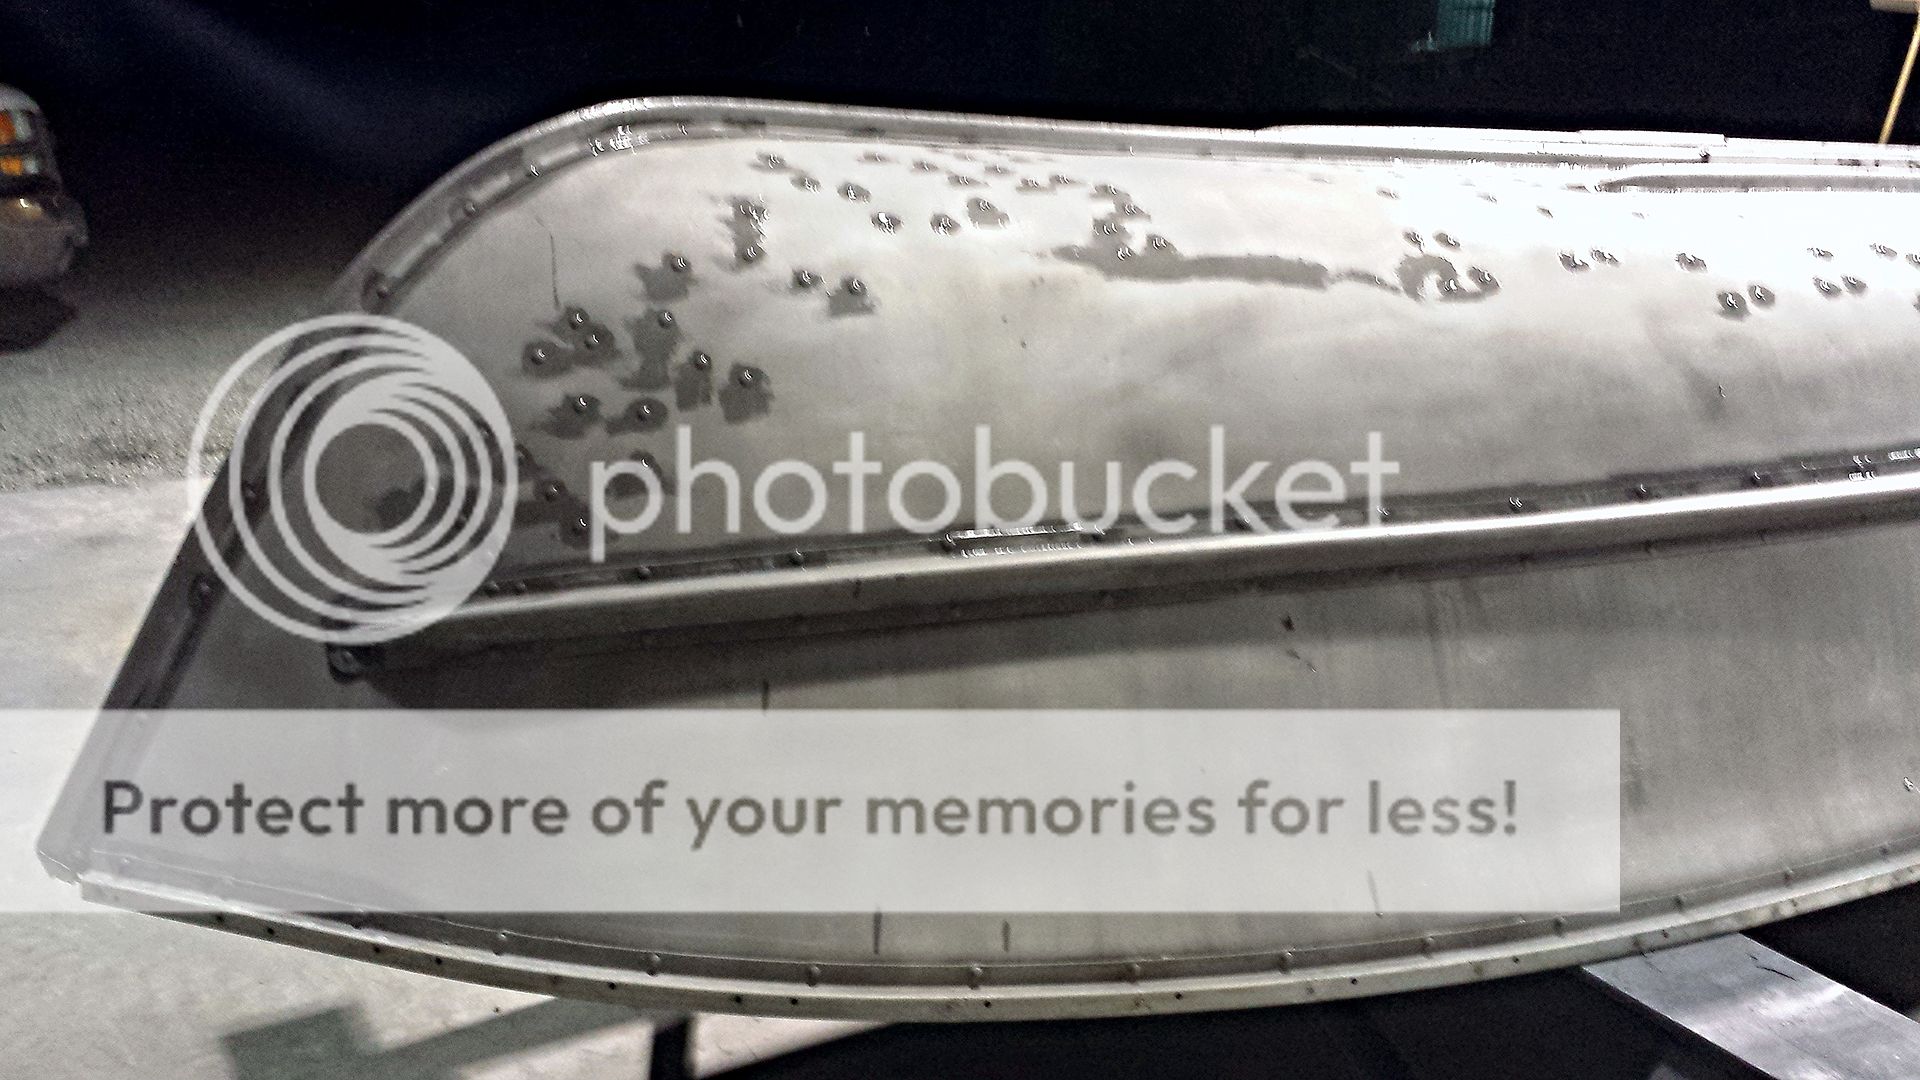
Lot's of ugly putty of all sorts on there. It all has to come off so we can see what's under it :(.


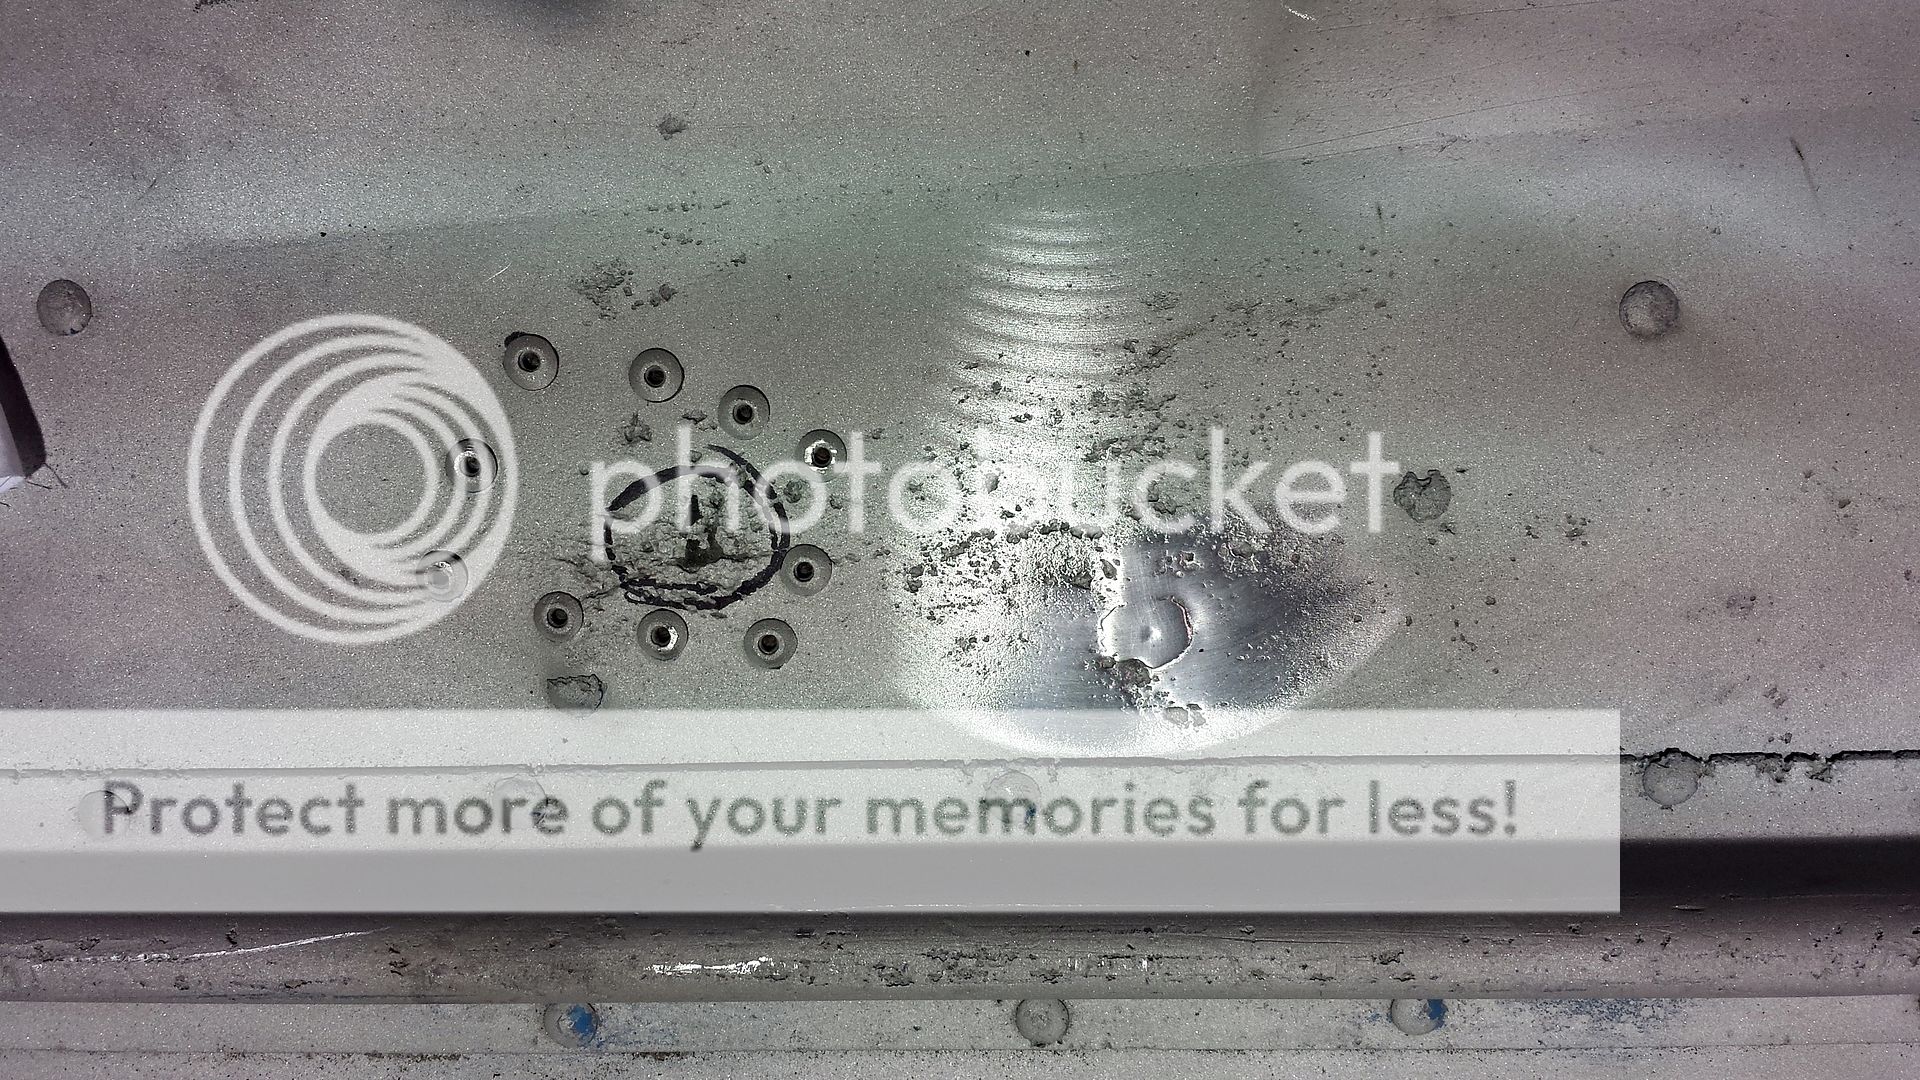
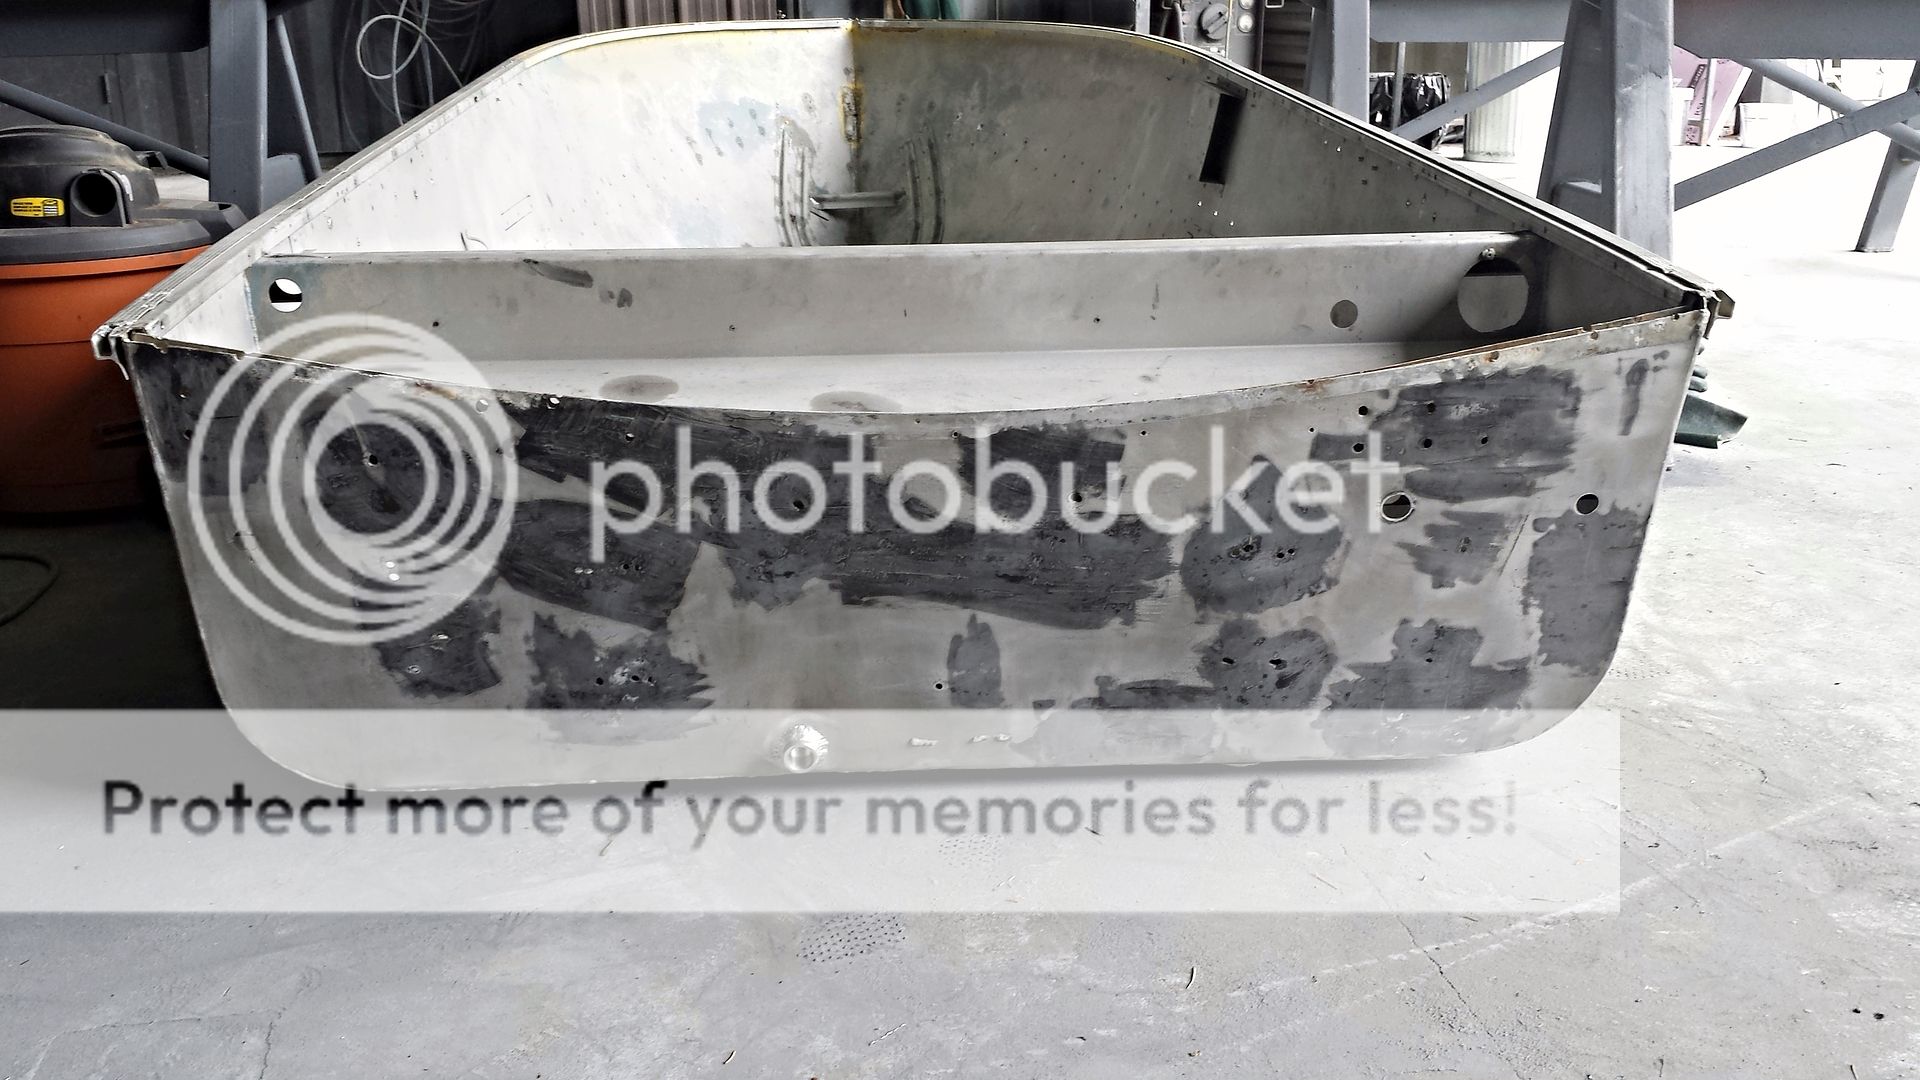
Old patch jobs, some pitting, and small holes that need fixing.


Continued....
 
That's some nasty corrosion. Gotta wonder how much meat is left after grinding it all out.
 
That's some nasty corrosion. Gotta wonder how much meat is left after grinding it all out.

Yes, it's pretty nasty but we aren't running and hiding from it (thousands would lol):). I have repaired a half dozen riveted boats in the past. I've researched dozens and dozens of project threads similar to this situation on tinboats.net, iboats, etc., and we are confident we can salvage this hull. Keep wondering because nothing has been or will be ground out. I know how thin the skin is on these boats and it is difficult to work with from the start. The last thing you want to do is take more off.

I could go into a full metallurgy and corrosion discussion about how to fix this properly but I'll just let the pictures do the talking. Thanks for the positive input :D.

Cheers,
John
 
Last edited by a moderator:
great project John. Will be watching your boat build thread this winter very closely. I may be in the market for a 19' semi-vee. :cool:
 
I found if you take a air chizel bit and saw the tip off and take the dreamel round grinding bit and make a cup for the rivet in the end of the air chizel bit .use air chizel , anvil and two magnets to tighten those rivets.You may need to make two punches one for tightening old rivets and one for new rivets as they are a little deeper to carry,too deep and the punch will come in contact with the boat.Practice with simular stock before you set to task .nice work.fcPICT0044.jpg
 
Last edited by a moderator:
Thanks for the tip Fish Camp :). Going to give that a try right now.

All the welding repairs and extra holes are done. Going to tighten any loose rivets and give her a wash with a scotchbrite pad and degrease with autobody wax and grease remover. Then we are going to put some Marinetex epoxy filler on the minor pitting, Marinetex Gluvit epoxy sealer on all the rivets and seams (inside and out), epoxy seal the plywood, and let that all cure. Then it's in albernifishers capable hands for a couple of days ;).
 
Last edited by a moderator:
I found if you take a air chizel bit and saw the tip off and take the dreamel round grinding bit and make a cup for the rivet in the end of the air chizel bit .use air chizel , anvil and two magnets to tighten those rivets.You may need to make two punches one for tightening old rivets and one for new rivets as they are a little deeper to carry,too deep and the punch will come in contact with the boat.Practice with simular stock before you set to task .nice work.fcView attachment 19470

I understand the air chisel and anvil, but how do the 2 magnets fit in?
 
Put in a long night on her tonight.

Washed the boat down, light sand, and degreased with wax and grease remover.

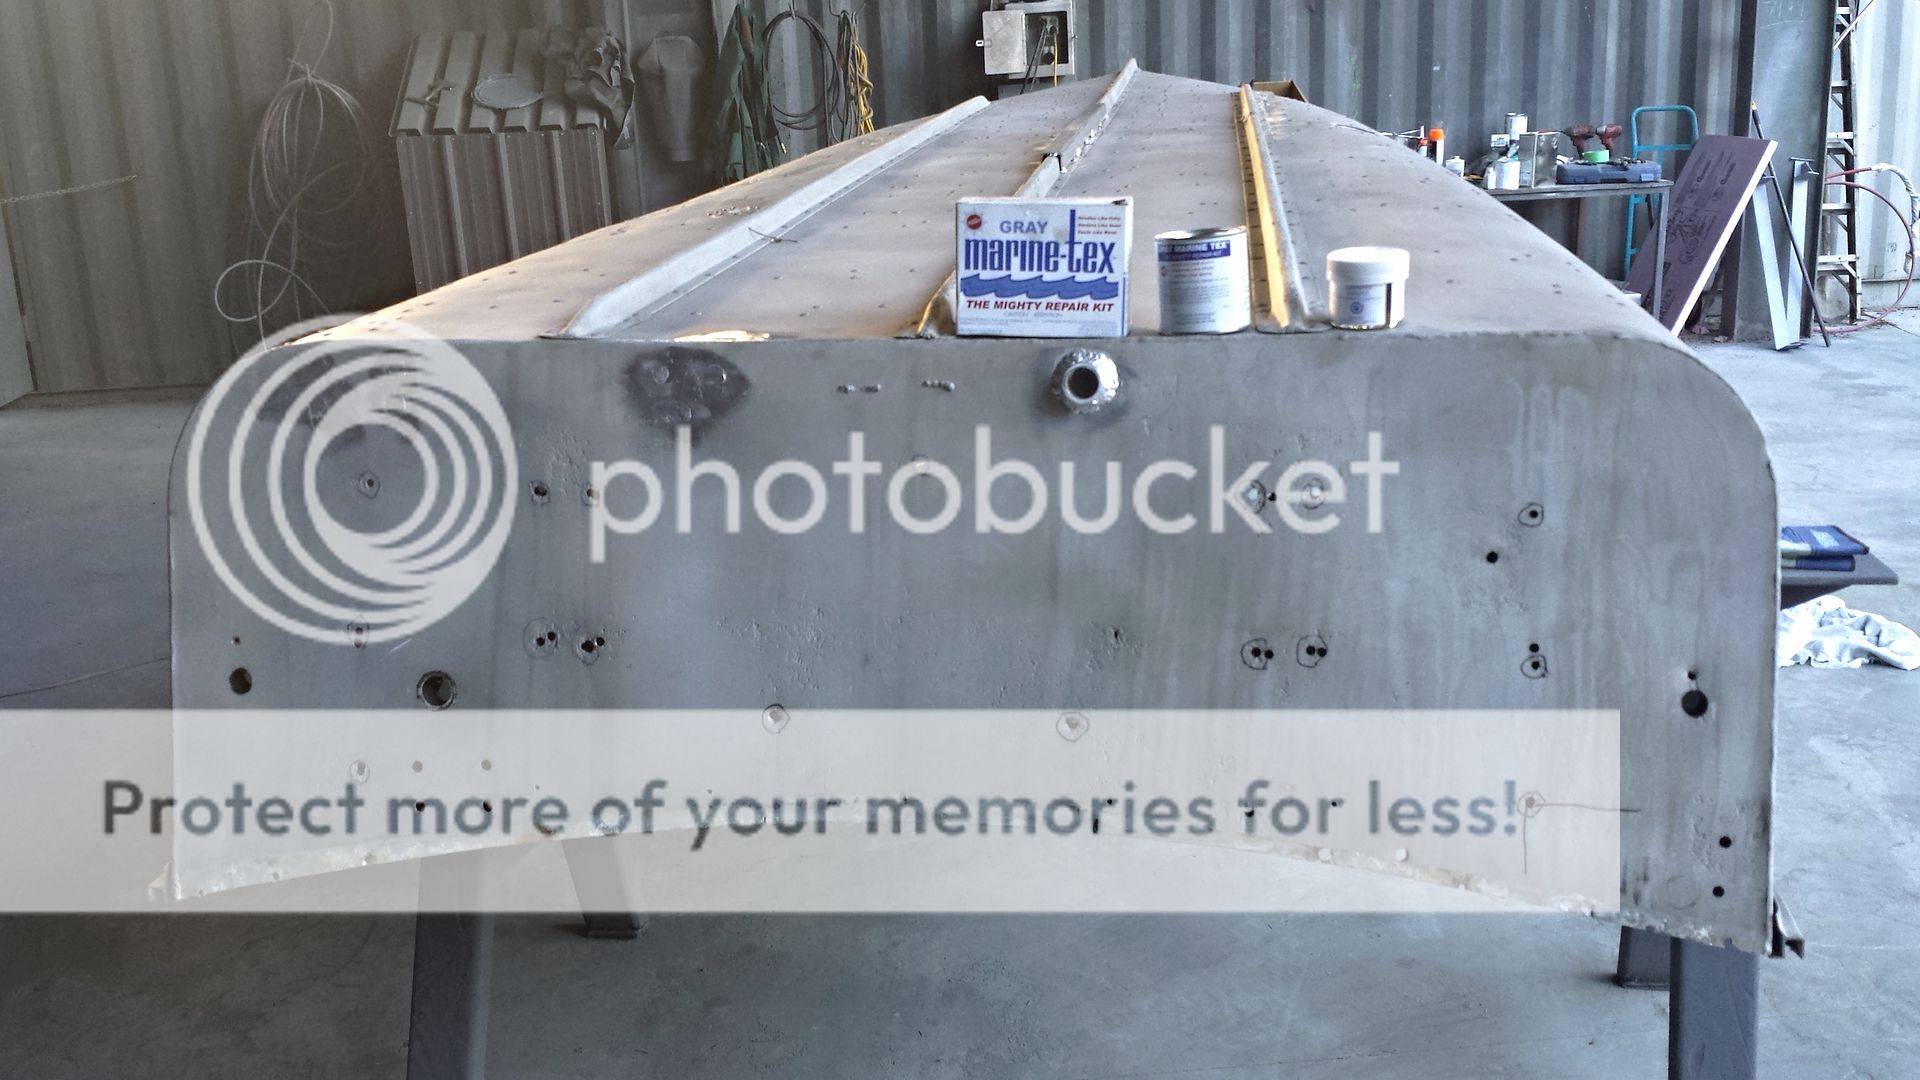
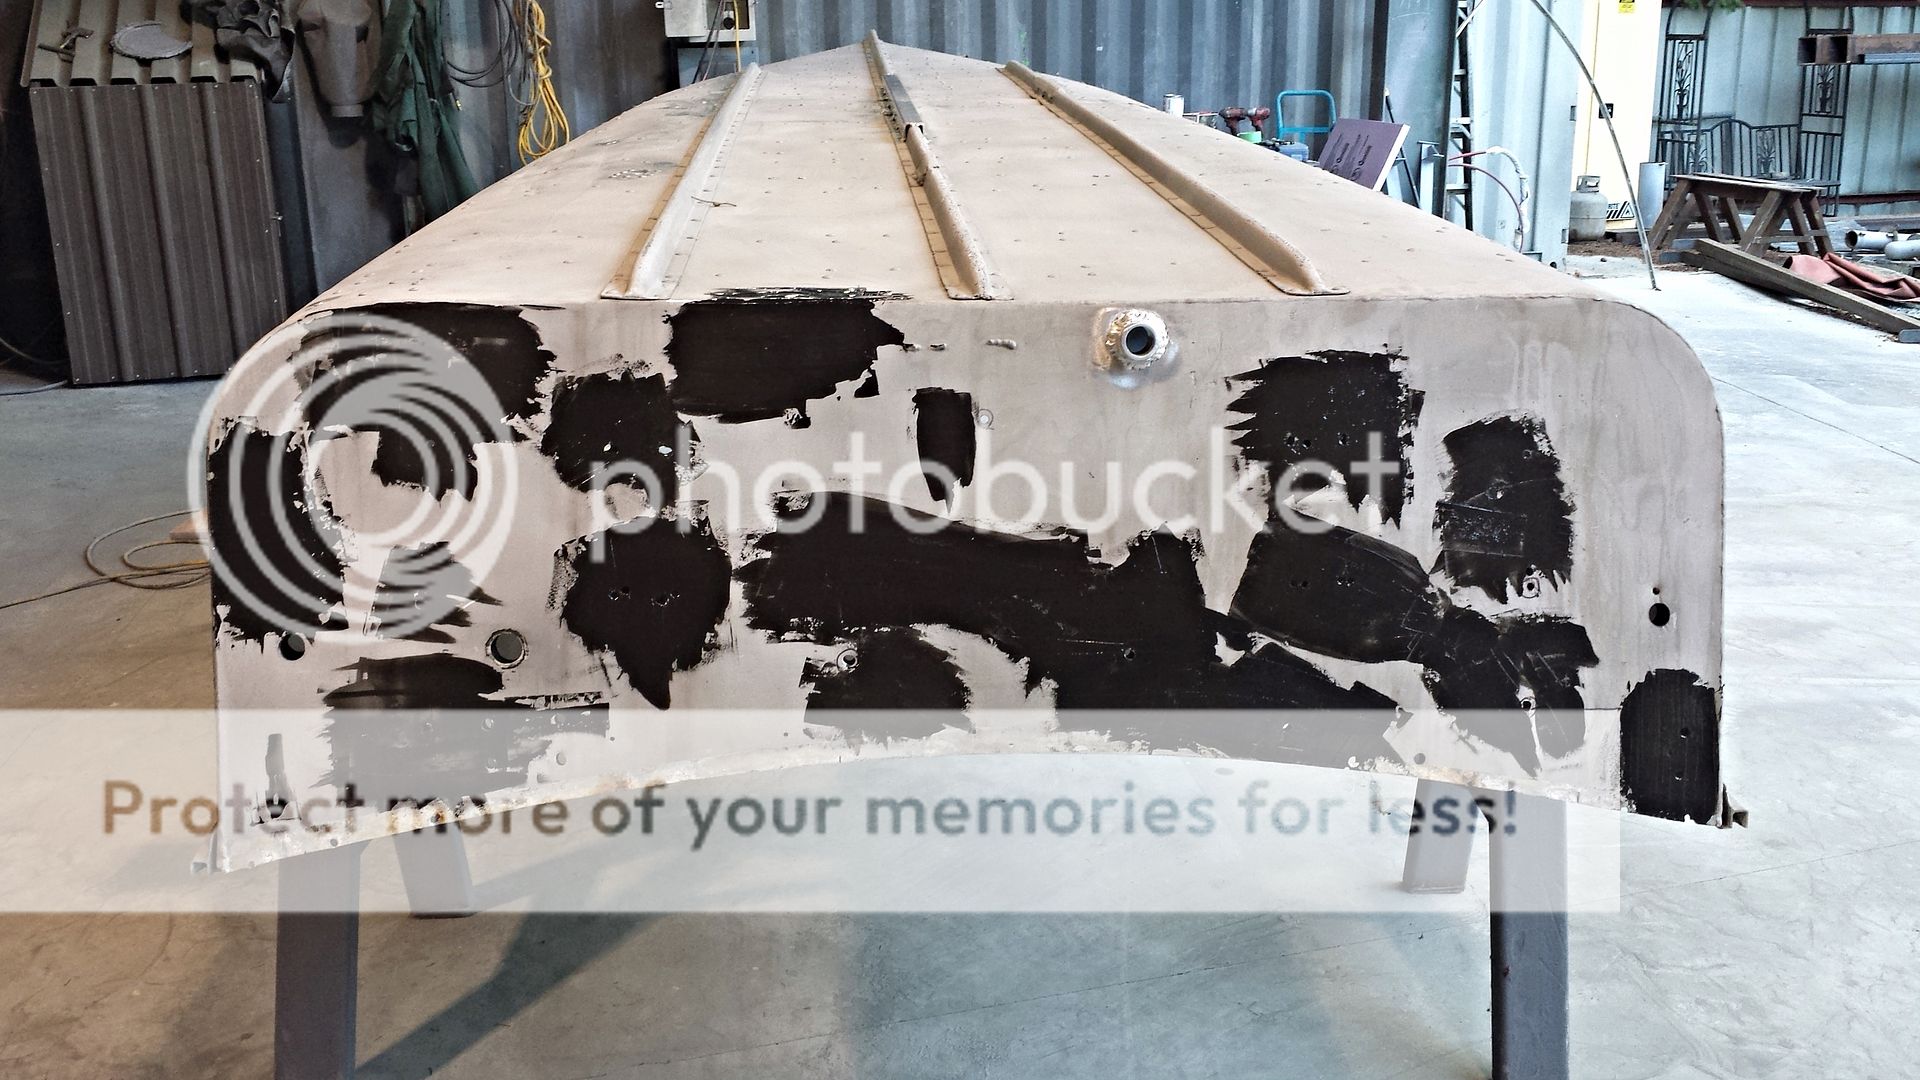
The transom showed quite a bit of pitting due to the unsealed plywood that was on there before. Water gets trapped between the plywood and the aluminum and causes corrosion.


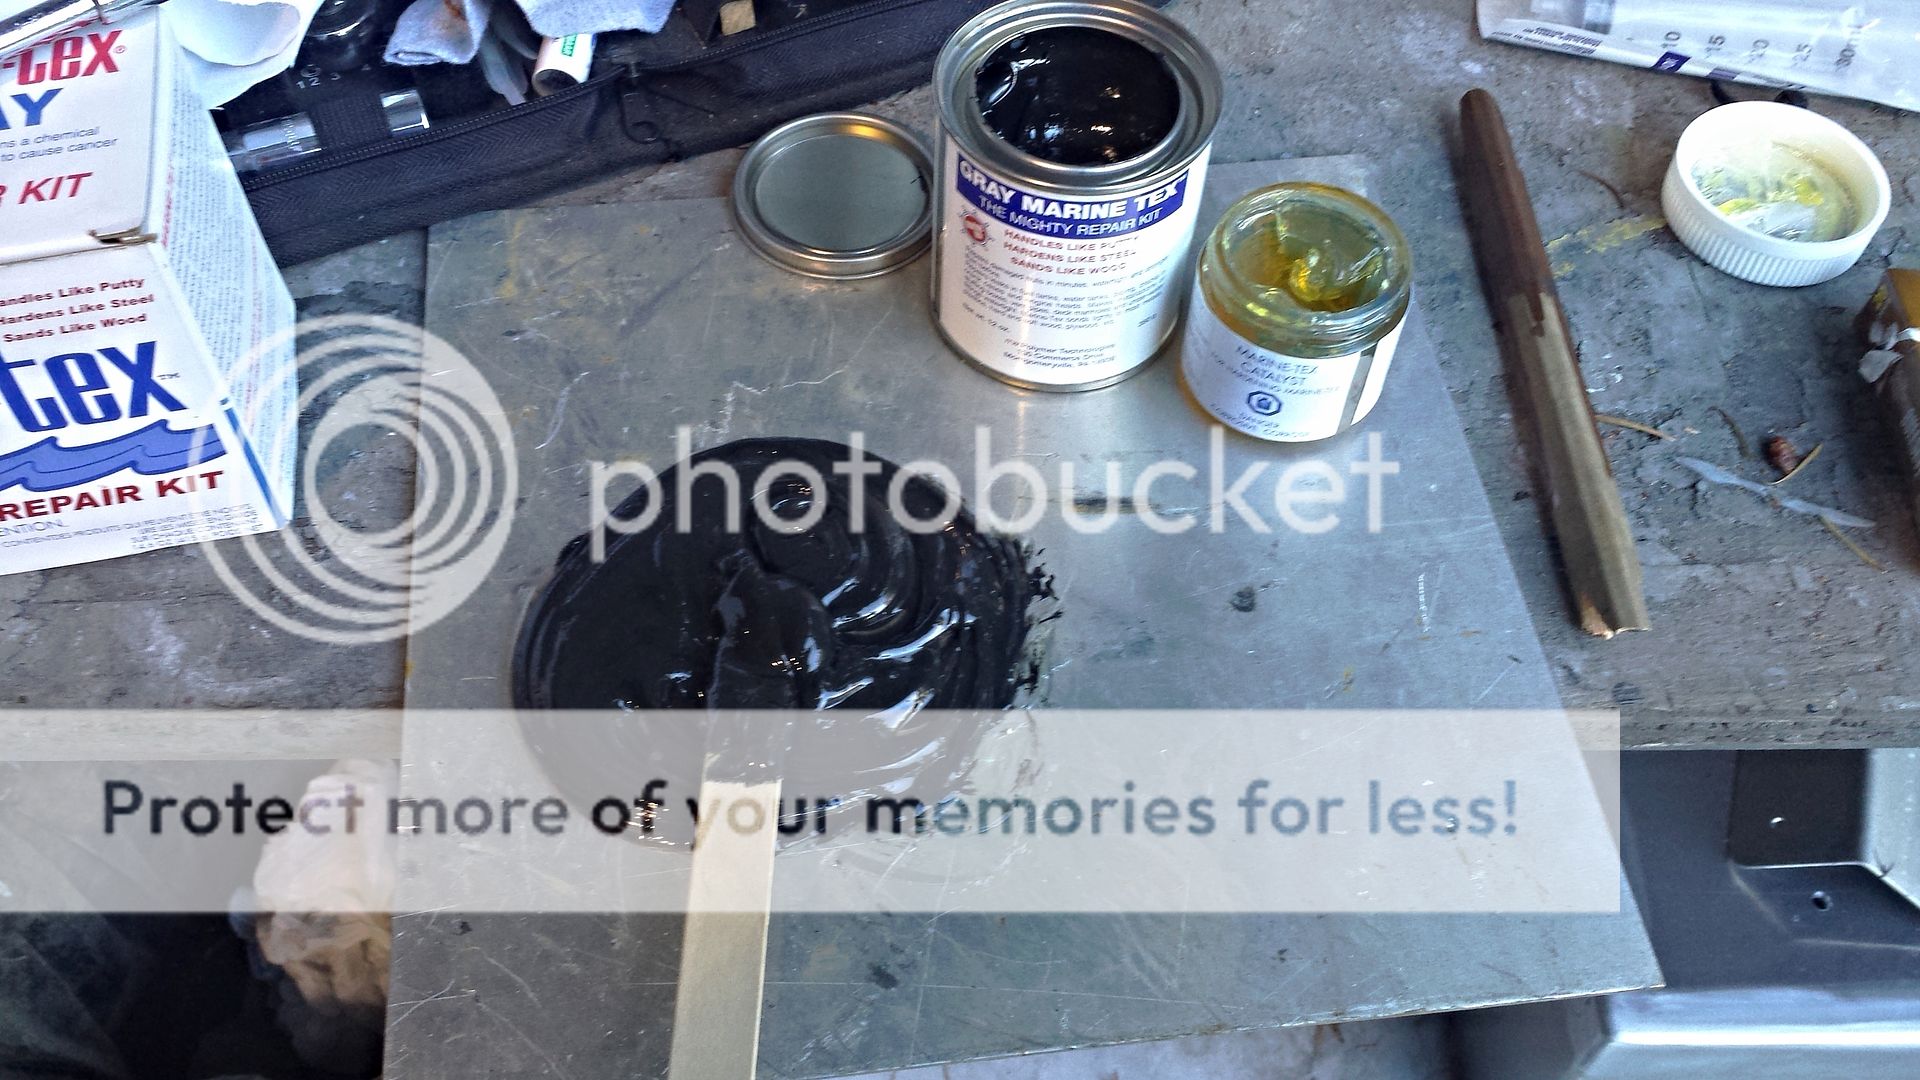
We used Marintex gray (more like black) as a filler. It will stop galvanic and other types of corrosion on aluminum. Perfect filler for this application.


Going to be lots of sanding tomorrow :eek:!


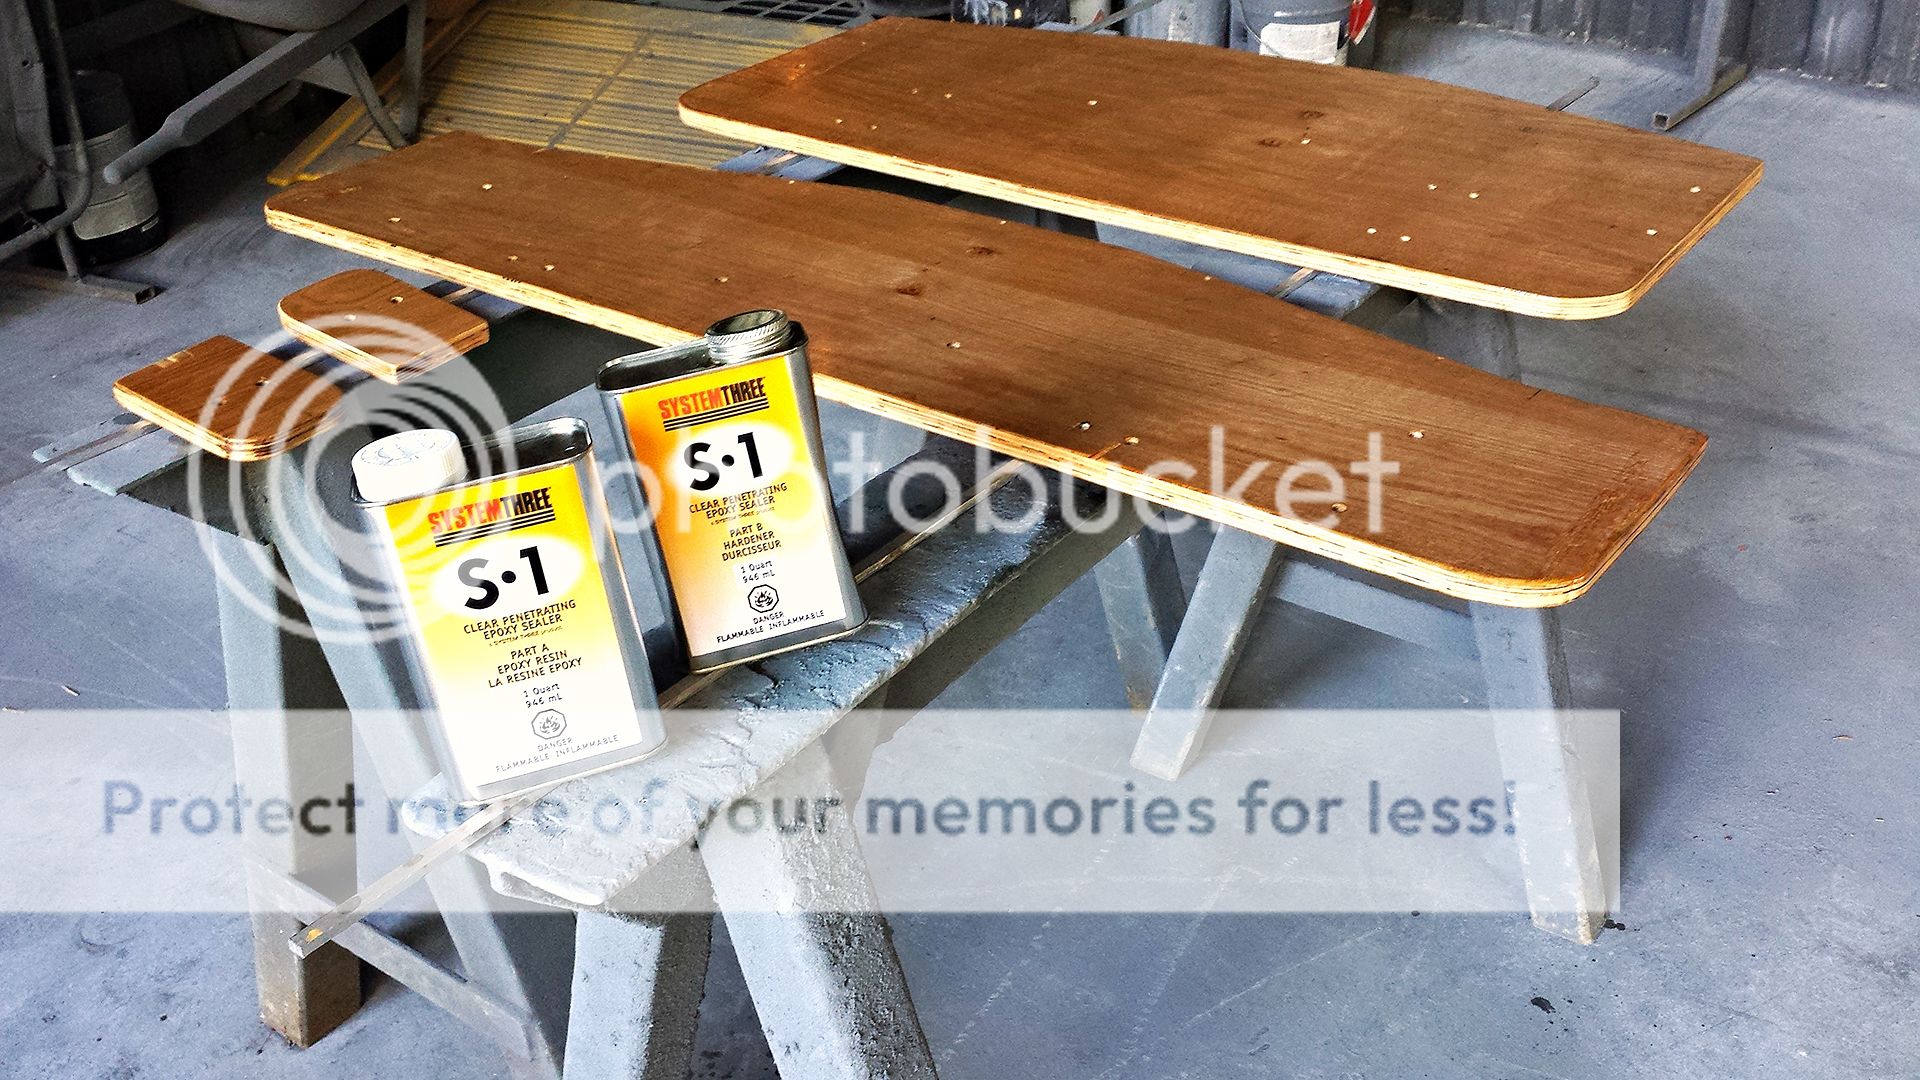
In between doing things we got a first coat of epoxy sealer on the plywood.


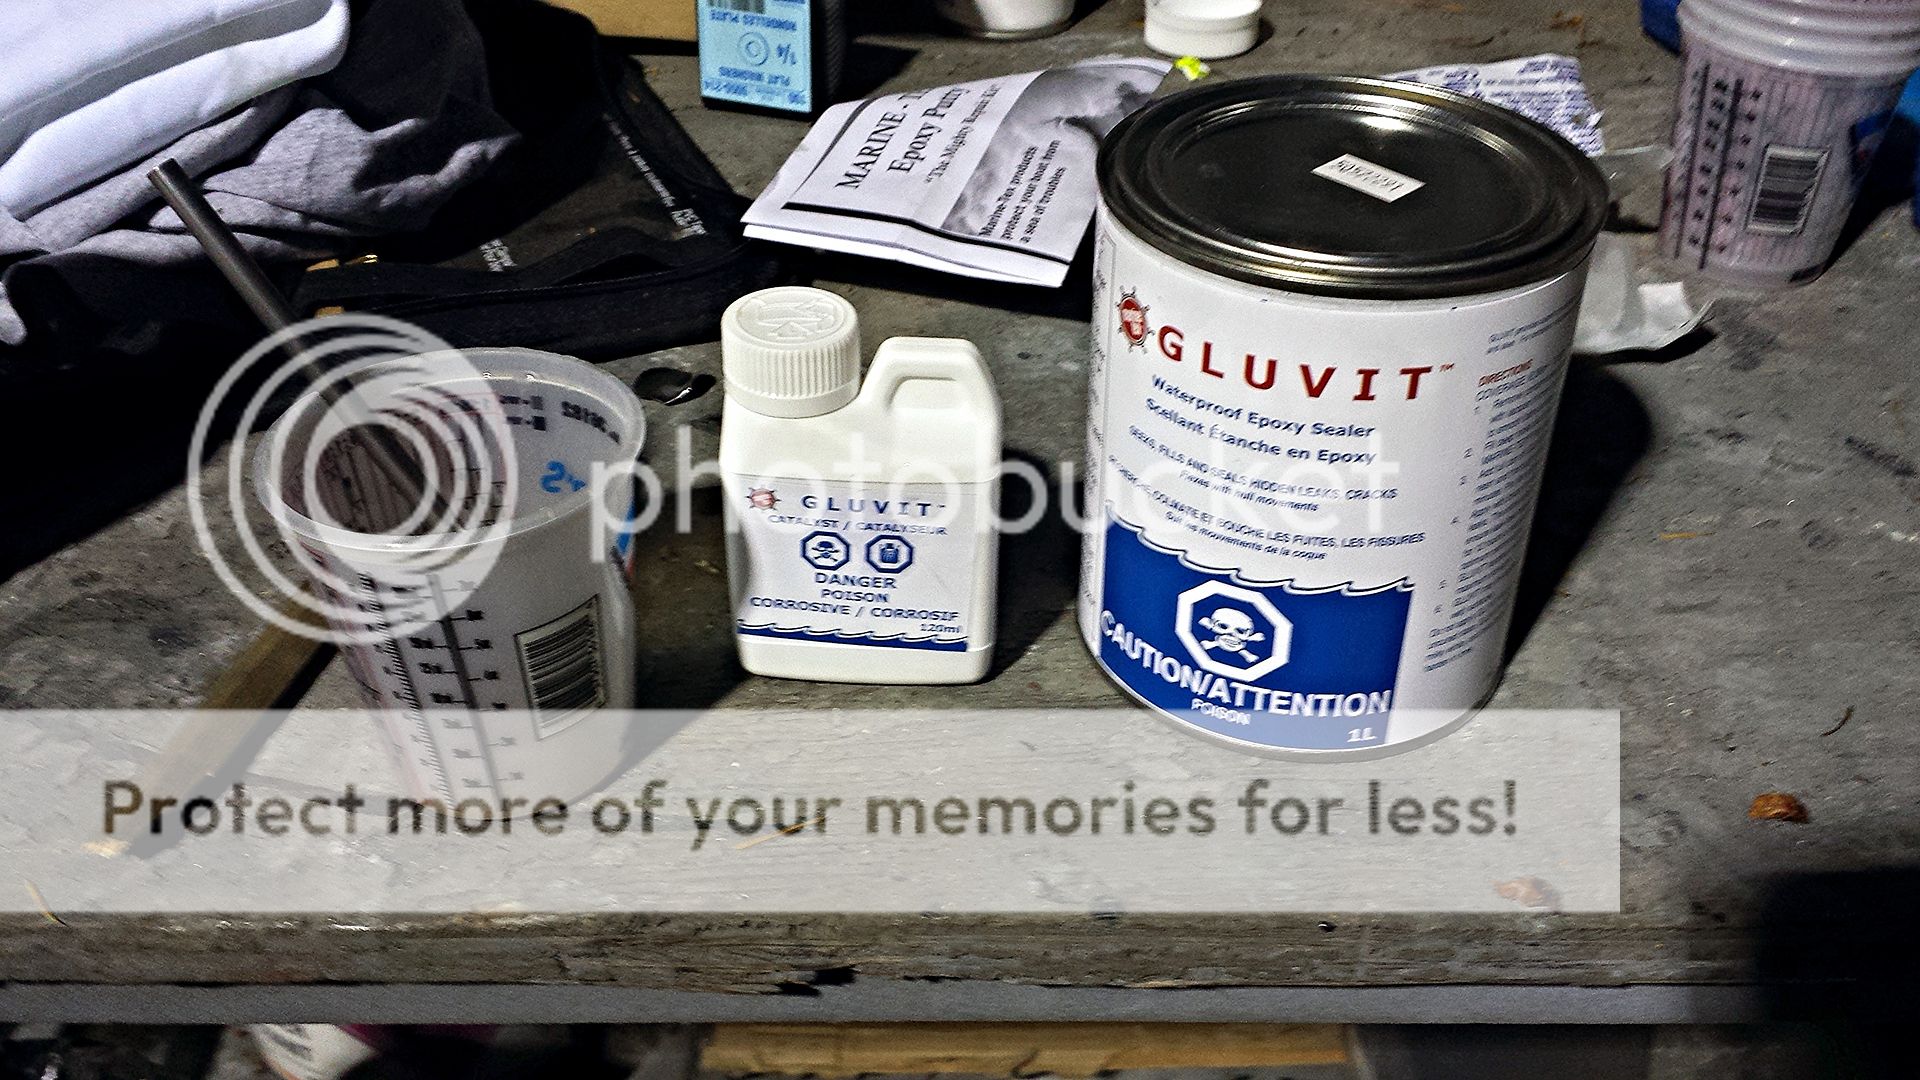
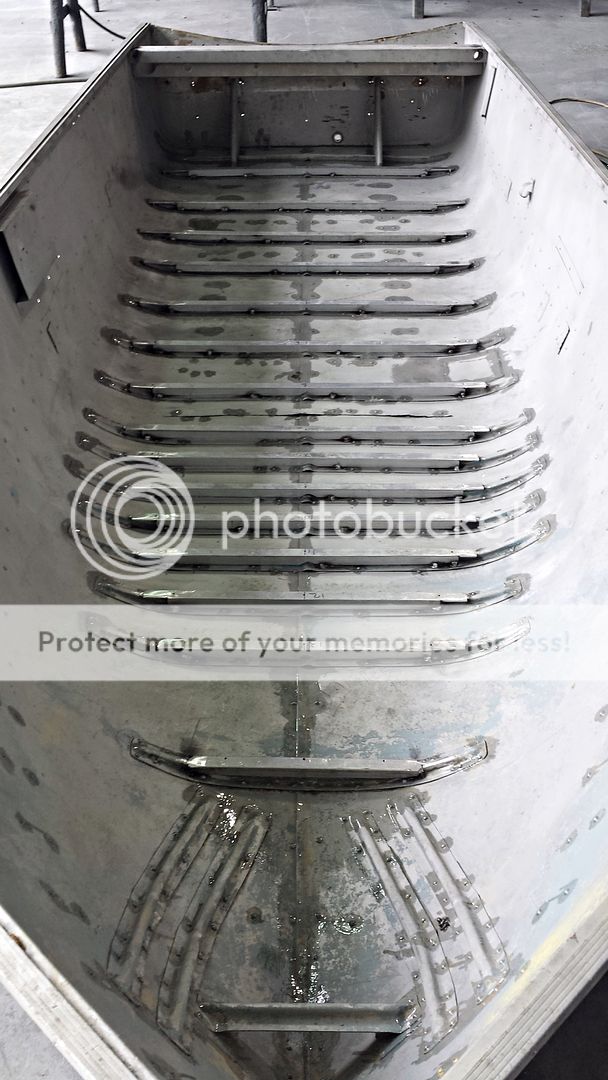
After that it was on to the Marintex Gluvit. I have never used this particular product before but every project thread I have researched say's it's the stuff to use. It goes on quite thin and seeks out hairline cracks and crevices. After curing it remains flexible which makes it ideal for tin boat sealing.


We put it on every rivet and down the seams.


Going to let it cure overnight and flip her over tomorrow and do the inside as well. We used up not quite half the can. Going to go heavier on the inside if we have enough product left over (don't want to have to buy another can as it is pricey stuff).

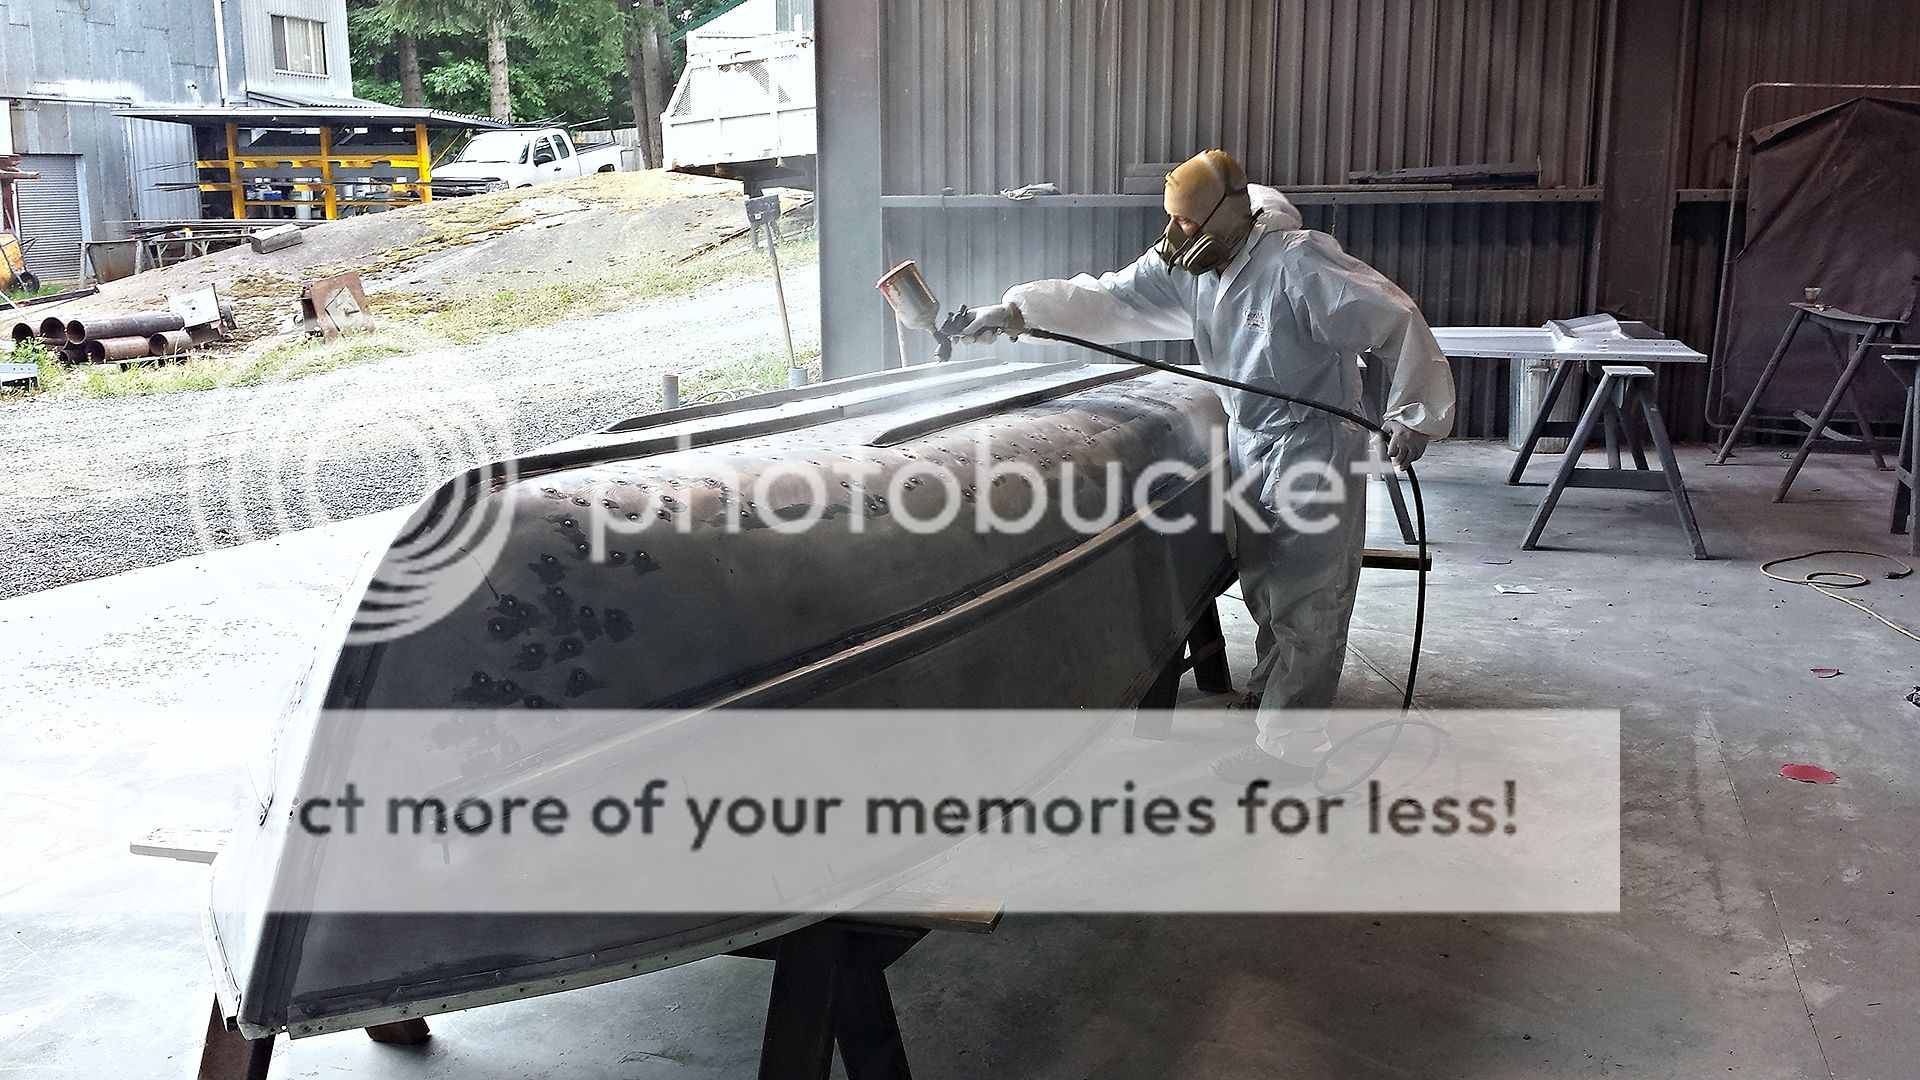
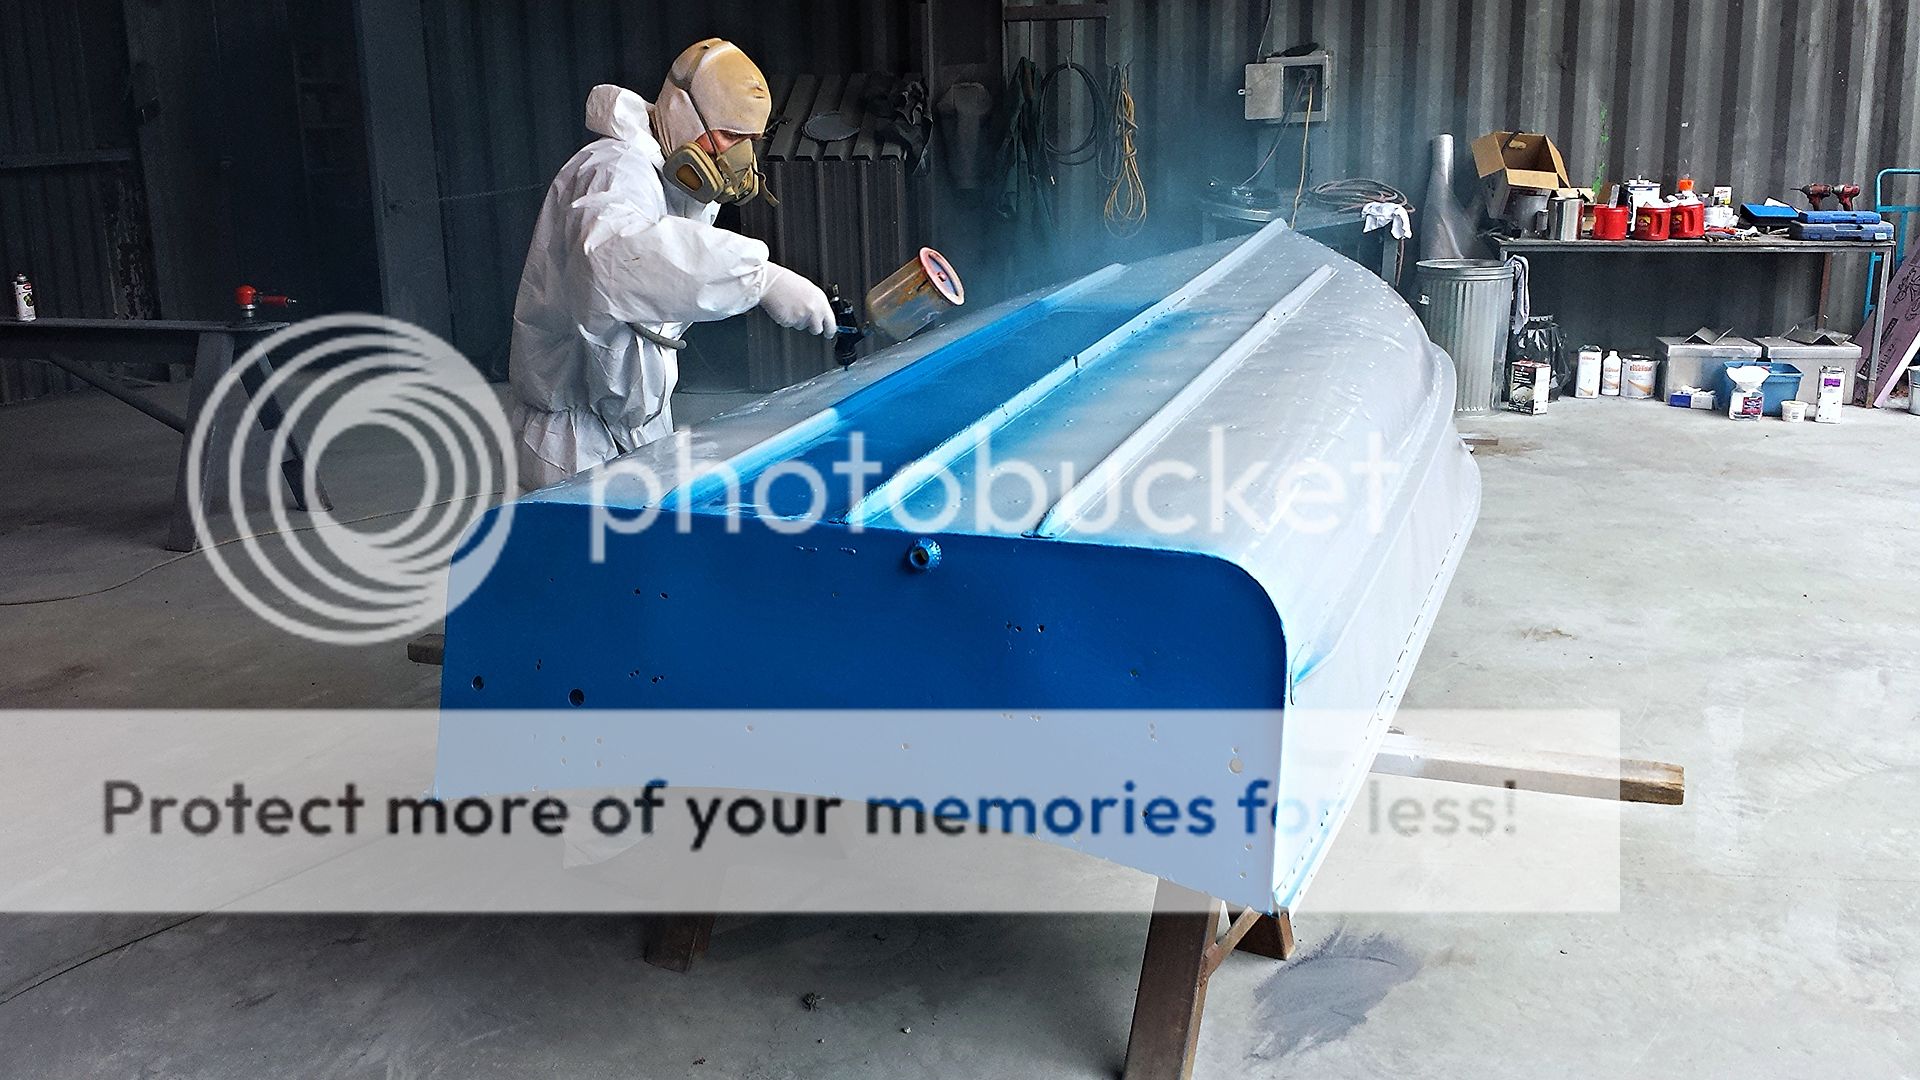
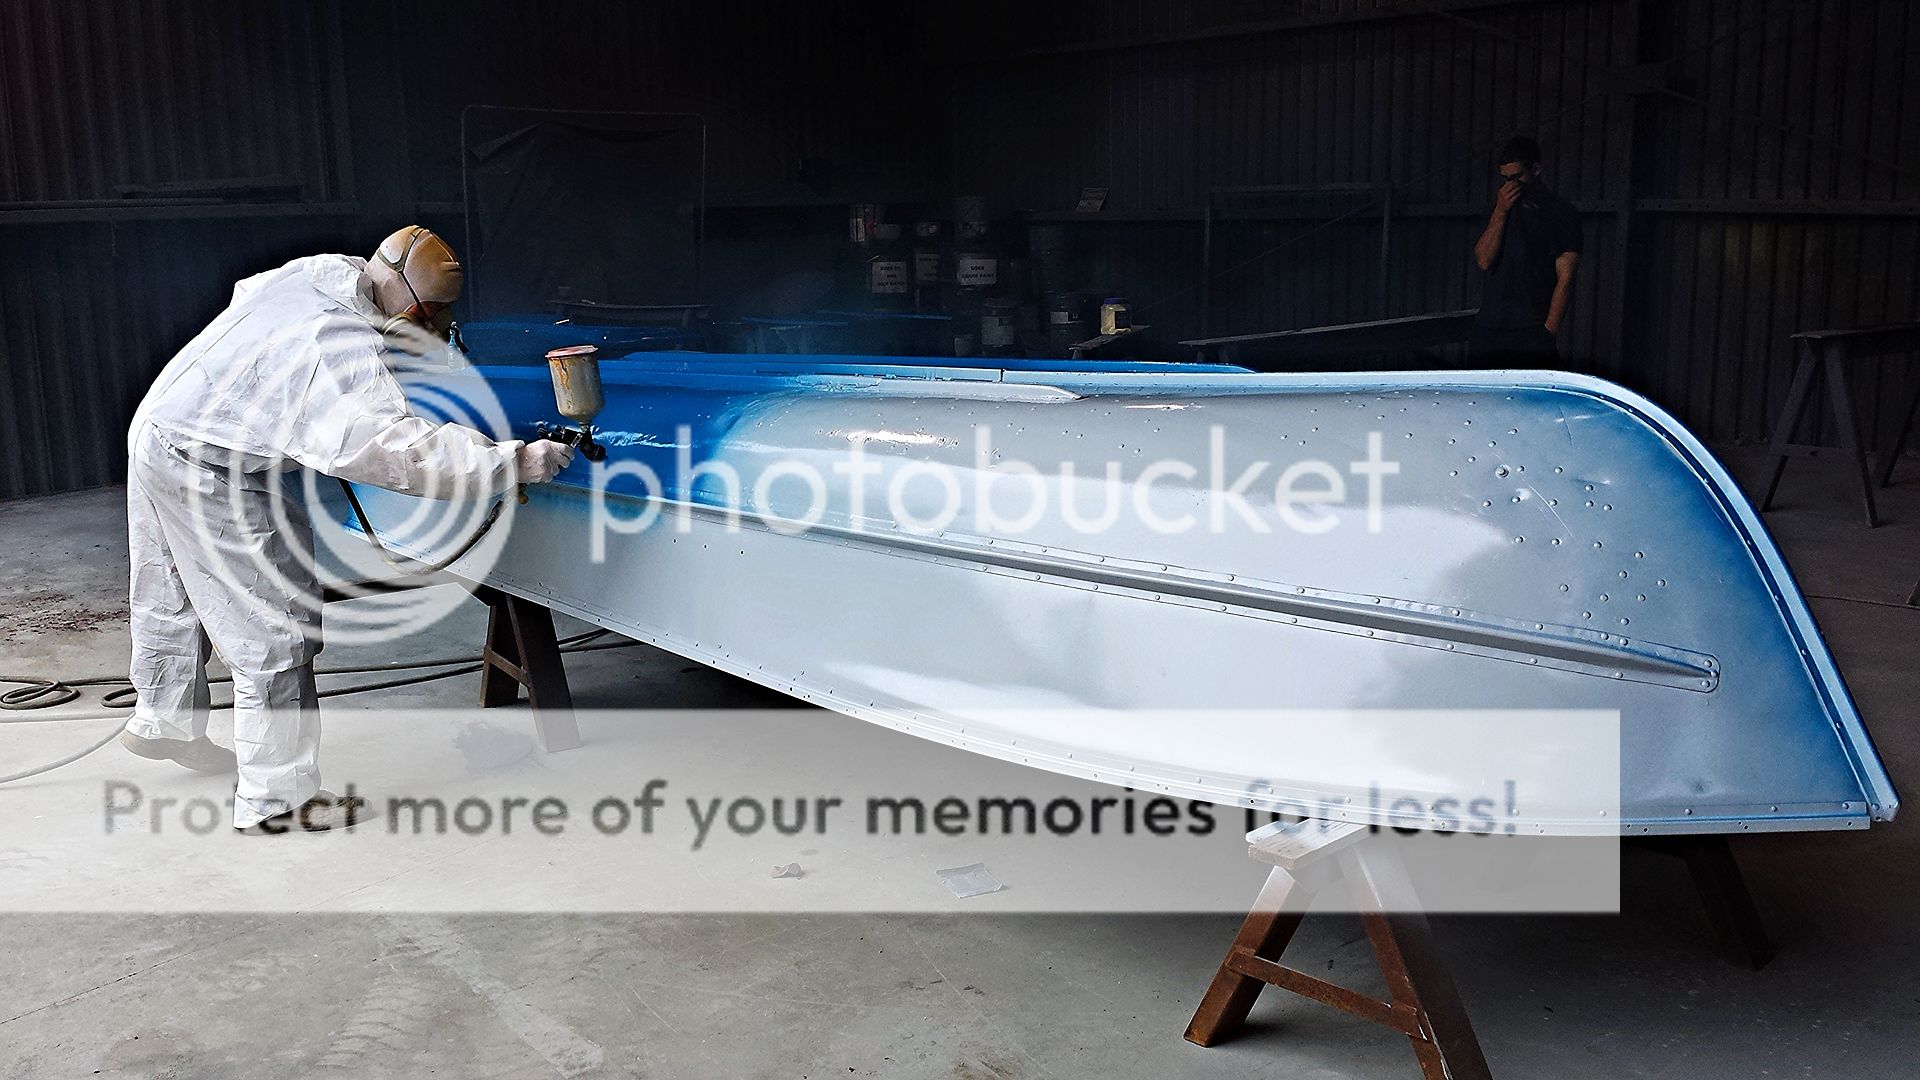
After all this prep work is done, albernifisher is going to apply a vinyl wash primer (etching primer), two coats of high build epoxy, and a two part polyurethane top coat.

We have come this far with all the structural work, welding, epoxy, and soon to be kick azz paint system.........she better not leak!!!


Continued....
 
Last edited by a moderator:
This morning we got the filler sanded down.


Applied Gluvit on the inside rivet heads and seams.


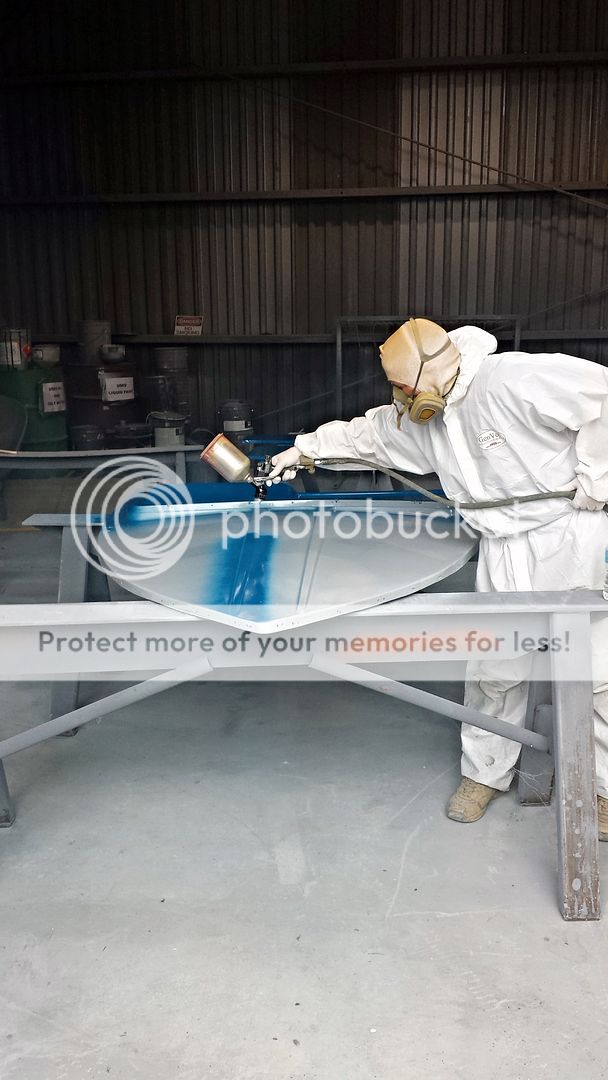
Albernifisher came by and started the painting. Thanks again man. Awesome work.

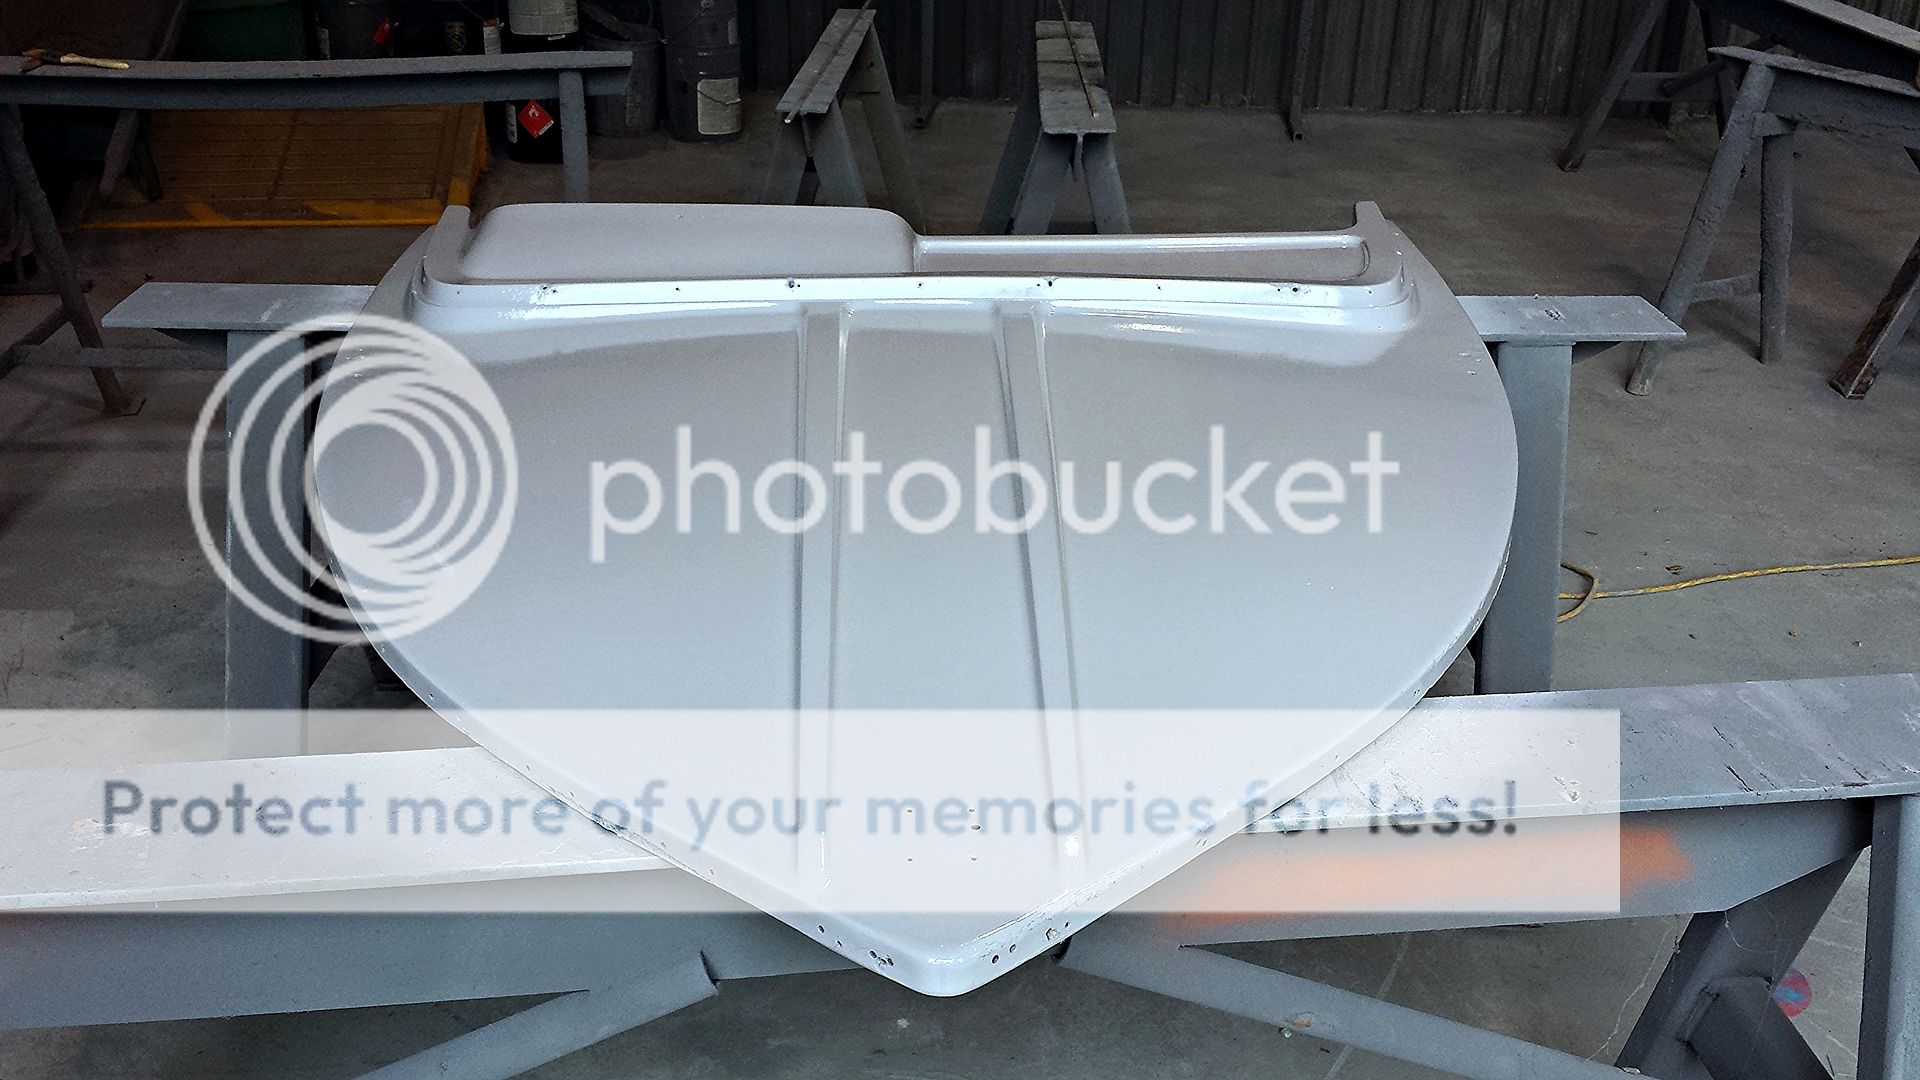
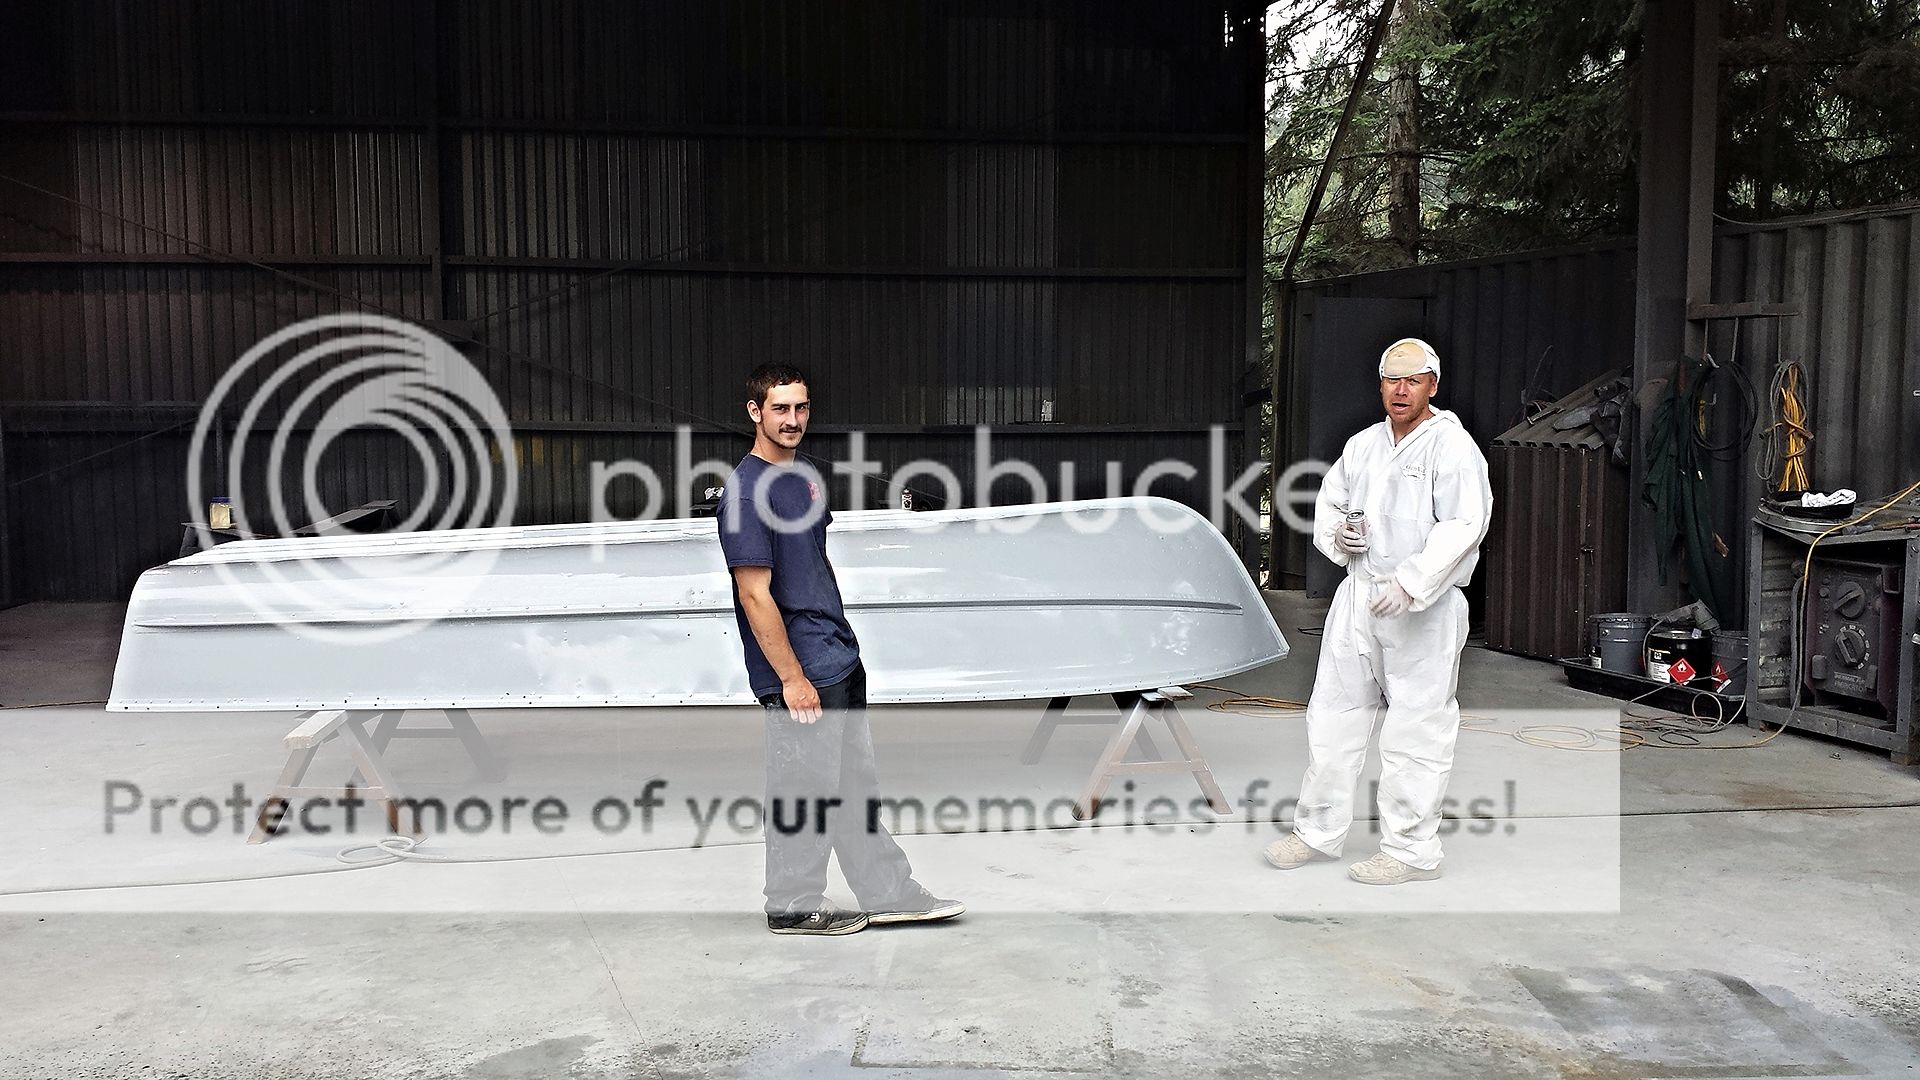
Epoxy primer going on.


The bow all primed up.


Quick beer break between coats.


Continued...
 
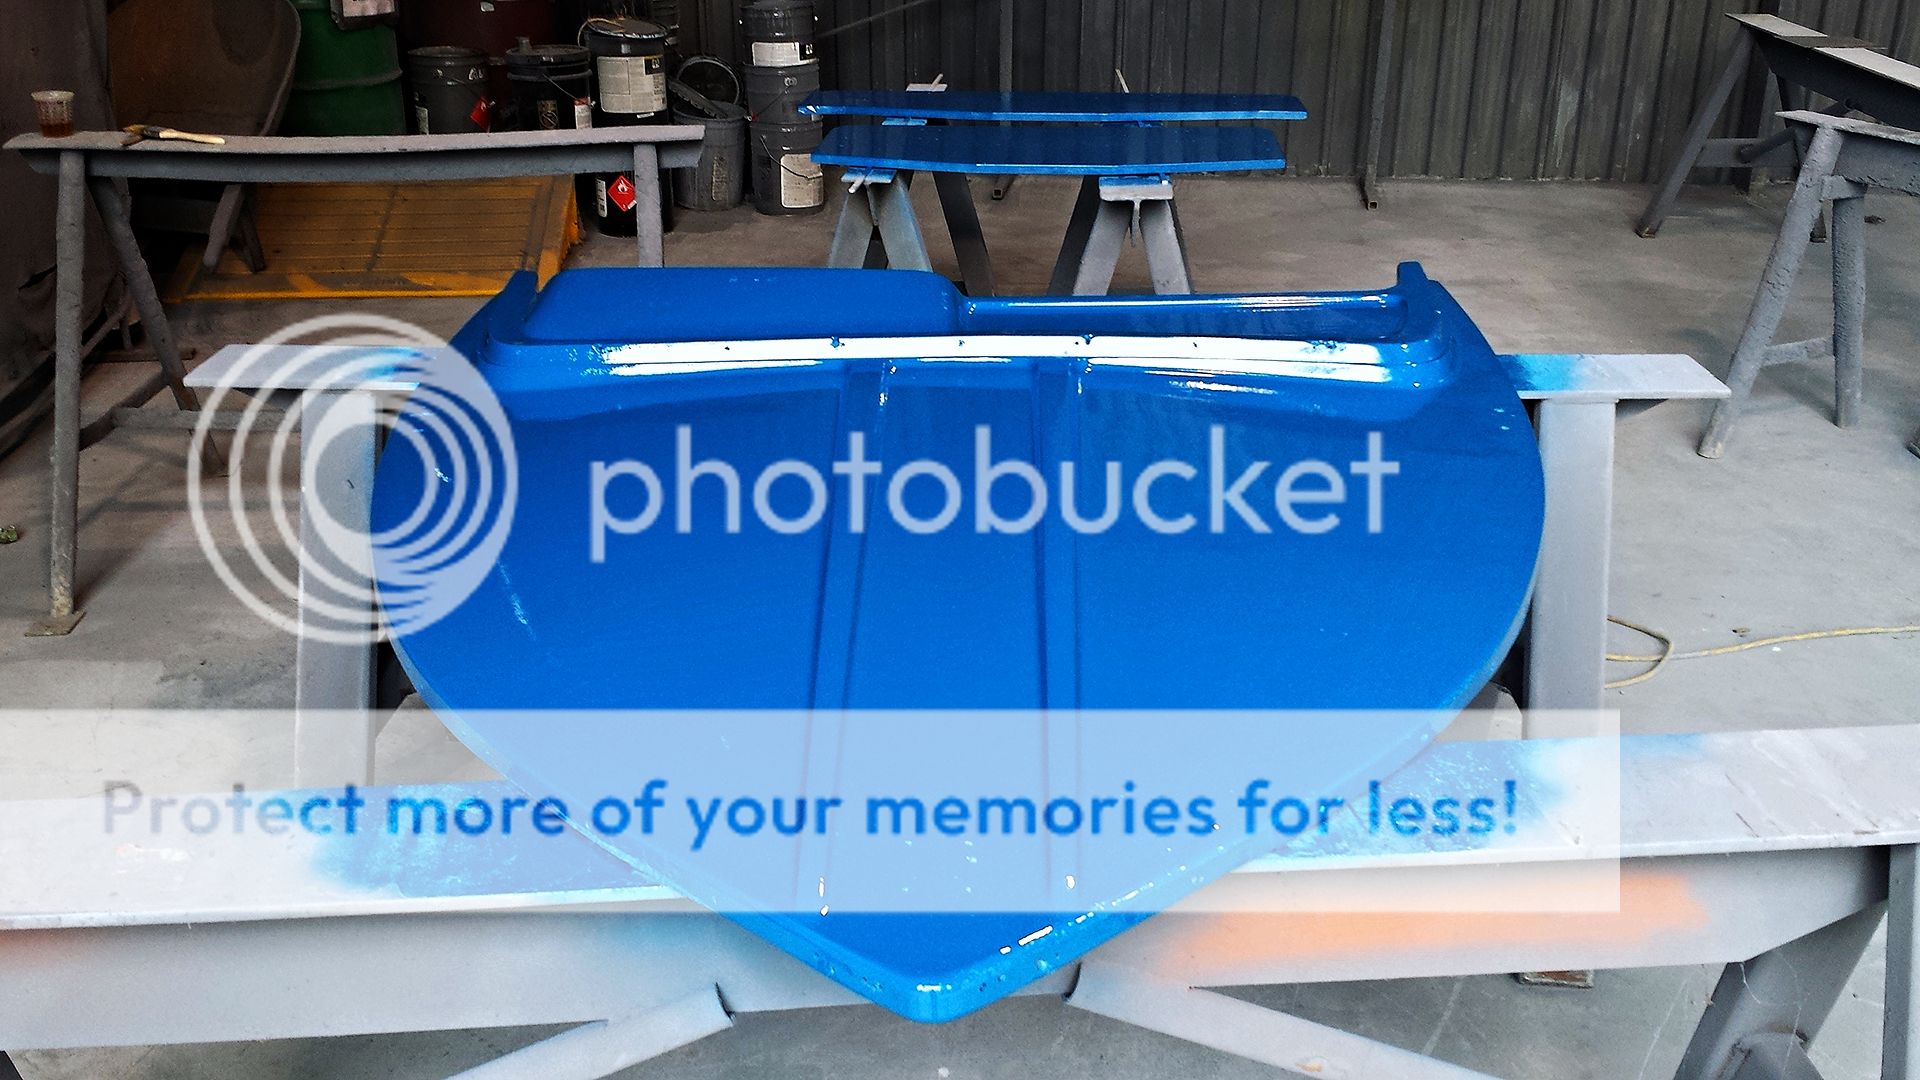
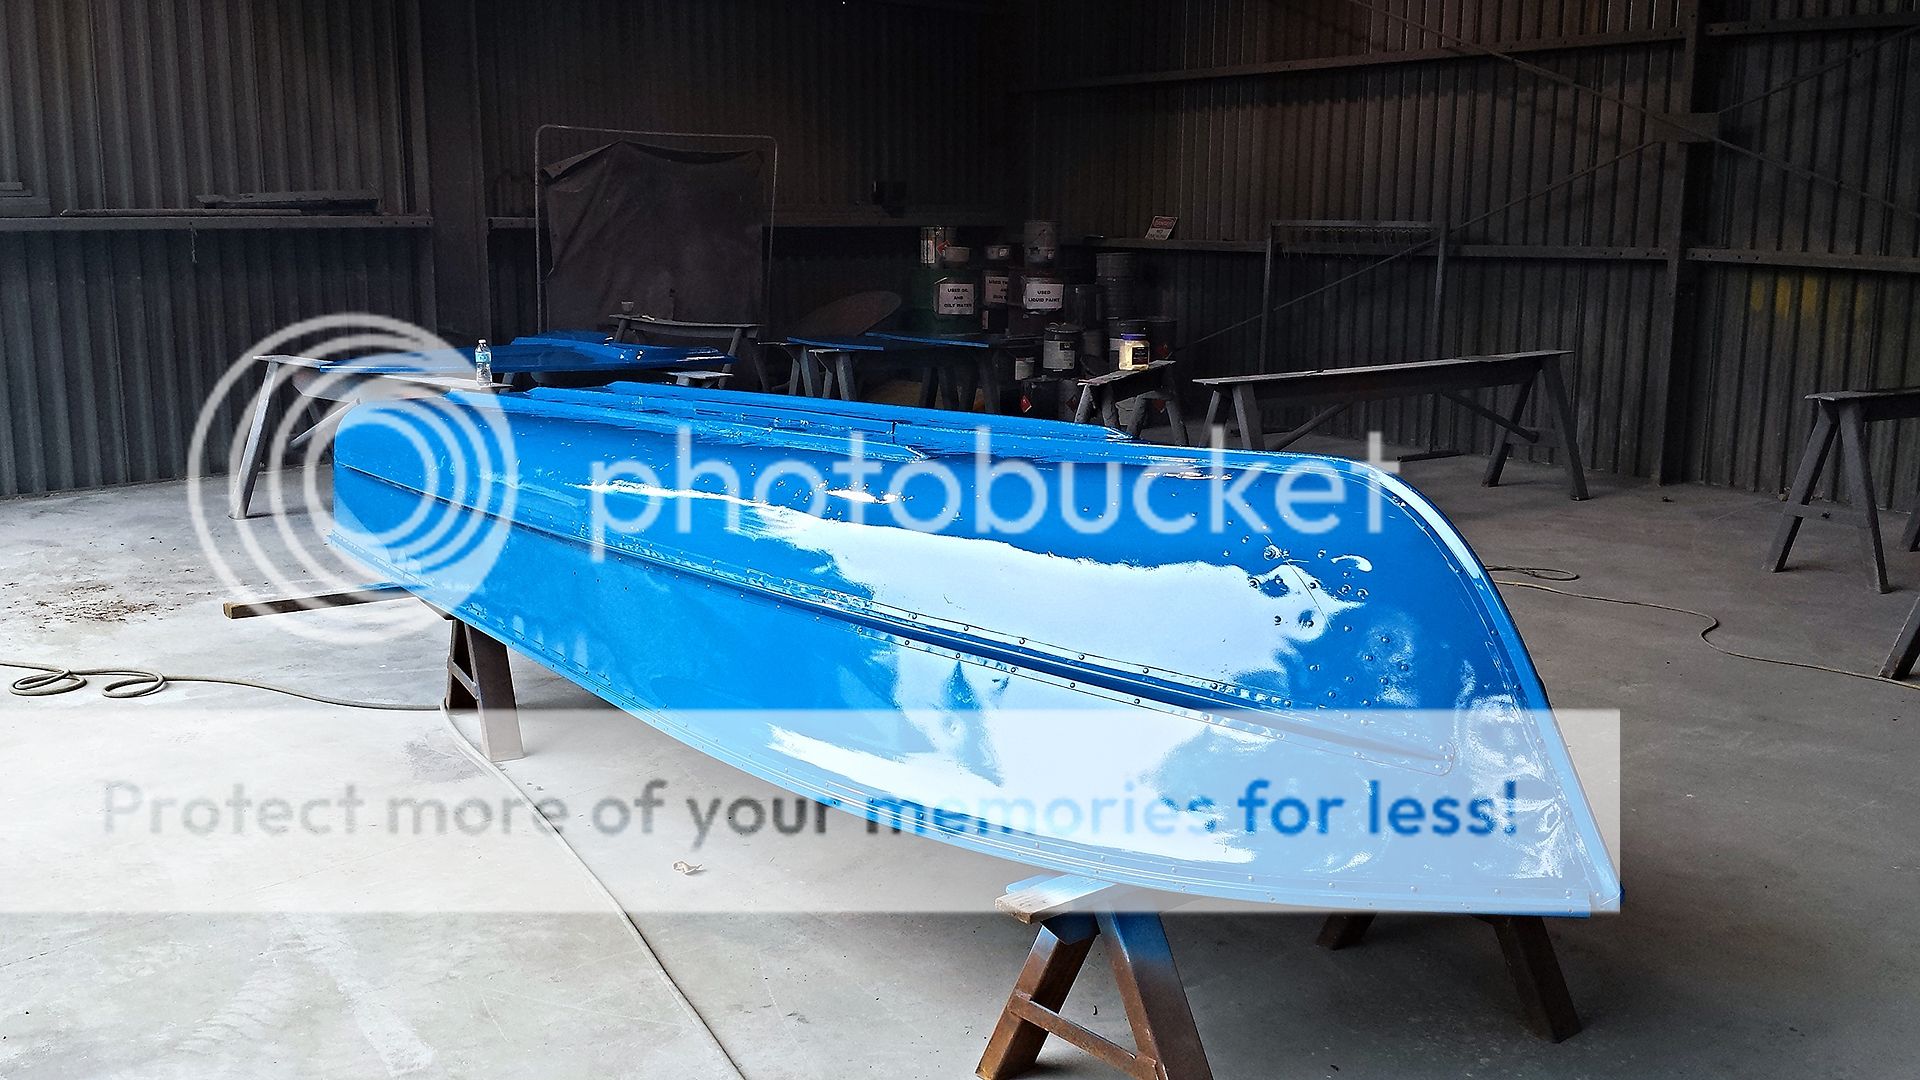
The transformation begins. Terry will like it for sure :).


Blue bow.


There she sits for now. Gary said to give her 24 hrs to cure before we flip her over onto some cardboard and start prepping and sanding the inside for painting.


Thanks Gary. Great job as always :cool:.


Continued....
 
I think you've taken all the right steps to repair/prevent the corrosion and any leaking, from what I've read as well. Coming along nicely!
 
Great thread. Thanks for sharing. Father and son time on a project like that is something you and your son will never forget.
Boat looks great and very well thought out too. Looking forward to seeing some pics of fish getting brought aboard her!
 
Back
Top